Table of Contents
Advertisement
Quick Links
Model/Modelo/Modèle
556T-DST, 557T-DST, 656T-DST,
657T-DST, 756T-DST & 757T-DST
Series/Series/Seria
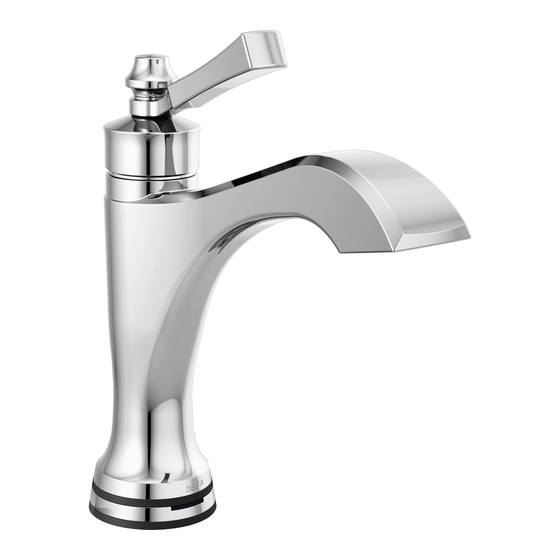
DORVAL
TM
Write purchased model number here.
Escriba aquí el número del modelo comprado.
Inscrivez le numéro de modèle ici.
You may need/Usted puede necesitar/Articles dont vous pouvez avoir besoin:
3/32"
Read all instructions prior to installation.
Lea todas las instrucciones antes de hacer la instalación.
Veuillez lire toutes les instructions avant l'installation.
To access additonal technical documents & product info, visit www.deltafaucet.com/p/Your-Model-Number-Here
(example: www.deltafaucet.com/p/9159T-DST)
Para acceder a documentos técnicos adicionales e información sobre el producto, visítenos en www.deltafaucet.
com/p/Your-Model-Number-Here (ejemplo: www.deltafaucet.com/p/9159T-DST)
Pour avoir accès à des documents techniques supplémentaires et à de l'information sur le produit, visitez www.delta-
faucet.com/p/Votre-numéro-de-modèle-ci (exemple : www.deltafaucet.com/p/9159T-DST)
TOUCH
102456
2
LLAVES DE LAVAMANOS DE TECNOLOGÍA TOUCH
ROBINETS DE LAVABO AVEC TECHNOLOGIE TOUCH
1
O
TECHNOLOGY BATHROOM FAUCETS
®
?
O
2
www.deltafaucet.com
1-800-345-DELTA (3358)
customerservice@deltafaucet.com
12/12/2018
®
O
®
2
Rev. A
Advertisement
Table of Contents

Related Manuals for Delta DORVAL 556T-DST


Summary of Contents for Delta DORVAL 556T-DST
- Page 1 Para acceder a documentos técnicos adicionales e información sobre el producto, visítenos en www.deltafaucet. www.deltafaucet.com com/p/Your-Model-Number-Here (ejemplo: www.deltafaucet.com/p/9159T-DST) 1-800-345-DELTA (3358) Pour avoir accès à des documents techniques supplémentaires et à de l’information sur le produit, visitez www.delta- customerservice@deltafaucet.com faucet.com/p/Votre-numéro-de-modèle-ci (exemple : www.deltafaucet.com/p/9159T-DST) 12/12/2018...
- Page 2 été enregistré auprès de Delta Faucet taire de la maison dans laquelle le robinet a été installé. En ce qui concerne les acheteurs commerciaux, Company.
- Page 3 Arriba Dessus OPTIONAL ESCUTCHEON INSTALLATION INSTALACIÓN DE LA CHAPA OPCIONAL INSTALLATION AVEC LA PLAQUE DE FINITION FACULTATIVE Install the included check valves on both hot and cold water supplies. Finger tighten. Tighten one additional turn with wrench. Loop the supply lines, if possible, to avoid having to cut them. Finger tighten both hot &...
- Page 4 Place bucket under faucet outlet tube. Move handle to full mixed position, slowly open water Close water supply and handle and remove bucket. supply stop to flush line. This will prevent debris from being lodged in the faucet. Cierre el suministro de agua y quite el balde/cubo. Coloque un balde o cubo debajo del tubo de salida de la llave de agua/grifo.
- Page 5 Wire must extend away from solenoid. Asegúrese que el alambre se extiende alejado del solenoide. Prenez soin de placer les fils à l’écart de l’électrovanne. “AA” Batteries (Last up to 2 years) Pilas “AA” (Duran hasta 2 años) Piles « AA » (Durée utile de 2 ans) “C”...
- Page 6 Proper Placement Meilleure solution Bonne position Lay on cabinet floor. Remove stopper (1) and flange (2). Screw nut (1) all the way down. Push washer (2) and gasket (3) down. Remove tailpiece (1) from body (2), add plumber tape (3), replace tailpiece. Colóquelo en el piso del gabinete como.
-
Page 7: Handle Installation
FOR MANUAL BYPASS PARA (BYPASS) PASO MANUAL POUR UTILISER LE ROBINET MANUELLEMENT Shut off hot and cold water supplies. Move faucet handle to the off position. Disconnect wires and remove clips (1) from solenoid (2). Using one of the clips (1), attach hose (3) directly to the outlet (4). -
Page 8: Maintenance
Debris Filter Filtro de escombros Filtre à débris Maintenance If faucet exhibits very low flow: A. Remove and clean aerator (1) with supplied wrench (2), or B. SHUT OFF WATER SUPPLIES. Replace valve cartridge (3). When reinstalling parts, make sure bonnet nut (4) is tightened securely with a wrench.* C. -
Page 9: Cleaning And Care
5. LED light changes from blue to red as water temperature changes. (43°C). 6. Your new faucet will run for up to 2 years on 6 AA batteries. 3 red flashes before solenoid opens or closes - replace batteries. Sugerencias rápidas para su llave de agua/grifo Delta Touch ® ®... - Page 10 CUSTOM FIT CONNECTIONS / CONEXIONES ESPECIALES / SPÉCIAUX TUYAUTERIE BRANCHEMENT Installer accepts the responsibility to cut supply tubing in a way that allows a leak-free joint to be created. Brizo is not responsible for tubing that is cut too short or cut in a way that will not allow for a leak-free joint. Must use RP50952 sleeves supplied with model and nuts included on supply lines.
- Page 11 Solenoid Troubleshooting Note: Normal operation of the faucet will turn off water flow if faucet is not touched for 2 minutes. d. Move handle to the “off” position. Remove the tube from the bottom of the solenoid assembly, place 1. If your spout indicates three red flashes, replace the batteries. If the spout still indicates three red a bucket under the outlet of the solenoid assembly and move handle to the “on”...
- Page 12 102456 Rev. A...
Need help?
Do you have a question about the DORVAL 556T-DST and is the answer not in the manual?
Questions and answers