Ingersoll-Rand 1 Series Maintenance Information
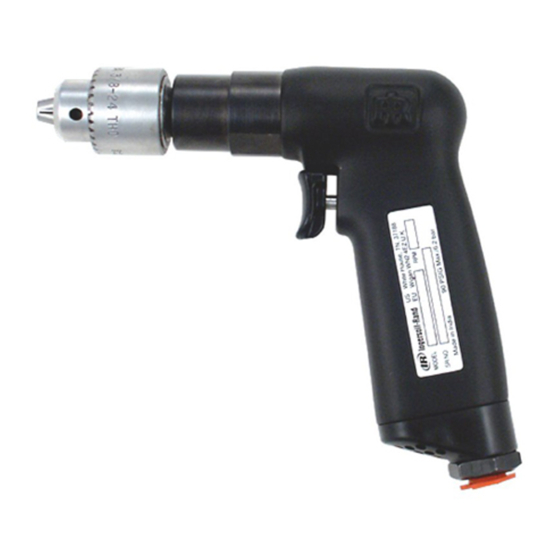
Air drill
Hide thumbs
Also See for 1 Series:
- Product information (60 pages) ,
- Operation and maintenance manual (37 pages) ,
- Product information (32 pages)
Advertisement
Quick Links
Advertisement

Related Manuals for Ingersoll-Rand 1 Series


Summary of Contents for Ingersoll-Rand 1 Series
- Page 1 16572661 Edition 3 May 2014 Air Drill 1 Series Maintenance Information Save These Instructions...
- Page 2 While pulling on the Angle Head, tap the rear face of the Angle Housing with a soft hammer to pull the 1. Each 1 Series Drill is comprised of three modules or units. In-line Bevel Pinion and Bevel Bearing (105) from the Angle Housing.
- Page 3 Gear Case with a soft-faced hammer, driving the Spindle from the 4. Using a stiff wire hook, pull the Throttle Valve Seat (9) from the Gear Case. handle. 5. Use snap ring pliers to remove the Spindle Bearing Retainer (49) 5.
- Page 4 4. Place the Exhaust Deflector Seal (6) on the smaller shoulder of motor by the spline on the Rotor and with the dowel pin holes of the Motor Housing. To hold the Seal in position, lightly coat the the Front End Plate and Cylinder aligned with the U-shaped notch Seal and shoulder with Ingersoll Rand No.
- Page 5 9. For Model 1LJlA1, slide the Drive Plate (43) onto the planet gear NOTICE shafts of the Gear Head. For all Models Shim Packet contains three .002” (.05 mm) shims and 1. Place the Motor Clamp Washer (36) in the Gear Case against the two .005”...
-
Page 6: Troubleshooting Guide
Troubleshooting Guide Trouble Probable Cause Solution Loss of Power Low air pressure Check air supply. For top performance, the air pressure must be 90 psig (6.2 bar/620 kPa) at the inlet. Plugged Air Strainer Screen Inlet Screen Clean the Air Strainer or screen in a clean, suitable cleaning solution. - Page 7 Notes:...
- Page 8 ingersollrandproducts.com © 2014 Ingersoll Rand...
Need help?
Do you have a question about the 1 Series and is the answer not in the manual?
Questions and answers