Advertisement
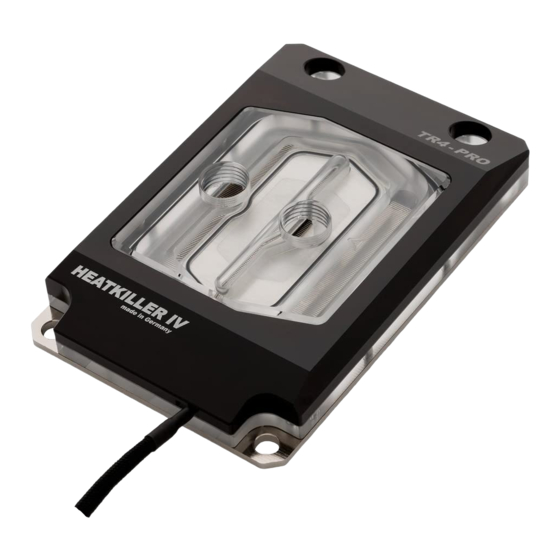
HEATKILLER® IV Pro for
Threadripper™
Montageanleitung /
1
Assembly Instructions
1. Einleitung
Der HEATKILLER® IV for Threadripper™ setzt
neue Maßstäbe im Bereich Leistung, Qualität
und
Montagefreundlichkeit.
Entwicklung wurde konsequent auf eine
perfekte Kühlung aller vier DIEs ausgerichtet.
Eine farbige Montageanleitung im PDF-
Format finden Sie im Servicebereich unserer
Homepage unter www.watercool.de
Die Installation erfolgt auf eigene Gefahr.
Das Nichtbeachten der Montageanleitung
kann das Produkt beschädigen. Die Firma
Watercool übernimmt keinerlei Haftung bei
Beschädigungen an der Hardware.
1. Introduction
The HEATKILLER® IV for Threadripper™ sets
new standards in performance, quality and
Bei
dessen
installation simplicity. It is perfectly designed
to cool all four DIEs under the heatspreader.
provided as a PDF-file in the service area of
our homepage. www.watercool.de
Watercool Company accepts no liability for
any damages caused to hardware and data. If
uncertain, hire a specialist to carry out the
modification or use our modification service.
Coloured
assembly
Installation is at your own risk. The
instructions
are
Advertisement
Table of Contents

Summary of Contents for Watercool HEATKILLER IV Pro
- Page 1 Die Installation erfolgt auf eigene Gefahr. Installation is at your own risk. The Das Nichtbeachten der Montageanleitung Watercool Company accepts no liability for kann das Produkt beschädigen. Die Firma any damages caused to hardware and data. If Watercool übernimmt keinerlei Haftung bei uncertain, hire a specialist to carry out the Beschädigungen an der Hardware.
- Page 2 2. Vorbereitung der Installation 2. Before installation Sollte bereits ein CPU Kühler auf dem If there is a CPU heat sink installed already, Mainboard verbaut sein, so muss dieser zuerst remove all belonging parts and all leftover samt zugehörigem Montagematerial entfernt thermal paste.
- Page 3 3. Mounting the cooler 3. Montage des Kühlers Install all mounting parts according to the Montieren Sie alle Halterungsteile gemäß der following sketch. nachfolgenden Zeichnung. To mount the screws, a small spring force Beim Ansetzen der Schrauben muss eine needs to be overcome. To get all four screws leichte Vorspannung der Feder überwunden in, do not tighten them before all four screws werden.
- Page 4 screw them in one complete turn before optimalen Anpressdruck sollten switching to the next screw. Repeat this until Schrauben jeweils für eine volle Umdrehung they are all fully tightend. weitergedreht werden. Wiederholen Sie den Vorgang bis alle Schrauben fest angezogen The mounting solution comes with a sind.


Need help?
Do you have a question about the HEATKILLER IV Pro and is the answer not in the manual?
Questions and answers