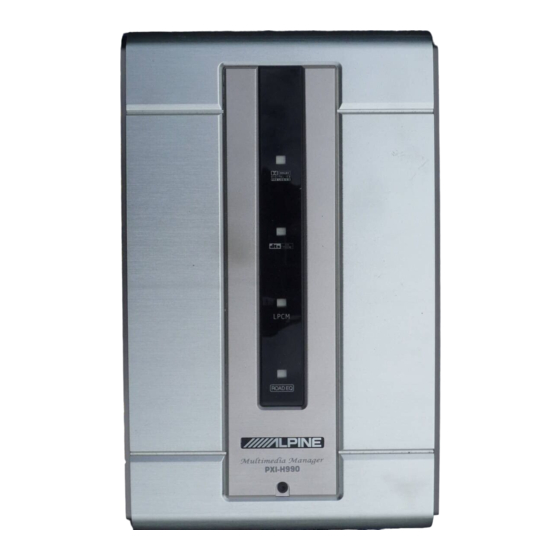
Alpine Multimedia Manager PXI-H990 Manual For Installation And Connections
Alpine pxi-h990 signal processor: install guide
Hide thumbs
Also See for Multimedia Manager PXI-H990:
- Owner's manual (116 pages) ,
- Owner's manual (115 pages)
Table of Contents
Advertisement
Quick Links
Download this manual
See also:
Owner's Manual
Advertisement
Table of Contents

Subscribe to Our Youtube Channel
Summary of Contents for Alpine Multimedia Manager PXI-H990
- Page 1 PXI-H990 Multimedia Manager Guide for Installation and Connections Guide d’installation et de connexions Guía de instalación y conexiones English Français Español Español Italiano Svenska...
- Page 2 ALPINE ELECTRONICS MARKETING, INC. ALPINE ELECTRONICS OF AMERICA, INC. ALPINE ELECTRONICS OF CANADA, INC. ALPINE ELECTRONICS OF AUSTRALIA PTY. LTD. ALPINE ELECTRONICS FRANCE S.A.R.L. ALPINE ELECTRONICS DE ESPAÑA, S.A. Sankei Kikaku Co., Ltd. 1-13-38, Hinodai, Hino, Tokyo, Japan 1-1-8 Nishi Gotanda,...
-
Page 3: Points To Observe For Safe Usage
GUIDE FOR INSTALLATION AND CONNECTIONS • Please read this GUIDE FOR INSTALLATION AND CONNECTIONS and the OWNER’S MANUAL thoroughly to familiarize yourself with each control and function. We at ALPINE hope that your new PXI-H990 will give you many years of listening enjoyment. - Page 4 DO NOT DAMAGE PIPE OR WIRING WHEN DRILLING HOLES. When drilling holes in the chassis for installation, take precautions so as not to contact, damage or obstruct pipes, fuel lines, tanks or electrical wiring. Failure to take such precautions may result in fire. DO NOT USE BOLTS OR NUTS IN THE BRAKE OR STEERING SYSTEMS TO MAKE GROUND CONNECTIONS.
-
Page 5: Wiring Connections
Precautions • Be sure to disconnect the cable from the (–) battery post before installing your PXI-H990. This will reduce any chance of damage to the unit in case of a short-circuit. • Be sure to connect the color coded leads according to the diagram. Incorrect connections may cause the unit to malfunction or damage to the vehicle’s electrical system. -
Page 6: Table Of Contents
• If you add an optional noise suppressor, connect it as far away from the unit as possible. Your Alpine dealer carries various noise suppressors. Contact them for further information. • Your Alpine dealer knows best about noise prevention measures so consult your dealer for further information. -
Page 7: Accessories
(When connecting to the main unit, attach the core at a location of approx. 4 cm from the terminal end.) For connection of PXI-H990, the battery power cable (sold separately), ground Memo cable (sold separately), remote out cable (sold separately), are necessary. -
Page 8: Installation
Installation • Mounting the base unit 1. Decide on the installation location. • The trunk, etc., is the best place. 2. Mark the positions of the mounting screws at the chosen location. 3. Drill 3 mm (1/8”) holes or smaller. WARNING: When making holes, be careful not to damage pipes, tanks, electric wires, etc. - Page 9 < Setting up two PXI-H990s > Find a location that can accommodate both unit together then proceed with the following proce- dure. To set up two PXI-H990s, first connect both base units before setting them up. 1. Remove the feet from the base unit sides that have no terminals. One screw holds each foot in place.
- Page 10 3. Place two base units side by side, and attach the brackets with the supplied bracket pan head screws (M4 x 8). 4. Refer to “Mounting the base unit” on page 7, and firmly attach the base. When using two PXI-H990s, change the System switch on the base unit to Memo “DUAL”.
-
Page 11: Connections
Normally the various indicators are lit blue. < Base section > REAR DUAL FRONT SINGLE System switch • Set to SINGLE when con- necting one PXI-H990. • When connecting two PXI- H990s, set the first to FRONT, and the second to REAR. - Page 12 Used to make settings and adjustments with a computer. USB cable (mini B type) and computer software are required. For details, contact your store of purchase or an Alpine Information Center. • Ground terminal Connect securely to a metal part of the vehicle’s body using the ground cable.
-
Page 13: Examples Of System Expansion
Examples of system expansion • PXI-H990 + DVI-9990 Head Unit + External Amplifier + Video etc. DVD Audio Link cable (Included) To DVD Audio To DVD Audio Link terminal Link terminal IONBUS compatible head unit (sold separately) DVI-9990 Audio output... - Page 14 • PXI-H990 + DVI-9990 Head Unit + TMI-M990 Monitor + Ai-NET compatible Changer Connected TMI-M990 IONBUS compatible To S video input monitor (sold terminal separately) To IONBUS terminal Microphone terminal connection cable (Included) System switch 1:SYSTEM 2:STANDALONE Set to SYSTEM...


Need help?
Do you have a question about the Multimedia Manager PXI-H990 and is the answer not in the manual?
Questions and answers