Advertisement
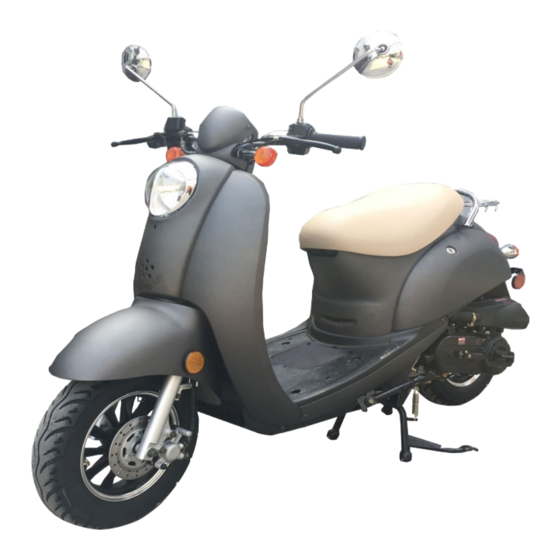
JL50QT‐14
ASSEMBLY INSTRUCTIONS
PLEASE NOTE THAT THIS IS NOT THE OWNER'S MANUAL BUT THE
ASSEMBLY INSTRUCTIONS ONLY.
BEFORE OPERATING THIS SCOOTER, MAKE SURE THE OPERATOR HAS
READ AND UNDERSTANDS THE OWNER'S MANUAL, WARNING
LABELS AND IS FAMILIAR WITH ALL OF THE SCOOTER CONTROLS.
FOR QUESTIONS REGARDING THE ASSEMBLY OF THIS SCOOTER PLEASE
CALL COLEMAN POWERSPORTS 888‐405‐8725
Advertisement
Table of Contents

Related Manuals for Coleman Powersports JL50QT-14


Summary of Contents for Coleman Powersports JL50QT-14
- Page 1 JL50QT‐14 ASSEMBLY INSTRUCTIONS PLEASE NOTE THAT THIS IS NOT THE OWNER’S MANUAL BUT THE ASSEMBLY INSTRUCTIONS ONLY. BEFORE OPERATING THIS SCOOTER, MAKE SURE THE OPERATOR HAS READ AND UNDERSTANDS THE OWNER’S MANUAL, WARNING LABELS AND IS FAMILIAR WITH ALL OF THE SCOOTER CONTROLS. FOR QUESTIONS REGARDING THE ASSEMBLY OF THIS SCOOTER PLEASE CALL COLEMAN POWERSPORTS 888‐405‐8725 ...
- Page 2 Main stand INSTALLATION Cotter pin Main stand M8 washers Main stand axes Spring Main stand axes M8 washers Cotter pin Spring 1. Put main stand in engine holder, then insert the axes to the bottom。 2. Put M8 washer at the other side of axes, insert cotter pin to the hole, then bend it。 3. Connect the main stand and engine by spring。 ...
-
Page 3: Front Wheel
Front wheel INSTALLATION Front wheel bushing Hexagon flange nuts M12 Actuators Front wheel shaft Actuators Right left bushing ... -
Page 4: Handlebar Installation
HANDLE BAR INSTALLATION Hexagon bolt M8X45 Tension sleeve Nut M10 FRONT BACK Tension sleeve Nut M10 Hexagon bolt M8X45 ... -
Page 5: Front Cover Installation
Front cover INSTALLATION Self tapping screw ST4.2X12 Self tapping screw Connecting plate Lamp cover Install the connecting plate in the front tool box recess. 2 Connect the headlamp cable socket to the main cable socket, then install the front cover in the toolbox。 On the back of the toolbox, tighten with four ST4.2x12 self‐tapping screws。 ... -
Page 6: Front Fender Installation
Front fender INSTALLATION Clip Hexagon bolt M6X16 Self tapping screw ST4.2X16 Clip Hexagon bolt M6X16 Self tapping screw ST4.2X16 Insert 4 clips into the back of the front fender。 Put the front fender on the front fork and connect it to the back of the front fender. Fasten it with one M6X16 bolt and four st4.2x16 self‐tapping screws respectively. ... -
Page 7: Battery Preparation
BATTERY INSTALLATION WARNING If sulfuric acid is swallowed or splashed in the eyes, treat immediately. Sulfuric acid in the eyes can cause blindness. Serious internal injuries or death can result if swallowed. ANTIDOTES: For acid on the skin, flush with water. If acid is swallowed drink large quantities of milk or water, followed by milk of magnesia, vegetable oil or beaten eggs. -
Page 8: Charging The Battery
Charging the battery Note: Do not turn the charger on before attaching the charger clips to the battery terminals. The standard charging rate is 0.7A x 5 -10 hours. Maximum charging rate is 3A x 1hour WARNING 1. Attach the Charger to the battery terminals. - Page 9 FOR SAFETY, ENGINE PREPARATION, PRE-RIDE INSPECTION AND STARTING INSTRUCTIONS. NEVER START THE ENGINE WITHOUT READING AND FULLY UNDERSTANDING THE OWNER’S MANUAL AND ALL WARNINGS. IF YOU DID NOT GET AN OWNER’S MANUAL WITH THIS SCOOTER, PLEASE CALL COLEMAN POWERSPORTS AT 888-405-8725. ...
Need help?
Do you have a question about the JL50QT-14 and is the answer not in the manual?
Questions and answers