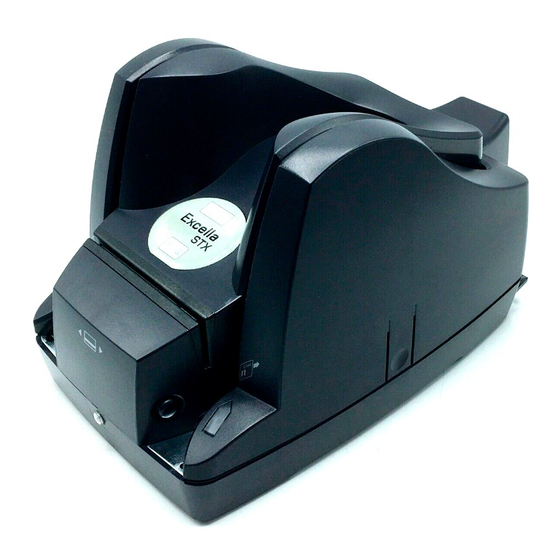
Magtek Excella STX Quick Installation Manual
Usb or ethernet small document scanner
Hide thumbs
Also See for Excella STX:
- Installation and operation manual (47 pages) ,
- Installation manual (2 pages)
Advertisement
Quick Links
1. Start
For USB, go to Step 2 below. For Ethernet, got to Step 3 below.
2. USB Installation
•
RUN EXCELLA STX DEMO
•
Navigate to and run C:\Program Files (x86)\MagTek\Excella-STX-
ImageSafe\ Excella-STX_Demo.exe
•
Click on the Excella Demo icon to run the demo; the main screen will
be displayed (Figure 1).
•
In the Select Device pull-down menu, choose Excella.EXC001.
•
Click on the Connect button.
Connect cables
•
Connect interface USB cable to Excella STX (Figure 3).
•
Connect round connector from the power supply to Excella STX.
•
Connect the power cord to the socket on the power supply block.
•
Connect the three-prong power cord to AC wall outlet.
•
Wait until only the middle LED is illuminated with a steady green.
•
Connect interface cable to PC.
NOTE: When the device is plugged in and detected by the PC, the USB
drivers will be automatically installed.
Quick Installation Guide
Setup and Installation
MagTek
®
Inc., 1710 Apollo Court, Seal Beach CA 90740 | p 562-546-6400 | support 651-415-6800 | f 562-546-6301 | www.magtek.com
Excella STX - USB or Ethernet
Small Document Scanner
3. Ethernet Installation
Connect cables
•
Connect Ethernet interface cable, USB to Excella STX (Figure 3).
•
Connect round connector from the power supply to Excella.
•
Connect the power cord to the socket on the power supply block.
•
Connect the three-prong power cord to AC wall outlet.
•
Wait until only the middle LED is illuminated with a steady green.
•
Connect interface cable to PC.
Ethernet Configuration
•
In your web browser, type Excella STX's default Ethernet IP address as
follows: http://192.168.10.100; Excella STX's built-in web page will be
displayed.
•
In the User Menu, click on Configuration.
•
Select the Ethernet tab and configure all parameters shown (Figure 2).
•
Click on Save Settings and close the web browser.
•
Continue to Step 4, INSTALL INK CARTRIDGE(S).
Figure 2. Ethernet Configuration Screen
Figure 3. Cables & Connectors
Advertisement

Summary of Contents for Magtek Excella STX
- Page 1 NOTE: When the device is plugged in and detected by the PC, the USB drivers will be automatically installed. Figure 2. Ethernet Configuration Screen Figure 3. Cables & Connectors MagTek ® Inc., 1710 Apollo Court, Seal Beach CA 90740 | p 562-546-6400 | support 651-415-6800 | f 562-546-6301 | www.magtek.com...
- Page 2 Figure 5. Excella STX Demo MagTek Inc., 1710 Apollo Court, Seal Beach CA 90740 | p 562-546-6400 | support 651-415-6800 | f 562-546-6301 | www.magtek.com ® MagTek®, MagnePrint®, and MagneSafe® are registered trademarks of MagTek, Inc. MAGTEK: Registered to ISO 9001:2015 © Copyright 2021 MagTek, Inc. PN D99875344 rev 30 4/21...


Need help?
Do you have a question about the Excella STX and is the answer not in the manual?
Questions and answers