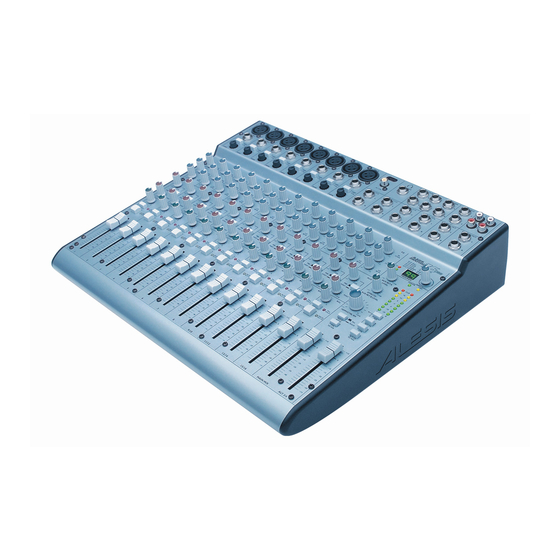
Alesis MultiMix12USB Supplementary Manual
Zero-latency monitoring
Hide thumbs
Also See for MultiMix12USB:
- Supplementary manual (6 pages) ,
- Quick start owner's manual (11 pages) ,
- Reference manual (42 pages)
Advertisement
Table of Contents
Zero-Latency Monitoring with your Multimix USB:
Latency is the amount of time it takes for a signal (such as your voice or
instrument) to get converted into digital audio, recorded into your program (such
as Cubase LE), and then sent back out to your speakers (or headphones) for you
to hear what you are playing. This delay is usually only a few milliseconds, but it
is long enough to distract, disorient, and otherwise annoy anyone trying to record
him/herself (especially if you're trying to record on top of exiting tracks in a
program like Cubase LE).
You can set up your Multimix USB mixer to monitor yourself without any latency.
This zero-latency monitoring is extremely useful because it allows you to hear
yourself while you're recording without any irritating delayed echoes. To set up
zero-latency monitoring, follow these instructions:
Installing and Configuring the Multimix in Windows XP:
Setting up the Multimix is very easy—all you have to do is plug in the power
cable and connect the USB cable from the PC to the Multimix and you're ready to
go. No software installation is necessary under Windows XP.
Maximizing Stability and Performance in Windows XP:
The following is not required, but for better performance and increased stability,
we recommend you set up Windows to route non-Cubase sounds to another
sound output on your computer (most computers have built-in sound nowadays
and you can route non-Cubase sounds to that output). You can do this by
following these instructions:
1. Open the Windows Control Panel.
Advertisement
Table of Contents

Related Manuals for Alesis MultiMix12USB


Summary of Contents for Alesis MultiMix12USB
- Page 1 Zero-Latency Monitoring with your Multimix USB: Latency is the amount of time it takes for a signal (such as your voice or instrument) to get converted into digital audio, recorded into your program (such as Cubase LE), and then sent back out to your speakers (or headphones) for you to hear what you are playing.
- Page 2 2. Click Sounds, Speech, and Audio Devices. 3. Next, click Sound and Audio Devices.
- Page 3 4. Click the Audio tab. 5. Under Sound Playback, select anything OTHER than “USB Audio CODEC.” The “USB Audio CODEC” is your Multimix Mixer and you don’t want to have your regular Windows sounds (i.e., the Windows BING! and other sounds from messaging, email, and other programs) being routed to the Multimix.
- Page 4 Configure Cubase LE to work with the Multimix: 1. Open Device Setup under the Devices menu. 2. Under the Devices column, click VST Multitrack. Then open the ASIO Driver drop down menu.
- Page 5 3. Select “ASIO DirectX Full Duplex Driver.” 4. Click OK to exit. Cubase is now routing audio to your Multimix mixer.
- Page 6 Multimix 8USB users: 1. Turn down the LEVEL, MAIN MIX, and HDPH/CTRL RM knobs. 2. Make sure that the 2 TK TO MIX button is DOWN and the 2 TK TO CTRL ROOM button in UP, otherwise you’ll hear horrible (and LOUD!) feedback when you turn up the MAIN MIX knob later.
- Page 7 Multimix 12/16USB: 1. Turn down the HDPH/CTRL RM knob along with the LEVEL and MAIN MIX faders. 2. Make sure that the 2 TK TO HDPH/CTRL RM and MIX TO HDPH/CTRL RM buttons are DOWN. 3. Record-Enable a track in Cubase LE and make sure input monitoring is turned off in the program (if input monitoring is on, you’ll hear a delayed echo of your voice or instrument because of computer latency.) 4.
Need help?
Do you have a question about the MultiMix12USB and is the answer not in the manual?
Questions and answers