Advertisement
Quick Links
Allied Medical Set-Up Guide
1. Required measurements for set up
Letter
Body Part
A
Width
B
Depth
C
Seat to Footplate Height
D
Backrest height
E
Shoulder to seat
F
Headrest
G
Armrest Height RHT
G
Armrest Height LFT
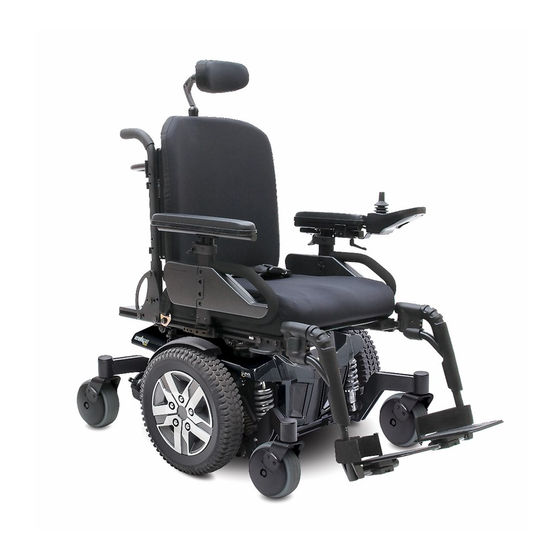
Quantum Q6 Edge 2.0
Tools required:
•
Tape measure/White out pen
•
Paper & Pen
•
Toolbox (13mm Spanner x 2, Allen Key Set.
Phillips/Flathead Screwdriver)
•
Script/Packing Slip to refer to requested build
measurements
•
Velcro
•
Instruction manual
Required (Y/N)
Y
Y
Y
Y
Y
Advertisement

Related Manuals for ALLIED MEDICAL Quantum Q6 Edge 2.0


Summary of Contents for ALLIED MEDICAL Quantum Q6 Edge 2.0
- Page 1 Allied Medical Set-Up Guide Quantum Q6 Edge 2.0 Tools required: • Tape measure/White out pen • Paper & Pen • Toolbox (13mm Spanner x 2, Allen Key Set. Phillips/Flathead Screwdriver) • Script/Packing Slip to refer to requested build measurements •...
- Page 2 The measurements required may have already been taken at the initial seating assessment and or from the initial script, but it is always good to double check before placing the client in the chair. Depending on the time frame, from the original Assessment/Scripting to the chair set-up, things can change.
- Page 3 Legrest/Footplate Adjustments To change the hanger angle on the legrest (if this type is selected) To adjust the forward/back position: • Remove the adjustment bolt from each side rail. • Move the legrest hanger in or out to the desired position. •...
- Page 4 Changing the Adjustable Centre-mount Foot Platform The adjustable centre-mount foot platform is height and angle adjustable. To adjust the foot plat- form angle: • Remove the angle adjustment hardware from the angle adjustment bracket. • Adjust the foot platform to the desired angle. •...
- Page 5 Armrest/s Adjustments Two Post Armrest To adjust the armrest height • Push the spring-loaded lever inward. See figure 1. • Move the armrest up or down to the desired height. • Rotate the spring-loaded lever outward and lock the armrest in place. If necessary, move the armrest up or down to ensure that the armrest is secure.
- Page 6 Drop-in Height Adjustable Armrest To adjust the armrest height • Push the lever down and remove the pin - see figure G1a. • Move the armrest up or down to the desired height and replace the pin. • To remove the drop-in armrest, see F1. Rotate the spring-loaded lever outward towards you -you will now be able to remove the armrest for transfers.
Need help?
Do you have a question about the Quantum Q6 Edge 2.0 and is the answer not in the manual?
Questions and answers