
Related Manuals for Primex OneVue Notify E130


Summary of Contents for Primex OneVue Notify E130
- Page 1 Notify Bell Controller Installation Guide OneVue Notify Bell Scheduling Publication date April 9, 2021...
- Page 2 OneVue is a trademark of Primex. All other trademarks are the property of their respective owners. Primex is the leading provider of solutions to automate and maintain facility compliance, increase efficiencies, enhance safety and reduce risk for enterprise organizations in the healthcare, education, manufacturing and government vertical markets. Primex delivers solutions that utilize a facility’s existing network infrastructure to automate, monitor, document and report essential...
-
Page 3: Table Of Contents
Table of Contents Bell Controller specifications ......................4 Bell Controller terminal block specifications ................6 Bell Controller LCD display, LED indicators, and service buttons ............7 Install Bell Controller ........................9 Verify package contents ......................9 Install requirements ........................ 9 Install location guidelines ...................... -
Page 4: Bell Controller Specifications
BELL CONTROLLER SPECIFICATIONS A Bell Controller, part of the OneVue Notify Bell Scheduling system, integrates with an existing public address (PA) or school bell system to trigger school bells to ring at the times set in the schedules managed in OneVue. Parameter Specification Ratings... - Page 5 Parameter Specification Operation Alerts: visual LED and LCD display indicators. Stored schedule capacity: stores a 7-day schedule in its local memory for each of the two relays. Each night after midnight, the 7-day schedules are downloaded to the device. Check-In Interval: hourly. Downloads schedule updates, transmits operating status and event history to OneVue, and synchronizes its time with an NTP time source.
-
Page 6: Bell Controller Terminal Block Specifications
Bell Controller terminal block specifications A Bell Controller device has a removable terminal block on the bottom of the device. The terminal block has two independent relay contact input connections and two dry contact input connections. • Relay connections support for either normally open (NO) or closed (NC) operation. A relay triggers the bells to ring at the schedules set in its assigned bell schedule. -
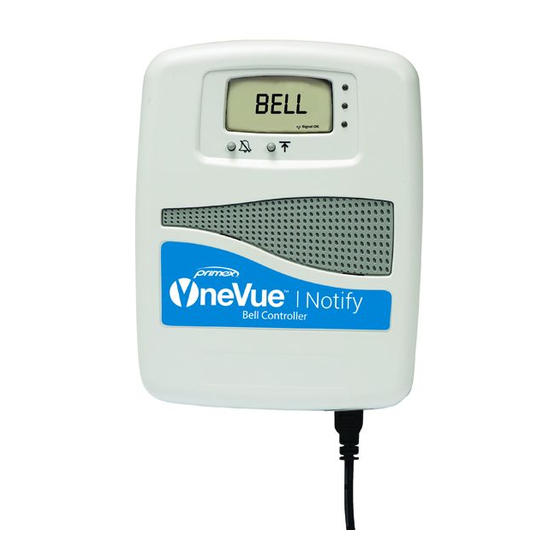
Page 7: Bell Controller Lcd Display, Led Indicators, And Service Buttons
Bell Controller LCD display, LED indicators, and service buttons The front of a Bell Controller has visual indicators that identify its current operating state and two service buttons. LCD display The LCD display of a Bell Controller provides a visual display of its current operating state. Segment Description Failed to synchronize its time with an NTP time source during its last network connection. - Page 8 Red LED Hardware Failure Encountered a hardware failure. Flashing Contact Primex Technical Support to assist with troubleshooting the cause of the failure. Service buttons A Bell Controller has two service buttons located on the front of the device. Button...
-
Page 9: Install Bell Controller
24 hours. 3M™ Dual Lock™ Tape, 2" x 1" strip USB configuration cable; supplied with each device order only. For use with the Primex Device Configuration software to manually configure a device or troubleshoot device network connectivity issues. It's recommended to save this cable for future use. -
Page 10: Install Location Guidelines
While these ratings provide a wide range of installation options, Primex recommends advance testing of any bell system prior to extensive product installation and conversion from any current solution. • When using multiple bell controllers to control different sets of bells within a facility, testing should be always be performed to confirm proper operation and to verify there is no bleed-over between multiple bell controllers. -
Page 11: Connect Bell Controller To Dry Contact Switch For An Impromptu Bell
Remove the terminal connector from the device and make the wiring connections to the terminals. Make sure the wires are properly attached to the terminals and the terminal connections are tight. Wires are to be stripped and there are no loose strands that can cause a short. P3: Relay 1 Normally Closed Contact Input P4: Relay 1 Common Contact Input P5: Relay 1 Normally Open Contact Input... -
Page 12: Surface Mount Bell Controller
Remove the device cover; simultaneously press the two tabs located on the top side of the device. Insert the 3.0v Primex Lithium/Iron Disulfide Battery Pack or two 1.5v Lithium AA batteries. Follow the symbols showing the correct way to position the positive (+) and negative (-) ends of the battery pack. - Page 13 Determine the mounting location by referencing the key-hole slot located on the back of the device. Mark and pre-drill a mounting hole into the solid and level wall surface. Insert wall anchor into the mounting hole. Insert a screw into the wall anchor, leaving approximately 3/8” of the screw head exposed for hanging. Attach the device to the wall surface by sliding the key-hole slot onto the mounting screw.
-
Page 14: Safety, Regulatory, And Warranty
SAFETY, REGULATORY, AND WARRANTY The following applies to OneVue Bell Controller (E130) SAFETY PRECAUTIONS READ THIS DOCUMENT THOROUGHLY BEFORE PERFORMING INSTALLATION OR SERVICE PROCEDURES. Safety Precautions • Device is designed for indoor use only and is not weather protected. Operating a device outdoors or in wet areas is an electrical hazard and may damage the device while nullifying its warranty. -
Page 15: Regulatory Approvals
Primex models: Sensors (T101, T102, A120, A100, E121, E122, E123), Bell Controller (E130) FCC Compliance Pursuant to FCC 15.21 of the FCC rules, changes not expressly approved by Primex might cause harmful interference and void the FCC authorization to operate this product. - Page 16 • Access Points use a fixed Channel. You can select the Channel used. This allows you to choose a Channel which provides the least interference and best performance. In the USA and Canada, 11 channel are available. If using multiple Access Points, it is better if adjacent Access Points use different Channels to reduce interference. •...
-
Page 17: One Year Limited Warranty
Primex, Inc. warrants this product to be free from defects in materials and workmanship for a standard of one (1) year from the date of purchase. Primex, Inc. will at its sole option, repair or replace any components that fail in normal use. -
Page 18: Technical Support
Ensuring our customers experience excellent service is of utmost importance to Primex. Our network of Certified Sales and Service Partners offers technical support services for Primex products. If you have purchased Primex products or have a service agreement with a Primex Partner, they are your primary contact for all Technical Support inquires.
Need help?
Do you have a question about the OneVue Notify E130 and is the answer not in the manual?
Questions and answers