Table of Contents
Advertisement
Available languages
Available languages
Quick Links
GETTING THE MOST OUT OF YOUR
TIREZ LE MEILLEUR PARTI DE VOTRE
EN
Please do not throw these instructions away - we've written them to
help you get the most out of your PRO+, and as a handy reference
to come back to if you ever get stuck. If you see areas where they
can be improved, so that future PRO+ users can have an even better
getting started experience, please let us know.
FR
Veuillez ne pas jeter ces instructions - nous les avons écrites
pour vous aider à tirer le meilleur parti de votre PRO+, et comme
référence pratique à laquelle revenir si vous êtes coincé. Si vous avez
des suggestions d'amélioration, afin que les futurs utilisateurs du
PRO+ puissent avoir une expérience de démarrage encore meilleure,
merci de nous le faire savoir.
3DoodlerPRO.com
(Nozzle Set manual included)
(Jeu de Buses inclus)
Hello! Bonjour!
05/2020
Advertisement
Table of Contents

Related Manuals for 3Doodler PRO+


Summary of Contents for 3Doodler PRO+
- Page 1 GETTING THE MOST OUT OF YOUR TIREZ LE MEILLEUR PARTI DE VOTRE (Nozzle Set manual included) (Jeu de Buses inclus) Hello! Bonjour! Please do not throw these instructions away - we’ve written them to help you get the most out of your PRO+, and as a handy reference to come back to if you ever get stuck.
-
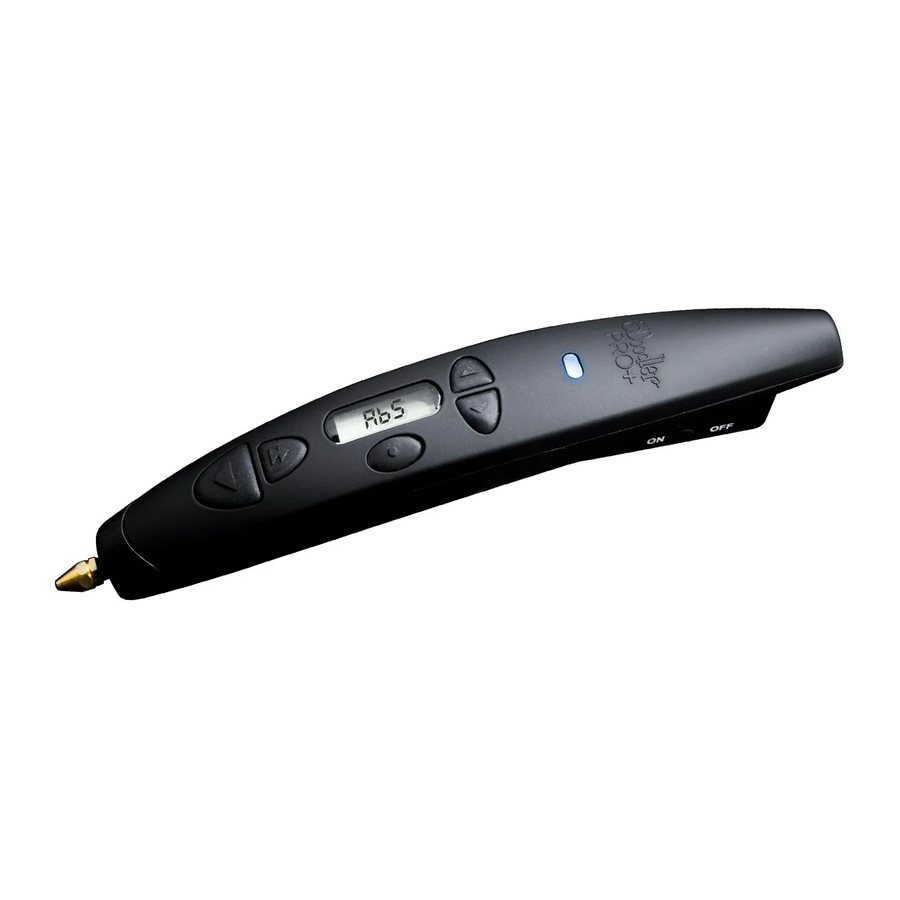
Page 2: Controls And Interface
Disposal of this product 2, Step 8 for details on using Custom Mode). At the end of your 3Doodler PRO+ pen’s life, please do not dispose of it in your general household waste. In order to prevent possible harm to the... -
Page 3: How It Works
How it Works: The 3Doodler PRO+ melts filament and uses a motor BLUE Light and gears (Drive Gear) to push the filament through the pen’s hot end (Nozzle) in a thin line. This process is called extruding or extrusion, and we will refer to it throughout this User Manual. -
Page 4: Step 7: Custom Mode
Step 4: Learn How to Doodle in 3D cut and remove the melted end of your strand before reinserting Use the 3Doodler PRO+ to transform your triangle into it into the 3Doodler PRO+ . pyramid! This will reduce blockages and clogging issues. -
Page 5: Section 3: Tips And Best Practices
• Double check which type of Filament you are using before Step 8: Turning Your Pen Off you turn on the 3Doodler PRO+ and insert a strand . Always Snip Your Filament Strand Ends After removing any Strand from the 3Doodler PRO+,... - Page 6 • Smooth out rough spots or edges • Remove excess filament from your Doodles • Create contours or textures Step 4: Turn off the 3Doodler PRO+ and allow it to cool (for approximately five minutes) before removing the Smoothing Tool.
-
Page 7: Section 6: Troubleshooting
• Click the Feed Button once. Adapter connected Switch on your 3Doodler • If that doesn’t solve this problem, unplug your 3Doodler to the correct part of pen is set to ON . PRO+ , then plug it in and try again. - Page 8 Doodler.com/warranty the3Doodler.com/warranty DoodlerÕs Terms and Conditions and other notices please refer to our For 3Doodler’s Terms and Conditions, and other notices, ite: the3Doodler.com/terms-and-conditions please refer to our website: the3Doodler.com/terms-and- conditions This marking indicates that this product should not be disposed of with other household wastes.
-
Page 9: Recyclage Du Produit
Recyclage du produit modes de température prédéfinis, qui sont optimisés pour Lorsque votre stylo 3Doodler PRO+ arrive en fin de vie, veuillez ne pas le chaque type de filament, ou le mode personnalisé pour un jeter avec vos ordures ménagères. Afin d’éviter tout dommage possible à... - Page 10 Fonctionnement: Lumière bleue Le 3Doodler PRO+ fait fondre le filament et utilise un moteur et des engrenages (engrenage d’entraînement) pour pousser le filament à travers l’extrémité chaude du stylo (buse) en une ligne fine. C’est ce que l’on appelle le processus d’extrusion, et nous y ferons référence tout...
- Page 11 3Doodler PRO+, coupez et Étape 4: Apprenez à Doodler en 3D retirez l’extrémité fondue de votre fil avant de le réinsérer Utilisez le 3Doodler PRO+ pour transformer votre triangle dans le 3Doodler PRO+. Cela en pyramide! réduira les blocages et les problèmes de colmatage.
-
Page 12: Mode Veille
Laissez votre 3Doodler PRO+ filament correctement sur OFF. refroidir complètement avant de le ranger. Ne tirez pas le fil par l’arrière du 3Doodler PRO+ autrement que comme indiqué. Voir page 8 pour des instructions Étape 9: Comment utiliser le capot de complètes. maintenance... - Page 13 Étape 1: Pendant que le 3Doodler PRO+ est débranché et refroidi, faites glisser l’outil de lissage sur la buse du 3Doodler PRO+. Étape 2: Allumez le 3Doodler PRO +, en sélectionnant le réglage de température approprié au filament que vous extrudez. Étape 3: Utilisez l’outil de lissage pour: •...
-
Page 14: Section 6: Dépannage
• Arrêtez de serrer une fois que vous ressentez une résistance pour éviter de trop serrer la buse et de casser la pointe filetée de votre stylo 3Doodler PRO+. 5. Mon filament n’arrête pas d’extruder. • La fin de l’adaptateur •... -
Page 15: Garantie Limitée
Doodler.com/warranty DoodlerÕs Terms and Conditions and other notices please refer to Pour les conditions générales de 3Doodler et d’autres ite: the3Doodler.com/terms-and-conditions notices, veuillez consulter notre site Web: the3Doodler.com/terms-and-conditions Ce marquage indique que ce produit ne doit pas être jeté...
Need help?
Do you have a question about the PRO+ and is the answer not in the manual?
Questions and answers