Advertisement
Table of Contents
- 1 Diagram for Sbig's STL Camera Mounting with CDK20
- 2 Diagram for Sbig's STL Camera Mounting with CDK12.5
- 3 1 - Place STL Camera on Its Back
- 4 2 - Take the CCD Adapter
- 5 3 - Mount the CCD Adapter on the CCD Mounting Block
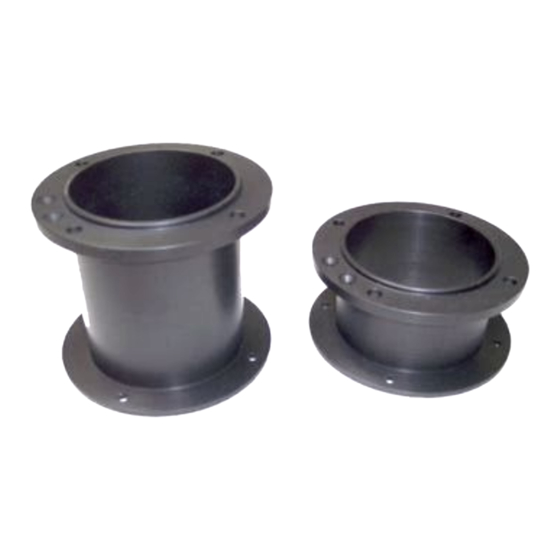
- 6 4 - Mount the CCD Secure Fit Spacer on the CCD Adapter
- 7 5 - Prepare the Focuser
- 8 6 - Mount the CCD Spacer and Camera to the Focuser Flange
- Download this manual
Advertisement
Table of Contents

Related Manuals for PlaneWave Instruments Secure fit CCD Spacer 3.8


Summary of Contents for PlaneWave Instruments Secure fit CCD Spacer 3.8
- Page 1 Secure Fit CCD Spacer Installation Secure fit CCD Spacer 3.8" and CCD Adapter (for STL Camera) CCD Spacer 2.1" (Spacers for CDK12.5 not shown) Page 1 Secure Fit CCD Spacer Installation rev031108...
- Page 2 Diagram for SBIG's STL Camera Mounting with CDK20 NOTE: Back focus from racked in focuser is 5.81" Focuser travel =1.0" AO-L Optical path = 1.49" STL Camera with mounting block BF=1.5" CCD Adapter CCD Spacer Optical path=.25" Lengths = 2.1" and Lengths 2.1 and 3.8"...
- Page 3 Diagram for SBIG's STL Camera Mounting with CDK12.5 10.455" STL Camera with mounting block BF=1.5" CCD Adapter CCD Spacer Optical path=.25" Lengths = 3.5" and 5.25" 2.75" Camera with mounting block , BF=1.5" CDK 12.5 Backplate Page 3 Page 3 Secure Fit CCD Spacer Installation rev031108 Secure Fit CCD Spacer Installation rev031108...
- Page 4 1 - Place STL camera on its back and expose the STL mounting block. If the 2" Mounting block for adapter is attached, remove it. STL camera body (See Figure 3). 2 - Take the CCD adapter shown in Figure 4 and place it on the camera mounting block Figure 3 as shown in figure 5.
- Page 5 3 - Mount the CCD adapter on the CCD mounting block using the 4x 6-32 flat head screws, shown in figure 6. (the picture shows socket head screws which we do not use anymore) 4 - Mount the CCD secure fit spacer on the CCD adapter.
- Page 6 5 - Prepare the focuser by removing four bolts from the Focuser flange end of the focuser flange as shown in figure 8. Remove four 6 - Mount the CCD spacer and screws from the camera to the focuser flange focuser flange using the 4x 1/4-20 socket head cap screws provided for...
Need help?
Do you have a question about the Secure fit CCD Spacer 3.8 and is the answer not in the manual?
Questions and answers