Table of Contents
Advertisement
Quick Links
π
H-5135
BROTHER
P-TOUCH
®
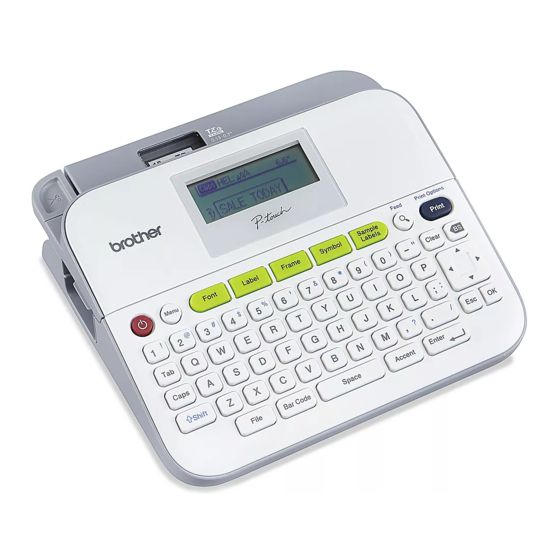
D400AD DESKTOP PRINTER
LCD DISPLAY AND KEYBOARD
1
2
3
7
8
9
13
14
35
34
33
32
31
30
29
NOTE: The text entered can be up to 80
characters in length.
Shift
• Use
in combination with the letter and number
keys to type uppercase letters or symbols indicated
on the upper-right corner of the keys.
• Use
with
to go to top of the text. Use
Shift
Shift
to go to end of the text.
PAGE 1 OF 9
®
OVERVIEW OF CONTROLS
4
5
6
12
10
11
15
16
28
27
26
25
1-800-295-5510
uline.com
CONTROL PANEL PARTS
#
1
2-5
6
7
17
8
9
18
10
11
12
19
13
14
15
20
16
21
17
18
22
19
23
24
• While selecting the settings, press
back to the default item.
• To cancel any operation, press
• Label length shown on LCD may slightly differ from
the actual label length when printed.
with
DESCRIPTION
#
Caps Mode
20
Style Guidance
21
Tape Length
22
Line Number
23
Start Line
24
Cursor
25
End Line
26
Return Mark
27
Cursor Selection
28
Font
29
Label
30
Frame
31
Symbol
32
Sample Labels
33
Preview
34
Print
35
Esc
DESCRIPTION
Clear
Backspace
Cursor
OK
Escape
Enter
Accent
Space
Bar Code
File
Shift
Caps
Tab
Letter
Power
Menu
Space
to go
.
0418 IH-5135
Advertisement
Table of Contents

Related Manuals for U-Line BROTHER P-TOUCH D400AD


Summary of Contents for U-Line BROTHER P-TOUCH D400AD
- Page 1 π H-5135 1-800-295-5510 uline.com BROTHER P-TOUCH ® ® D400AD DESKTOP PRINTER OVERVIEW OF CONTROLS LCD DISPLAY AND KEYBOARD CONTROL PANEL PARTS DESCRIPTION DESCRIPTION Caps Mode Clear Style Guidance Backspace Tape Length Cursor Line Number Start Line Escape Cursor Enter End Line Accent Return Mark Space...
-
Page 2: Power Supply And Tape Cassette
SETUP POWER SUPPLY AND TAPE CASSETTE Insert six new AA alkaline batteries (LR6) or fully Figure 1 charged Ni-MH batteries (HR6), making sure that their poles point in the correct directions. To remove the batteries, reverse the installation procedure. (See Figure 1) Battery Compartment Battery Case AC Adapter Jack... -
Page 3: Turning Power On/Off
SETUP CONTINUED TURNING POWER ON/OFF SETTING UNIT AND LANGUAGE Press to turn printer on. UNIT The default setting is [inch]. Press to turn printer off. ➔ ▲/▼ [Unit] ➔ ➔ ▲/▼ [inch/mm] ➔ FEEDING TAPE To feed the tape, press the Shift keys. -
Page 4: Entering Accented Characters
EDITING A LABEL CONTINUED ENTERING ACCENTED CHARACTERS SETTING AUTO FIT STYLE When [Size] is set to [Auto] and [Length] is set to specific Enter the character ➔ Select accented ➔ length, user can select the way of reducing the text size character ➔... -
Page 5: Editing And Deleting A Bar Code
EDITING A LABEL CONTINUED SETTING BAR CODE PARAMETERS EDITING AND DELETING A BAR CODE ENTERING BAR CODE DATA To edit bar code parameters and bar code data, position the cursor beneath the bar code mark on ➔ ▲/▼ Select an attribute ➔ Set a value the data entry screen, and then open the Bar Code. -
Page 6: Adjusting The Label Length
PRINTING A LABEL CONTINUED SETTING MARGIN [FULL]/[HALF]/[NARROW] NOTE: Do not pull the tape, since this may damage the tape cassette. ➔ ▲/▼ [Margin] ➔ ▲/▼ [Full/Half/Narrow] ADJUSTING THE LABEL LENGTH ➔ ▲/▼ Select the number of copies ➔ . (See Figure 7) ➔... -
Page 7: Using The File Memory
USING THE FILE MEMORY SAVING LABEL FILES User can save up to 50 labels and recall them for printing at a later date. A maximum of 80 characters can be saved per file. User can also edit and overwrite the stored label. SAVE Type text and format label ➔... -
Page 8: Troubleshooting
TROUBLESHOOTING OPERATING ISSUE RECOMMENDATIONS The screen "locks" or the Refer to "Resetting the P-touch Labeler" above to reset the internal printer does not respond memory to the initial settings. If resetting the printer does not solve the normally. problem, disconnect the AC adapter and remove the batteries for more than 10 minutes. -
Page 9: When An Error Message Appears On The Display
TROUBLESHOOTING CONTINUED WHEN AN ERROR MESSAGE APPEARS ON THE DISPLAY When an error message appears on the display, follow the directions provided below. MESSAGE CAUSE/REMEDY Check # of Digits The number of digits entered in the bar code data does not match Entered! the number of digits set in the bar code parameters.
Need help?
Do you have a question about the BROTHER P-TOUCH D400AD and is the answer not in the manual?
Questions and answers