
Related Manuals for GARO TWIN+


Summary of Contents for GARO TWIN+
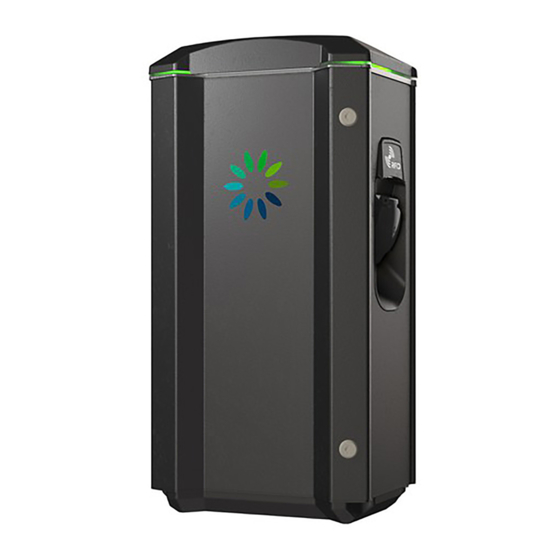
- Page 1 GARO TWIN+ Assembly instructions / End User Instruction (EN) GARO AB Box 203, SE–335 25 Gnosjö Phone: +46 (0) 370 33 28 00 info@garo.se garo.se...
-
Page 2: Table Of Contents
TABLE OF CONTENT About this manual INFORMATION Warnings Cautions Notes Content INSTALLATION Dimensional sketch USER MANUAL Normal use LED indications Technical specifications Electrical diagram... -
Page 3: About This Manual
However, because continuous TWIN+ improvement is a goal at GARO, we reserve the right to make product and software modifications at any time. This range This equipment should not be used by anyone (including is subject to continual product development. -
Page 4: Cautions
INFORMATION Cautions Notes Incorrect installation and testing of the TWIN+ could All installation must be carried out by an authorised potentially damage either the vehicle’s battery and/or the installer and comply with local installation regulations. TWIN+ itself. If any questions, please contact your local electrical authority. -
Page 5: Content
INFORMATION Content GARO TWIN+ Installation / Instruktionsmanual GARO AB Box 203, SE–335 25 Gnosjö Phone: +46 (0) 370 33 28 00 info@garo.se garo.se Manual TWIN+ Keys... -
Page 6: Installation
INSTALLATION INSTALLATION • Use conductors that are dimensioned in accordance with local electrical regulations. The selected cable must be able to sustain periods of constant load of up to 63A. • The installation must be carried out by an authorized installer. 1. - Page 7 INSTALLATION Note: Wall installation requires a minimum 20mm distance between the wall and the TWIN+ to ensure correct cooling, see picture 3. When TWIN+ is installed on a pole, the holes at the back side should be covered/closed by attached screws, see picture 6. 2xM6 (picture 4) (picture 3)
- Page 8 INSTALLATION 6. Install the electrical supply cable to terminals L1-L3, N , PE. Note: TWIN+ is equipped with double terminals that makes it easy to forward the supply cable to another TWIN+, see picture 7. Phase-rotation is recommended in order to achieve even load on all phases when several TWIN+ are installed to same mains.
- Page 9 7. In cases with TWIN+ connected in a grid, install TP cable CAT6 with RJ45 connectors between each TWIN+ and the provided ethernet router/switch (located ie. in GARO KOMM BOX). Se example of ethernet wiring diagram picture 10 Note! Connect the ethernet cable to CC1. The ethernetport on CC2 is not in use.
- Page 10 INSTALLATION 8. In cases with external energy meter (for DLM function), connect the energy meter communication terminals A- and B+ to TWIN+ Master station terminals 200 A-) and 201 (B+). The energy- meters modbus adress must be set to #2. The modbus RS-485 communication settings is: Baud 9600, 8bit, 1 stop bit, no parity 9.
-
Page 11: Dimensional Sketch
INSTALLATION Dimensional sketch... -
Page 12: User Manual
USER MANUAL USER MANUAL Normal use LED indications Connect the charging cable to the EV. 3pcs green flash: Waiting for authorization by tag or If authorization is activated, please hold a valid RFID-tag against the RFID reader on the side of the LS4 you want to use or use the Constant green flash: Waiting for connection app to authorize charging. -
Page 13: Technical Specifications
USER MANUAL Technical specifications Product type All TWIN+ models Standards / Directives IEC 61851-1 and IEC 61439-7 EMC Classification: 2014/30/EU Installation method: Ground / Wall Installation environment: Indoor / Outdoor Location type: Non-restricted Access Rated Voltage: 230V / 400V 50Hz Installation systems: TT, TN and IT* systems Charging type:... -
Page 14: Electrical Diagram
USER MANUAL Electrical diagram Q1 = Main Breaker 100A P1 = Energymeter Left Outlet -KF1 P2 = Energymeter Right Outlet FB1 = RCCB Left Outlet FB2 = RCCB Right Outlet FC1 = Fuse Left Outlet FC2 = Fuse Right Outlet FC3 = Fuse Charge Controller and Powersupply -XD1 -XD2... - Page 15 USER MANUAL -XD2 -XN1 -XPE1 1 2 3 -FC1 -FB1 4 5 6 1 2 3 -FC3 -FC2 -FB2 4 5 6...
- Page 16 USER MANUAL...
- Page 17 USER MANUAL Top Card RFID 2 -KF1 RFID 1...
- Page 18 USER MANUAL -KF1 -XD1 -XD2 -QA1 -QA2 Top card RGB-Led Charge Controller 1 Charge Controller 2 Contactor Left Outlet / Connector 1 Contactor Right Outlet / Connector 2 155mm -FC1 -FB1 Incoming terminal Fuse Left Outlet / Connector 1 -FC2 RCCB Left Outlet / Connector 1 -FB2 Energy Meter Left Outlet / Connector 1...
- Page 19 In order for the warranty to apply, it is required that a completed service form/forms, (depending on the age of the product), can be presented when contacting GARO support or other Garo support partners. The most recent service form may not be older than 12 months.
- Page 20 Check locking mechanism Check both RCCB by pressing "T" button. Check that LED indication switches to red color for both sides Function test by GARO test-equipment or similar Check that electrical power is delivered by indications on test equipment Check RFID reader (when available). Indication by 2 or 3...
- Page 21 USER MANUAL Warranty Conditions / Garantivillkor SVERIGE/SWEDEN Garantivillkor enl ALEM 09. OBS! Fullständigt ifylld garantiblankett krävs. Garantin gäller ej om produkten varit utsatt för ett isolationstest, sk meggning. EU Countries (except Sweden) 1. The product benefits from manufacturer´s warranty. The applicable warranty period must be stated in purchase documents from your supplier.
- Page 22 USER MANUAL Warranty Form / Garantiformulär TWIN+ Model: M nr: ELECTRICAL INSTALLATION DATA Group fuse/ Gruppsäkring (A): Supply cable dimension/Kabelarea: FUNCTION TEST Testbox / EV (model) Date/Datum: Sign Installer/Sign installatör: Company Name/Företagsnamn: Owner/Customer Name / Ägare/kundens namn: Installation adress:...
- Page 23 GARO AB Box 203, SE–335 25 Gnosjö Phone: +46 (0) 370 33 28 00 info@garo.se garo.se...
Need help?
Do you have a question about the TWIN+ and is the answer not in the manual?
Questions and answers