Advertisement
Quick Links
Advertisement

Related Manuals for Kettler Competition 3.0


Summary of Contents for Kettler Competition 3.0
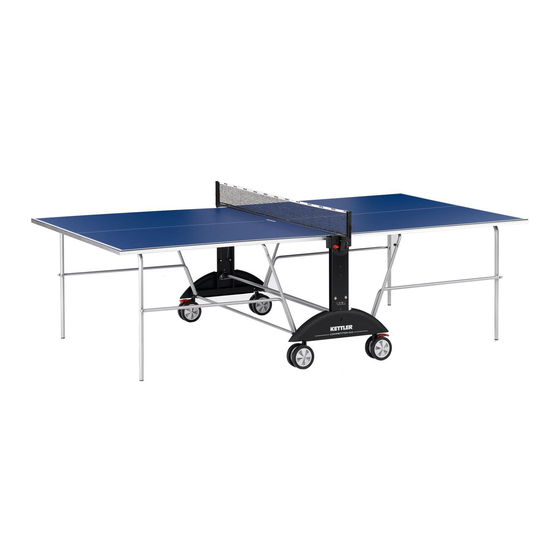
- Page 1 Compe on 3.0 7132‐155...
-
Page 2: Before Assembly
In spite ® of this, should you have any cause for complaint, please contact KETTLER Note on Safety ... - Page 6 Assembly Step 1 a Insert dri pin. There are two footlocks and stemtubes. Assemble both as shown.
- Page 7 Assembly Step 2...
- Page 8 Assembly Step 2 con nued Repeat steps with non locking wheels.
- Page 9 Assembly Step 3...
- Page 10 Assembly Step 3 Con nued...
- Page 11 Assembly Step 4 Slide crossbar through eyelet in J‐bar. Repeat on both sides. ...
- Page 12 Assembly Step 5...
- Page 13 Assembly Step 5 con nued Repeat on other side.
- Page 14 Assembly Step 6 a A ach J‐bar to legs ...
- Page 15 Assembly Step 6 a con nued...
- Page 16 Assembly Step 6 b Insert black plas c ring onto crossbar. A ach crossbar to support leg. To do this, the braces for the frame must be bent slightly to the side. Proceed with care when doing this. ...
- Page 17 Assembly Step 7 Temporarily install safety knobs to wheelbases for the top assembly. Push in safety knobs.
- Page 18 Assembly Step 8 Lock safety knob 1 in place (A, B). Li table and align the Glides with the Wheelbase (C, D) On the opposite wheelbase, hold knob 2 in place while lowering top (D). Release when Glide passes knob assembly. ...
- Page 19 Assembly Step 9...
- Page 20 Assembly Step 10 Repeat steps 8 and 9. Step 11 Slightly fold open table, Cau on, use two people. One table half shown for illustra ve purposes only. Your table should have both halves assembles at this point. ...
- Page 21 Assembly Step 12 Take out safety knob for net assembly. ...
- Page 22 Assembly Step 12 con nued Repeat on other side ...
- Page 23 Assembly Step 13 Re‐a ach Safety Knobs and screw into place. ...
- Page 24 Assembly Step 14 4 Required ...
- Page 25 Assembly Step 15 Open and close table to check for func onality. ...
- Page 26 Assembly Step 16...
- Page 27 Assembly Step 16 con nued...
- Page 28 Assembly Step 18 Thread J‐hook through net and place into net post. A ach tension tab. ...
- Page 30 Ersatzteilliste Designación y lista de las piezas de recambio Spare parts drawing and list ES NECESARIO INTRODUCIR EL NÚMERO DE ARTÍCULO DE LA PLEASE ALWAYS QUOTE THE TT TABLE ARTICLE NUMBER AS WELL. MESA DE PING-PONG. Dessin et liste des pièces de rechange Disegno ed elenco dei pezzi di ricambio VEUILLEZ ABSOLUMENT INDIQUER LE NUMÉRO D’ARTICLE DE LA È...
- Page 32 All rights reserved. No part of this ® manual may be reproduced, stored in a retrieval system, or transmitted in any form, or by any means, such as electronic, mechanical, photocopying or otherwise, without the prior written permission of KETTLER ® KETTLER ® International Inc.,...
Need help?
Do you have a question about the Competition 3.0 and is the answer not in the manual?
Questions and answers