Table of Contents
Advertisement
Quick Links
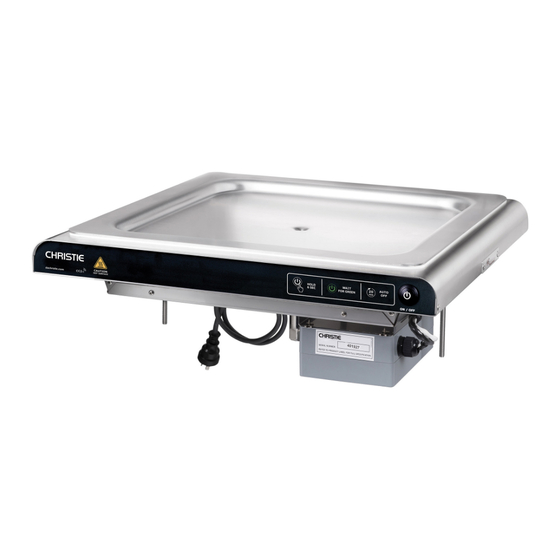
CC2 Electric Barbecue Cooktop
Part numbers 1005 and 1006
+61 3 9708 2999
dachristie.com
Installation and User Manual
This manual is an integral part of the appliance and
must be kept in its entirety in an easily accessible
location. Read these instructions carefully
before installing and using the appliance.
Installation Manual 6838_05
Advertisement
Table of Contents


Need help?
Do you have a question about the CC2 and is the answer not in the manual?
Questions and answers