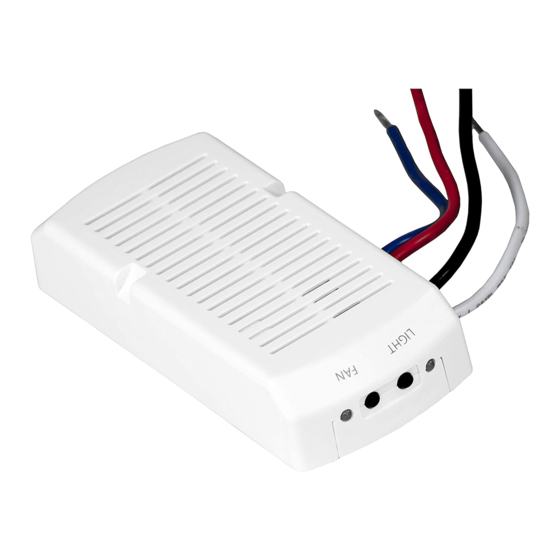
Summary of Contents for INSTEON FanLinc
- Page 1 FanLinc™ INSTEON® Remote Control Light & Fan Controller (Dual-Band) Owners Manual (#2475F) Page 1 of 12 2475F - Rev: 1/19/2012 6:39 PM...
-
Page 2: Table Of Contents
Identifying the Electrical Wires in your Home.................... 4 INSTEON Scenes............................5 Make Fan an INSTEON Responder......................5 Make Light an INSTEON Responder ......................5 Remove FanLinc from a Scene as a Responder ..................6 LED and Beeper Behavior .......................... 6 LEDs ................................6 Beeper ............................... 7 Advanced Features ............................. -
Page 3: About Fanlinc
About FanLinc FanLinc is designed to easily incorporate both fan speed and light control within your INSTEON network. It is a dual-load responder simultaneously acting as a light fixture dimmer plus a 4 speed fan controller (off, low, medium & high). -
Page 4: Installation
Use only indoors or in an outdoor rated box Be sure that you have turned off the circuit breaker or removed the fuse for the circuit you are installing FanLinc in. Installing FanLinc with the power on will expose you to dangerous voltages. -
Page 5: Insteon Scenes
14) Carefully remount cowling with FanLinc inside (or in electrical box). Use cable tie (included) to secure FanLinc to fan bracket. Align cable tie with the notch on the FanLinc case ensuring that cable tie and wires will not interfere with any moving parts. -
Page 6: Remove Fanlinc From A Scene As A Responder
Remove FanLinc from a Scene as a Responder Software is recommended. Note: If you choose to remove FanLinc from use, it is important that you remove scene memberships from all controllers. Otherwise, controllers will retry commands repetitively, creating network delays. -
Page 7: Beeper
FanLinc automatically bridges the electrical phases in your home (via communications with other dual- band devices on the “other phase”). This is only important if you have powerline only INSTEON products in your home. If you are relying on FanLinc to bridge the electrical phases, use the following procedure to confirm bridging:... -
Page 8: Add An X10 Address
3) Press & hold the FanLinc light set button until it beeps again LED will start blinking 4) The following three steps must be done quickly to the FanLinc light set button a. Double-tap b. Release c. Press & hold... - Page 9 Product Name FanLinc – INSTEON In-line, Dual-load Module Brand Smarthome Manufacturer Product Number 2475F 813922011548 FCC ID SBP2475F Warranty 2 Years, Limited INSTEON Maximum Links Software Configurable Yes, always a RF Range Up to 100’ Open Air Beeper X10 Support...
-
Page 10: Troubleshooting
Problem Possible Cause Solution Try moving an Access Point or installing other Dual- FanLinc may be out of range Band devices closer to FanLinc Make sure phases are bridged, add additional The INSTEON signal may not be INSTEON devices and/or move around existing getting to the “vicinity”... -
Page 11: Certification And Warranty
FanLinc is no longer Small electrical surge or voltage spike responding. Perform a factory reset on FanLinc and set up scenes again If you have tried these solutions, reviewed this Owner’s Manual, and still cannot resolve an issue you are... -
Page 12: Limitations
You may also have other legal rights that may vary from state to state. Protected under US and Foreign Patents (see www.insteon.com) © Copyright 2012 Smarthome, 16542 Millikan Ave., Irvine, CA 92606, 800-762-7845, www.smarthome.com...


Need help?
Do you have a question about the FanLinc and is the answer not in the manual?
Questions and answers