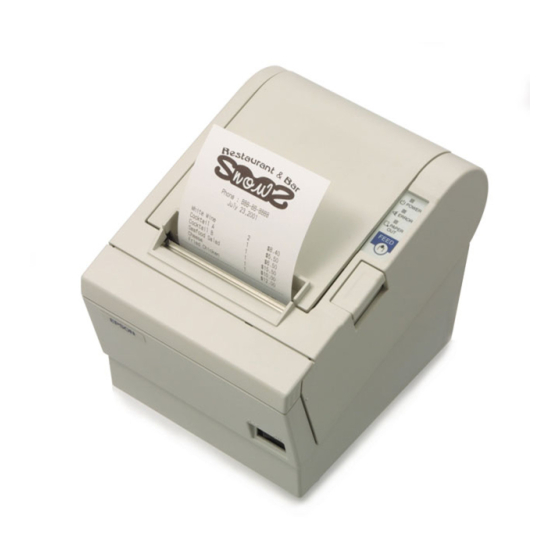
Epson TM-T88III Technical Bulletin
Hide thumbs
Also See for TM-T88III:
- Programming manual (680 pages) ,
- Specification (183 pages) ,
- User manual (65 pages)
Table of Contents
Advertisement
Quick Links
Before installing or working on the printer - We strongly recommend powering down the system when
installing or changing DIP switch settings. The power switch is located on the front of printer right side.
Contents:
Accessing Dip switches .................................................................... Page 1
G-Site ................................................................................................ Page 2
Setting Dip switches
Passport ........................................................................................... Page 3
Setting Dip switches
Connecting cash drawer
Installing paper ................................................................................ Page 4
Clearing paper jam ........................................................................... Page 4
Printer self-test ................................................................................ Page 5
For the printer to operate correctly, it needs the proper DIP switch settings.
Accessing the DIP Switches
1.
Turn the printer on its side and remove the screw from DIP switch cover on bottom of printer.
Set DIP switches using a pointed tool such as a straightened paper clip or a small flat blade
screwdriver.
Power Switch
Dip Switch
Cover
Page 1 of 5
Advertisement
Table of Contents

Summary of Contents for Epson TM-T88III
- Page 1 Before installing or working on the printer - We strongly recommend powering down the system when installing or changing DIP switch settings. The power switch is located on the front of printer right side. Contents: Accessing Dip switches ..............Page 1 G-Site ....................
- Page 2 2. Gilbarco® G-Site TM-T88 printers need the correct Dip switch setting and a “Gender Changer” to operate with a G-Site system. DIP Switch Settings DWS1 DWS2 Switch Switch Position Position Setting Setting Gender Changer Gilbarco # Q13180-50 The Gender Changer is plugged into the back of TMT-88III or TMT-88IV printer. Once firmly seated in place, tighten both knurled screws.
- Page 3 DIP switch DWS1 position 4 must be switched to the “ON” position when used on a Passport system. No Gender Changer is needed when using the TM-T88III or TM-T88IV with a Passport System. The printer cable coming from the printer and going to the Passport is connected into a RS232 converter on Passport.
- Page 4 Installing Paper Roll A. Open the printer cover by pressing the cover open button on right top of printer. B. Remove any unused paper or empty paper cores. Insert a new roll of paper as shown below. C. When installing a roll of paper – cleanly cut off at least 12 inches of paper. This prevents adhesive from the paper getting into the printer mechanism.
- Page 5 6. Performing Printer Self-test Loading Paper Control Panel A. Load the paper into the printer to perform a printer self-test. B. While holding down the FEED button on the control panel, turn power “ON” to printer. Release the feed button once printing has started. C.


Need help?
Do you have a question about the TM-T88III and is the answer not in the manual?
Questions and answers