Advertisement
Quick Links
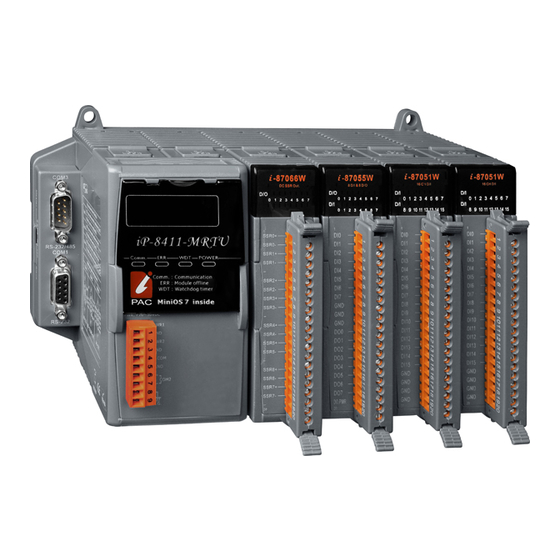
Congratulations on purchasing iP-8000-MRTU - the most popular automation solution for
remote monitoring and control application. This Quick Start Guide will provide information
needed to get started.
In addition to this guide, the package includes the following items:
iP-8000-MRTU
(iP-8411-MRTU/iP-8811-MRTU)
●
iP-8000-MRTU Reference Document
CD:\Napdos\Modbus\IP8000R\Document\
http://ftp.icpdas.com/pub/cd/8000cd/napdos/modbus/ip8000r/document/
●
iP-8000-MRTU Website
http://www.icpdas.com/root/product/solutions/pac/ipac/ip-8x11-mrtu.html
●
ICP DAS Website
http://www.icpdas.com/
Copyright © 2014 ICP DAS Co., Ltd. All Rights Reserved.
Quick Start Guide for
iP-8000-MRTU
Software Utility CD RS-232 Cable
May 2014, Version 1.0.1
Screw Driver
(CA-0915)
(1C016)
E-mail: service@icpdas.com
1
Advertisement

Related Manuals for ICP DAS USA iP-8000-MRTU


Summary of Contents for ICP DAS USA iP-8000-MRTU
- Page 1 Quick Start Guide for iP-8000-MRTU May 2014, Version 1.0.1 Congratulations on purchasing iP-8000-MRTU - the most popular automation solution for remote monitoring and control application. This Quick Start Guide will provide information needed to get started. In addition to this guide, the package includes the following items:...
-
Page 2: Mounting The Hardware
The iP-8000-MRTU installation must provide proper ventilation, spacing, and grounding to ensure the equipment will operate as specified. A minimum clearance of 50mm between the iP-8000-MRTU and the top and bottom side of the enclosure panels must be provided. Configure the Boot Mode Before starting any installation, be sure that the DIP switch is placed in the “Run”... -
Page 3: Setting The Net Id
The Net ID must be unique in the network. It can be from 01 to FF. This 8-bit DIP switch allow you to change the Net ID. After setting the Net ID, the iP-8000-MRTU must be rebooted to apply the new Net ID. - Page 4 Using the Modbus Utility to Configure the Module The Modbus Utility can be used to make the communication between the iP-8000-MRTU and PC/Laptop via the Modbus RTU/ASCII protocol. Step 1: Run the Modbus Utility and connect to iP-8000-MRTU. i. Double-click the Modbus Utility shortcut on the desktop.
- Page 5 i. Click the Refresh button to match the I/O modules to configuration of the controller. i. Click the Refresh button. ii. Select the About option from the Help menu to get the I/O configuration and firmware information. iii. Check the module ii.
- Page 6 i. Configure the I/O settings, such as Range Code, Power-on and Safe values. ii. Select the Timer Interval from the Monitor menu to set the monitoring interval. ii. Select the Timer Interval to set the monitoring interval. iii. Click the Monitor icon to start retrieving...
- Page 7 Mode= Modbus ASCII) 2.How could I set the COM Port to the Modbus RTU Slave Mode? Step1: Run the Modbus Utility and connect to the iP-8000-MRTU. Step2: Click the COM Port icon to display the setting area. Step3: Select the COM Port from the drop-down list.
- Page 8 Step4: Select the Enable Mode to Modbus/RTU Slave, and set the Modbus Timeout, Baud Rate, Data Bits, Parity and Stop Bits. Step5: Click the Set button to apply for new settings. 3.How do I reset the COM Port to the default value? Step1: Go to 7-seg LED, press the MODE and SET buttons simultaneously for about 2 seconds.