Advertisement
Quick Links
Operation Manual
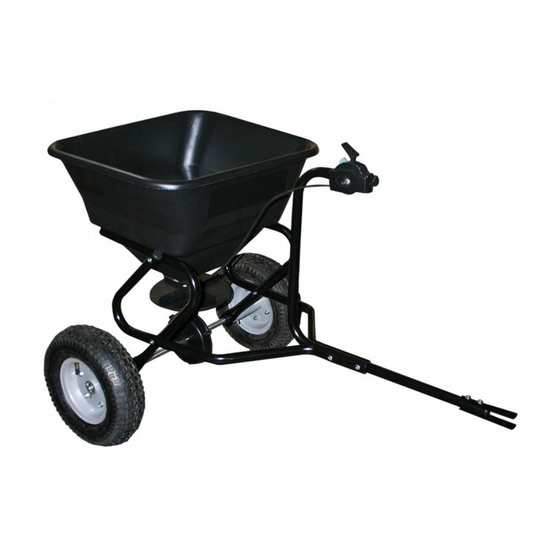
Push broadcast spreader
50144
Illustration similar, may vary depending on model
Read and follow the operating instructions and safety information before using for the first time.
Technical changes reserved!
Due to further developments, illustrations, functioning steps and technical data can differ insignific -
antly.
Updating the documentation
If you have suggestions for improvement or have found any irregularities, please contact us.
Advertisement

Related Manuals for WilTec 50144


Summary of Contents for WilTec 50144
- Page 1 Operation Manual Push broadcast spreader 50144 Illustration similar, may vary depending on model Read and follow the operating instructions and safety information before using for the first time. Technical changes reserved! Due to further developments, illustrations, functioning steps and technical data can differ insignific - antly.
- Page 2 All rights reserved. The WilTec Wildanger Technik GmbH cannot be held accountable for any possible mistakes in this operating manual, nor in the diagrams and figures shown.
- Page 3 • Only use the spreader at walking pace. • Do not use the spreader in rain or strong wind. Never leave it out in the rain. • © by WilTec Wildanger Technik GmbH Artikel 50144 Seite 3 http://www.WilTec.de http://www.aoyue.eu 11 2020-1...
- Page 4 Screw M6x35 Screw M6x50 Large flat washer Small flat washer Lock washer Hex nut M6 Screw M6x55 Release pin Screw M6x40 Cable lock nut Slot © by WilTec Wildanger Technik GmbH Artikel 50144 Seite 4 http://www.WilTec.de http://www.aoyue.eu 11 2020-1 http://www.teichtip.de...
- Page 5 © by WilTec Wildanger Technik GmbH Artikel 50144 Seite 5 http://www.WilTec.de http://www.aoyue.eu 11 2020-1 http://www.teichtip.de...
- Page 6 Fasten the rear hopper supports (5) to the right hopper support (6) and the left hopper support (7), using the M6x50 screw (14), small washer (16) and hexagon nut (18) as shown in the figure above. © by WilTec Wildanger Technik GmbH Artikel 50144 Seite 6 http://www.WilTec.de http://www.aoyue.eu 11 2020-1 http://www.teichtip.de...
- Page 7 (11). Place the second wheel (2) on the right side of the axle (10) and secure it with the M6x50 screw (14), small washer (16) and hexagon nut (18). © by WilTec Wildanger Technik GmbH Artikel 50144 Seite 7 http://www.WilTec.de...
- Page 8 Fasten the control cable (1-1) to the front bracket (9) with an M6x55 screw (19), a small flat washer (16), a lock washer (17) and a cable lock nut (22). Note! The control cable (1-1) comes pre-installed on the hopper. © by WilTec Wildanger Technik GmbH Artikel 50144 Seite 8 http://www.WilTec.de...
- Page 9 (16) anda hex nut (18). Important: Reprinting, even in part, and any commercial use, including parts of the manual, only with the written consent of WilTec Wildanger Technik GmbH. © by WilTec Wildanger Technik GmbH Artikel 50144 Seite 9 http://www.WilTec.de...
Need help?
Do you have a question about the 50144 and is the answer not in the manual?
Questions and answers