Advertisement
Hardware Installation Guide
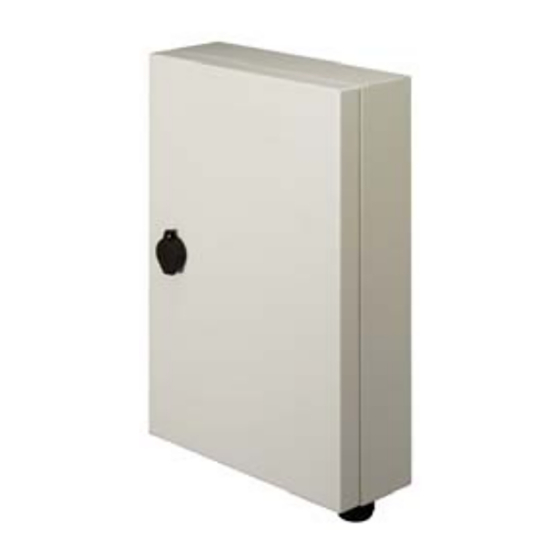
Outdoor Wireless Bridge / Access Point
This Hardware Installation Guide describes the steps necessary to successfully mount the Outdoor Wireless
Bridge / Access Point. Refer to the User's Manual for configuration details.
Choosing the Right Location
Since this is a radio device and works in the 2.4 GHz frequency range, for optimum
utilization, install this product away from microwave ovens or other devices
operating in the 2.4 GHz frequency range which can cause signal interference.
Install this device's antenna in an area where the trees, buildings and large steel
structures do not obstruct the signal to and from the antenna. In conclusion, the
antenna should be located in the higher direct line-of-sight space.
Ethernet & Power Cables
1.
Unlock and open the case.
2.
Connect one end or an Ethernet cable to the RJ-45 port (To LAN) on the rear panel of the PoE-injector.
Use a straight cable to connect to the HUB/SWITCH or use the crossover cable to connect to the PC's
Network Interface Card (NIC).
3.
Connect the straight Ethernet cable, which is provided in this package, to the other RJ-45 port (To Bridge)
on the rear panel of the PoE-injector and connect the other end to the LAN1 (PoE) port on the side of
DC-Converter.
4.
Close and lock the case
5.
Connect the power cord to the DC-IN port on the rear panel of the PoE-injector.
6.
Configure the TCP/IP settings on your PC and then connect to 192.168.1.1 using the web-browser.
Note: You must use the straight Ethernet cable and PoE-injector provided in this package. Do not use one
provided by a different vendor as this may damage the device.
Mounting Bracket on the Wall
Use
the
mounting
bracket
provided in the package to
mount the device on the wall
and then secure the RJ-45
cable on the wall by nailing in
the hooks which are also
provided.
Mounting Bracket on the Mast with
U-bolts
Use the mounting bracket provided in
the package to mount the device on the
mast then secure the RJ-45 cable on the
mast by using the ties which are also
provided.
Hardware Installation Guide (v. 1.1)
Advertisement
Table of Contents

Related Manuals for SENAO 2511BG2 PLUS


Summary of Contents for SENAO 2511BG2 PLUS
- Page 1 Hardware Installation Guide Outdoor Wireless Bridge / Access Point This Hardware Installation Guide describes the steps necessary to successfully mount the Outdoor Wireless Bridge / Access Point. Refer to the User’s Manual for configuration details. Choosing the Right Location Since this is a radio device and works in the 2.4 GHz frequency range, for optimum utilization, install this product away from microwave ovens or other devices operating in the 2.4 GHz frequency range which can cause signal interference.
- Page 2 Hardware Installation Guide Outdoor Wireless Bridge / Access Point Connect without DC-injector Here are two application diagrams of the wireless Bridge/AP. Ensure that your application also looks similar to one of these. You must install the lightning protection kit (LPK) that is provided in this package, and use the grounding wire to enable lightning protection on the wireless bridge/AP.
Need help?
Do you have a question about the 2511BG2 PLUS and is the answer not in the manual?
Questions and answers