Advertisement
Item #XXX XXX
P1
Model #94468
UL Model #68-ATR
USE AND CARE GUIDE
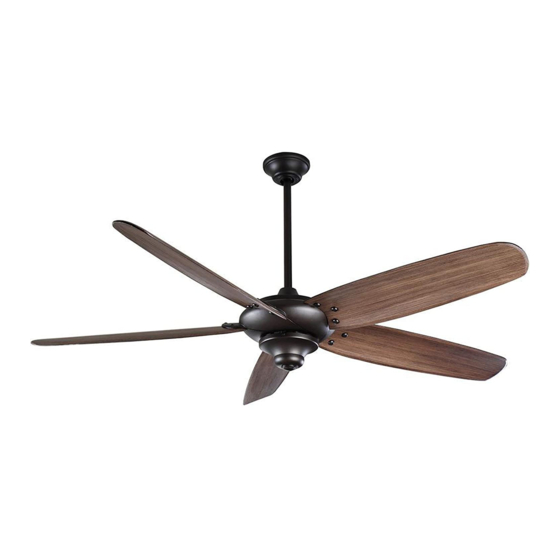
ALTURA II 68-INCH CEILING FAN
Questions, problems, missing parts? Before returning to the store,
call Home Decorators Collection Customer Service
8 a.m. - 6 p.m., EST, Monday-Friday.
1-800-986-3460
HOMEDEPOT.COM/HOMEDECORATORS
THANK YOU
We appreciate the trust and confidence you have placed in Home Decorators Collection through the purchase of this ceiling fan. We strive
to continually create quality products designed to enhance your home. Visit us online to see our full line of products available for your home
improvement needs. Thank you for choosing Home Decorators Collection!
Advertisement

Related Manuals for Home Decorators Collection ALTURA II


Summary of Contents for Home Decorators Collection ALTURA II
- Page 1 THANK YOU We appreciate the trust and confidence you have placed in Home Decorators Collection through the purchase of this ceiling fan. We strive to continually create quality products designed to enhance your home. Visit us online to see our full line of products available for your home...
-
Page 2: Table Of Contents
Table of Contents Table of Contents ..............2 Assembly ................7 Safety Information ............... 2 Operation ................14 Warranty ................3 Care and Cleaning ............. 16 Pre-Installation ..............3 Troubleshooting ..............16 Installation ................6 Safety Information READ AND SAVE THESE INSTRUCTIONS. WARNING: To reduce the risk of personal injury, do not bend the blade brackets (also referred to as To reduce the risk of electric shock, ensure the electricity has... -
Page 3: Warranty
A certain amount of “wobble” is normal and should not be considered a defect. Servicing performed by unauthorized persons shall render the warranty invalid. There is no other express warranty. Home Decorators Collection hereby disclaims any and all warranties, including but not limited to those of merchantability and fitness for a particular purpose to the extent permitted by law. - Page 4 Pre-Installation (continued) HARDWARE INCLUDED NOTE: Hardware not shown to actual size. Part Description Quantity Blade attachment screws Plastic wire connecting nut Decorative nut...
- Page 5 Pre-Installation (continued) PACKAGE CONTENTS Part Description Quantity Part Description Quantity Slide-on mounting bracket Decorative motor collar cover (inside canopy) Blade Ball/downrod assembly Switch cup adaptor Canopy with canopy ring attached Remote control (battery included) Fan-motor assembly Switch cup (receiver included) IMPORTANT: This product and/or components are governed by one or more of the following U.S.
-
Page 6: Installation
Installation MOUNTING OPTIONS WARNING: To reduce the risk of fire, electric shock NOTE: You may need a longer downrod to maintain or personal injury, mount to outlet box marked proper blade clearance when installing on a steep, sloped “Acceptable for fan support of 50lbs. (22.7kg) or ceiling. - Page 7 Assembly - Standard Ceiling Mount Preparing for mounting Routing the wires □ □ Remove the canopy ring (L) from the canopy (C) by turning Route the wires exiting the top of the fan motor (D) into the ring to the right until it unlocks. the decorative motor collar cover (F) and through the □...
- Page 8 Assembly - Hanging the Fan Attaching the fan to the electrical Hanging the fan □ WARNING: To reduce the risk fo fire, electric shock or personal Carefully lift the fan motor assembly (D) up to the mounting injury, mount to outlet box marked “acceptable for fan support bracket (A).
-
Page 9: Assembly
Assembly - Hanging the Fan (continued) Making the electrical connection WARNING: Each wire nut supplied with this fan is designed to Outlet box accept up to one 12-gauge house wire and two wires from the in the ceiling fan. If you have larger than 12-gauge house wiring or more (OO) than one house wire to connect to the fan wiring, consult an electrician for the proper size wire nuts to use. - Page 10 Assembly - Hanging the Fan (continued) Mounting the fan-motor assembly Wrapping the extra wire (standard mount) WARNING: When using the standard ball/downrod mounting, the NOTE: Follow this step ONLY if you did not cut the extra length off tab in the ring at the bottom of the mounting bracket must rest in from the wires coming from the ceiling fan.
- Page 11 Assembly - Hanging the Fan (continued) Attaching the fan blades □ Attach blade (G) to blade bracket (J) using the decorative nuts (CC) and blade attachment screws (AA) provided. Insert a blade attachment screw (AA) through a hole in the blade (G) and the blade bracket (J) and into the decorative nut (CC).
- Page 12 Optional Installation - Installing the Light Kit to the Altura Fan Removing the receiver from the Wiring the light kit to the fan switch cup □ □ Remove the two screws (KK save for later use) that hold the Remove the lockwasher (WW) and hex nut (II) from the receiver (NN) in place, and lift the receiver (NN) out of the threaded nipple of the light kit fitter assembly and save switch cup (E).
- Page 13 Optional Installation - (continued) Attaching the switch cup and light Reinstalling the receiver in the kit to the fan switch cup □ CAUTION: To reduce the risk of electric shock, disconnect Insert the black and white wires (LL) from the light kit (A) the electrical supply circuit to the fan before installing the through the center hole of the receiver (NN) one at a time.
- Page 14 Operating Your Fan and Remote Control Operating the fan NOTE: Do not wait for the fan to stop before pressing the reverse button. The fan will not reverse direction if the fan is not moving. Remote Control - Your fan is equipped with a remote control to operate the speed and lights of your new ceiling fan.
- Page 15 Operating Your Fan and Remote Control Learning process Remote control operation Light/Dimmer button (XX) = Press and release the button immedi- NOTE: After the AC power is on, do not press any other button on ately to turn on or turn off the light. Press and hold the button to the remote control before pressing the “FAN OFF”...
-
Page 16: Care And Cleaning
Repeat for each blade. Any measurement deviation should be within 1/8 in. Run the fan for ten minutes. If the fan continues to wobble please contact Home Decorators Collection Customer Service and a balacing kit will be sent to you at no charge. - Page 17 This equipment has been tested and found to comply with the limits for a Class B digital device, pursuant to Part 15 of the FCC Rules. These limits are designed to provide reasonable protection against harmful interference in a resi- dential installation.
Need help?
Do you have a question about the ALTURA II and is the answer not in the manual?
Questions and answers
I've been trying to pair a replacement remote from Anderic—no success at this time. When I turn the **** on, it spins and light illuminates, but unable to pair the remote. Please advise
@Eric Seibenick
To pair an Anderic replacement remote with the Home Decorators Collection ALTURA II ceiling fan, follow these steps:
1. Set the Remote Code:
- Remove the battery cover from the remote.
- Locate the code switches inside the remote.
- Adjust the switches to a unique combination (up or down) to match the receiver.
2. Set the Receiver Code:
- Ensure the ceiling fan is turned off at the circuit breaker.
- Access the receiver inside the fan housing.
- Match the receiver’s code switches to the remote’s settings.
3. Enable Light Dimming (If Needed):
- If using a light kit, set the ON/DIM switch on the remote to "DIM" for dimming or "ON" for no dimming.
- Ensure the light kit switch is in the "ON" position before using the remote.
4. Power On and Test:
- Restore power to the ceiling fan.
- Use the remote to test fan speed, direction, and lighting functions.
If the remote does not work, double-check that the code settings match and that the receiver is properly connected.
This answer is automatically generated
@Mr. Anderson I see no receiver, only these items pictured