OSD Audio NERO XA5180 Manual
Home theater
Hide thumbs
Also See for NERO XA5180:
- Owner's manual (11 pages) ,
- Owner's manual (5 pages) ,
- User manual
Table of Contents
Advertisement
Advertisement
Table of Contents

Related Manuals for OSD Audio NERO XA5180


Summary of Contents for OSD Audio NERO XA5180
- Page 1 NERO 5180 H O M E T H E A T E R NERO XA5180 OWNER’S MANUAL...
- Page 2 IMPORTANT SAFETY INSTRUCTIONS PLEASE READ FIRST General Note on the Declaration of Conformity: We hereby declare that this device is in accordance with the essential requirements of the European Directive 2014/35/EU or 2001/95/EC (if applicable). The full EU declaration of conformity can be requested at the following address: InMusic GmbH Harkortstr.
-
Page 3: Important Safety Instructions
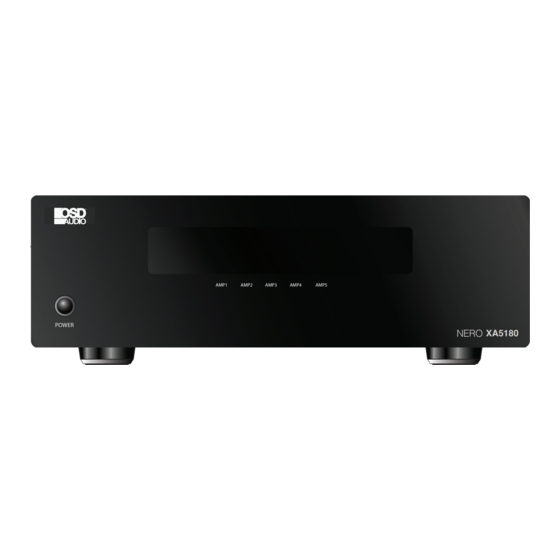
IMPORTANT SAFETY INSTRUCTIONS Protective earthing terminal(For class I apparatus with earthing). The apparatus should be connected to a mains socket outlet with a protective earthing connection. (For class II apparatus only)This equipment is a Class II or double insulated electrical appliance. It has been designed in such a way that it does not require a safety connection to electrical earth. - Page 4 OVERVIEW UNPACKING FEATURES Save all packing materials XA5180 MULTI CHANNEL AMPLIFIER Congratulations and thank you for purchas- ing the XA5180 XA5180 has been carefully designed in the USA to deliver the best possible sonic performance and reliability Your XA5180 enjoyable listening to your music system or home theater.
- Page 5 Audio Inputs Speaker Outputs (see page 6) (see page 6-7) Use these jacks to connect the XA5180 to the outputs of a Use these binding posts to connect the XA5180 to your surround processor, speakers. The terminals can accept speaker cable with bare wire (solid or stranded), spade lugs, or banana plugs.
- Page 6 OVERVIEW Connecting Your Amplifier When making connections between any source components and the XA5180,or when making connections to any speaker,be certain that both the input devices and the amplifier are turned off. To assure that there will be no unwanted signal transients that can damage equip- ment or speakers, it is always best to unplug all equipment before making any connections.
-
Page 7: Speaker Connection
SPEAKER CONNECTION INPUT CONNECTION XA5180 Speaker Connections XA5180 Input Connections To connect your speakers to the Once all of the connections have been To connect your speakers to the XA5180 using bare wire: made to the rear panel of the XA5180, run XA5180 using spade lugs: the cables to the speaker locations. -
Page 8: Remote Trigger Connection
POWER CONNECTION REMOTE TRIGGER CONNECTION Remote Trigger Connections Power Connections features a built-in system that If your processor or receiver does not Once all audio and system connections have a dedicated trigger jack, it is still have been made, connect the supplied possible to activate the unit for automatic power cord to the AC Input on the turn on when a switched outlet is avail-... -
Page 9: Manual Operation
OVERVIEW MANUAL OPERATION AUTOMATIC OPERATION Turning the XA5180 Turning the XA5180 Operation and Maintenance No audio will be broadcast to the speakers. a problem and has protected itself from damage. Turn the wires for possible shorts before attempting to power the Front Panel Status LEDs Power: Bright Blue Standby: Yellow... -
Page 10: Troubleshooting And Service Information
CLEANING If the unit becomes dirty, wipe with a clean, amp to standby mode, and the blue ring will the controlling device. glow dimly. If the controlling device is on, the dampened soft cloth with mild blue ring will glow brightly. soapy water, then a fresh cloth dampened with To power the XA5180 clean water. -
Page 11: Protection Mode
A FEW WORDS ABOUT HUM AND NOISE Audible hum, or a discernable low frequency noise, is one of the most common problems in audio/ video systems. This hum,which may be present Ground Loop Diagram even when the volume is at a low level or when the “ground loops.”... -
Page 12: Specifications
RMA@audiogeargroup.com for a Returned Merchandise Authorization (RMA) number then the unit must be shipped to OSD AUDIO at the owner’s expense, along with a note explaining the nature of service required. Be sure to pack the product(s) in a corrugated container with at least 3 inches of resilient material to protect the unit from damage in transit.
Need help?
Do you have a question about the NERO XA5180 and is the answer not in the manual?
Questions and answers