Table of Contents
Advertisement
Quick Links
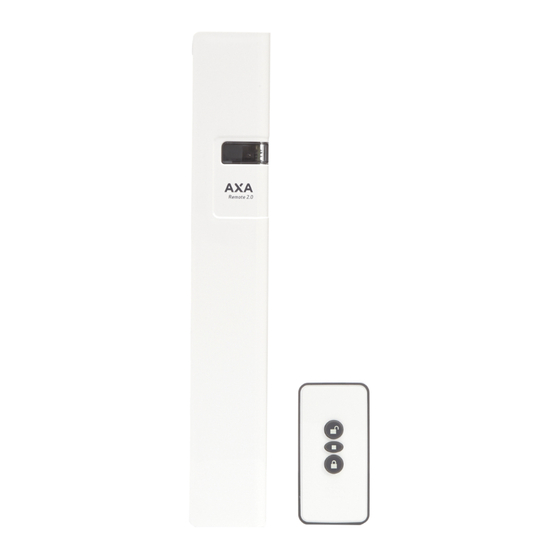
AXA Remote 2.0
Remote-controlled window opener
Information
You have just acquired a high quality AXA product.
The instructions below must be followed closely in order to
effectively assemble and operate this product.
69
306
88
309
38
310
Application:
Hopper window, opening inwards
Package contents
(1x) Closing unit
1.
(1x) Cover
2.
(1x) Hopper window bracket
3.
(3x) Window washer plate
4.
(1,5 mm)
(2x) AAA Batteries
5.
(4x) AA Batteries
6.
1x)
Window plate
7.
(1x) Window casing plate
8.
(6x) Casing washer plate
9.
(1,5 mm)
10. (3x) Spacer block/drilling
template
11. (1x) Remote control
12. (4x) Screws 4,0 x 40 mm
13. (4x) Screws 4,0 x 70 mm
(for rebate)
14. (3x) Bolts M4 x10 mm
(black)
15. (2x) Bolts M4 x12 mm
16. (1x) Allen key
17. (4x) Screws 4,0 x 45 mm
18. (4x) Finishing caps
2,5
40
26
26
50
1
2
3
10x
12
Kozijnonderlegplaat
4
1x
16
EN
Installation tools (recommended):
Tape measure, (cordless) drill, screwdriver, Ø 2 mm drill bit,
pencil or bradawl, allen key
Installation location:
Opener
nieuw
Klep/uitzetraam
Hopper window
Hinge side
min. 38 cm, max. 100 cm
Minimum installation space required
Window casing
37 mm
Window
30 mm
330 mm
Minimum window height: 30 cm.
Maximum range remote control: distance 10 m.
5
6
3
7
8
14
9
10
18
Boormal/Opvulblok
EMC 2004/108/EC
Window casing
37 mm
Window
30 mm
330 mm
11
12
13
14
3x
4x
Verzonkenkop M4x10 (zwart)
9
15
2x
15
Verzonkenkop M4x12
16
17
Schroe
1
Advertisement
Table of Contents

Related Manuals for AXA Remote 2.0


Summary of Contents for AXA Remote 2.0
- Page 1 AXA Remote 2.0 EMC 2004/108/EC Remote-controlled window opener Information You have just acquired a high quality AXA product. Installation tools (recommended): Tape measure, (cordless) drill, screwdriver, Ø 2 mm drill bit, The instructions below must be followed closely in order to pencil or bradawl, allen key effectively assemble and operate this product.
- Page 2 /hour per area, based on a window surface area of 0.26 m . Due to its many opening possibilities, the AXA Remote 2.0 is also suitable for aeration. For the mentioned window size, each AXA Remote 2.0 is able to sufficiently ventilate an area of 22.5 m .
- Page 3 ) .Centre the hopper window bracket with the For the AXA Remote we recommend to use a fanlight holder, vertical groove to the marked middle of the window (figure chain or cable, to prevent a window fall-through in case of an 8 Check the correct height of the hopper window bracket by emergency.
- Page 4 AXA Remote 2.0 EMC 2004/108/EC Remote-controlled window opener Installation on a flush window 10 Install the hopper window bracket using 4 screws 4,0 x 40 mm (figure 11 Place the spacer block/drilling template with the bevelled corner in the left bottom corner of the recess on the hopper window bracket (figure ).
- Page 5 21 Place a plastic finishing cap on each mounting screw of the hopper window bracket. 22 The AXA Remote 2.0 is ready for use. Assembly adapter version: 23 Assemble the window unit in the same way as the battery version (step 1 to/incl. 19). Remove the batteries before...
- Page 6 The adapter with 5m wire can be ordered as an accessory under item number 2902-31-98. NB. The AXA Remote is only intended for items with a residential or office purpose. Troubleshooting • The batteries may be flat (have insufficient power). Replace the batteries in the unit and/or remote control.
Need help?
Do you have a question about the Remote 2.0 and is the answer not in the manual?
Questions and answers