Table of Contents
Advertisement
Quick Links
Please read these instructions carefully before installing and operating the oven.
5
技术要求: 欧盟 ROHS2.0 指令要求规定的 10 种有害物质的含量符合 ROHS2.0 指令要求。
标 记 处数 更改单号
设 计 李胜海 标准化
校 对
审 定
审 核 杨瑞其
工 艺
日 期
Microwave Oven
Instructions
Model: D100N32MSLDRIIV-HG
9
2
CSD320HGH-SACC0A
(D100N32MSLDRII-HG)
签 字
日期
关业红
图样标记 数量 重量
3
李丰
S
A
2019-6-24
共 16 页
6
8
7
说明书
比例
4
1:1
第 /
页
1
JS1M0609-23591-004-(0)
10
广东格兰仕微波生活
电器制造有限公司
Advertisement
Table of Contents

Related Manuals for Galanz D100N32MSLDRIIV-HG


Summary of Contents for Galanz D100N32MSLDRIIV-HG
- Page 1 Microwave Oven Instructions Model: D100N32MSLDRIIV-HG Please read these instructions carefully before installing and operating the oven. 技术要求: 欧盟 ROHS2.0 指令要求规定的 10 种有害物质的含量符合 ROHS2.0 指令要求。 说明书 JS1M0609-23591-004-(0) CSD320HGH-SACC0A (D100N32MSLDRII-HG) 标 记 处数 更改单号 签 字 日期 设 计 李胜海 标准化 关业红...
-
Page 2: Table Of Contents
PRECAUTIONS TO AVOID POSSIBLE EXPOSURE TO EXCESSIVE MICROWAVE ENERGY 1. Do not attempt to operate this oven with the door open since open-door operation can result in harmful exposure to microwave energy. It is important not to defeat or tamper with the safety interlocks. -
Page 3: Important Safety Instructions
IMPORTANT SAFETY INSTRUCTIONS WARNING!--To reduce the risk of burns, electric shock, fire, injury to persons or exposure to excessive microwave energy: 1. Read all instructions before using the appliance. 2. Read and follow the specific "PRECAUTIONS TO AVOID POSSIBLE EXPOSURE TO EXCESSIVE MICROWAVE ENERGY"... - Page 4 14. Do not operate this appliance if it has a damaged cord or a plug, if it is not working properly or if it has been damaged or dropped. 15. Do not immerse cord or plug in water. Keep cord away from heated surface. Do not let cord hang over edge of table or counter.
-
Page 5: Grounding Instructions
GROUNDING INSTRUCTIONS This appliance must be grounded. In the event of an electrical short circuit, grounding reduces risk of electric shock by providing an escape wire for the electric current. This appliance is equipped with a cord having a grounding wire with a grounding plug. The plug must be plugged into an outlet that is properly installed and grounded. -
Page 6: Installation Guide
Installation Guide 1. Make sure that all the packing materials are removed from the inside of the door. 2. This microwave oven must be placed on a flat. 3. For correct operation, the oven must have sufficient airflow. Allow minimum 20cm of free space necessary above the top surface of the oven and 5cm at both sides. -
Page 7: Part Names
NOT RECOMMENDED Glass jars and bottles — Regular glass is too thin to be used in a microwave. It can shatter and cause damage and injury. Paper bags — These are a fire hazard, except for popcorn bags that are designed for microwave use. Styrofoam plates and cups —... -
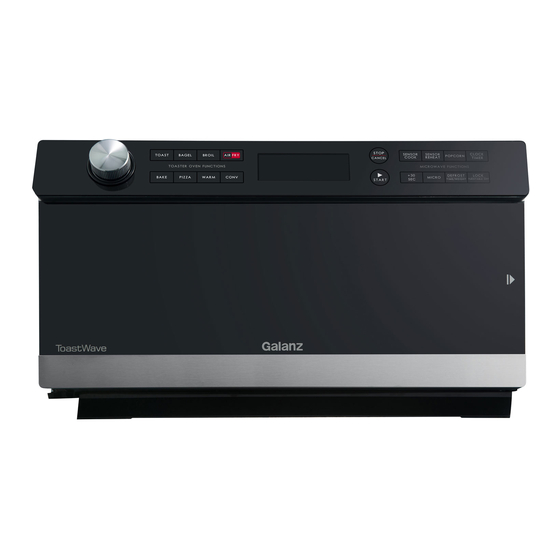
Page 8: Control Panel
Control Panel ⚫ ⚫ DISPLAY SCREEN +30 SEC Cooking time, power, indicators and present time Press to add cooking time. are displayed. ⚫ MICRO ⚫ TOAST/BAGEL/PIZZA/POPCORN Press to select microwave power level. Use to cook toast, bagel, pizza, popcorn. ⚫ DEFORST/TIME/WEIGHT ⚫... -
Page 9: Operation Instructions
Operation Instructions ➢ When the oven is first plugged in, beep will sound and the display will show "12:00" (":" flashing). ➢ In the process of setting, broke about 20 seconds the oven will return to standby mode. ➢ During cooking, if press STOP/CANCEL pad once, the program will be paused, then press START pad to resume, but if press STOP/CANCEL pad twice, the program will be canceled. -
Page 10: Time Defrost
Turn the MENU/TIME/WEIGHT dial to enter cooking time. The longest time is 95 minutes. Press the MENU/TIME/WEIGHT dial or START to confirm. Press the MENU/TIME/WEIGHT dial repeatedly to select cooking power level: Press MENU/TIME/WEIGHT Power(Display) Press MENU/TIME/WEIGHT Power(Display) Once 100%(P100) 7 times 40%(P-40) Twice... -
Page 11: Convection
ONVECTION During convection cooking, hot air is circulated throughout the oven cavity to brown and crisp foods quickly and evenly. This oven can be programmed for four different cooking temperatures. They are: 400℉→425℉→350℉→375℉. The longest cooking time is 95 minutes. To cook with convection: In standby mode, press CONV pad once. -
Page 12: Popcorn
Press the MENU/TIME/WEIGHT or START to start. Sensor reheat menus: Code Food Code Food SH-1 Frozen entrée SH-5 Pasta SH-2 Dinner plate SH-6 Oatmeal SH-3 Soup/sauce SH-7 Mashed Potatoes SH-4 Chili SH-8 Rice NOTE: After cooking for a period of time, the system will detect whether there is error, if there is error, for example, the sensor short circuit or open circuit, the system will stop automatically with the display showing "Er60", beeps sound, until pressing STOP/CANCEL pad, the oven return to standby mode. -
Page 13: Bake
16:00 12oz 18:00 Ar-1 Pork Chop 18oz 20:00 24oz 22:00 16:00 Ar-2 Steak 12oz 18:00 16oz 20:00 12:00 15:00 18:00 Ar-3 Salmon Filet 12oz 16oz 21:00 20oz 24:00 Press MENU/TIME/WEIGHT dial or START pad once. Turn the MENU/TIME/WEIGHT dial to enter the food weight. Press MENU/TIME/WEIGHT dial or START pad once to start. -
Page 14: Warm
Press MENU/TIME/WEIGHT dial or START pad to start. Beeps will sound when the designated temperature is reached. Open the oven door and place food into the oven. Press MENU/TIME/WEIGHT dial or START pad to start. NOTE: After reaching the set temperature, there is a short sound every 3 seconds for 60 minutes. placing food and closing the door, the program will start automatically. -
Page 15: Child Lock
Press AIR FRY pad once. Press MENU/TIME/WEIGHT dial or START pad once. Turn the MENU/TIME/WEIGHT dial to select temperature. Press MENU/TIME/WEIGHT dial or START pad once. NOTE: During cooking, you can add cooking time by pressing +30 SEC pad. HILD LOCK The child proof lock prevents unsupervised operation by little children. -
Page 16: Cleaning And Care
Cleaning and Care 1. Turn off the oven and unplug the power cord from the wall when cleaning. 2. Keep the inside of the oven clean. When food splatters or spilled liquids adhere to oven walls, wipe with a damp cloth. Mild detergents may be used if the oven gets very dirty. Avoid using spray or other harsh cleaners.
Need help?
Do you have a question about the D100N32MSLDRIIV-HG and is the answer not in the manual?
Questions and answers