Table of Contents
Advertisement
Advertisement
Table of Contents

Related Manuals for Galanz D90D34ESXLRII-Y8


Summary of Contents for Galanz D90D34ESXLRII-Y8
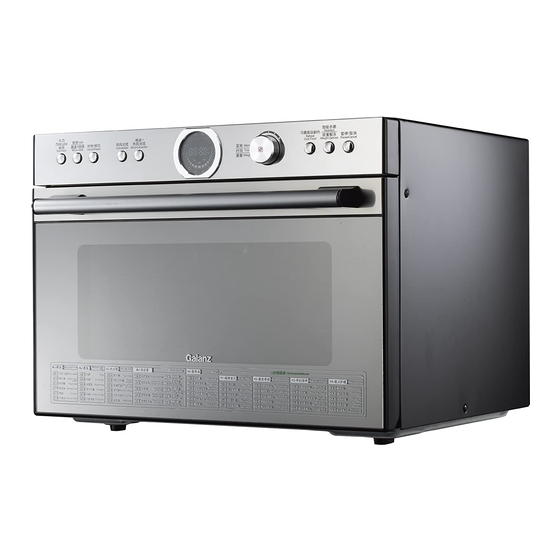
- Page 1 MODEL: D90D34ESXLRII-Y8(S0) Owner's Manual Please read these instructions carefully before installing and operating the oven. Record in the space below the SERIAL NO. found on the nameplate on your oven and retain this information for future reference. SERIAL NO.
-
Page 2: Table Of Contents
Do not attempt to operate this oven with the door open since open door operation can result in harmful exposure to microwave energy. It is important not to defeat or tamper with the safety interlocks. Do not place any object between the oven front face and the door or allow soil or cleaner residue to accumulate on sealing surfaces. -
Page 3: Specifications
230~240V/50Hz, 1400W(Microwave) Power Consumption: 2050W(Convection) 1250W(Grill) Rated Microwave Output: 900W Operation Frequency: 2450MHz Outside Dimensions: 376mm(H)×498mm(W)×572mm(D) Oven Cavity Dimensions: 238mm(H)×405mm(W)×351mm(D) Oven Capacity: 34Litres Cooking Uniformity: Turntable System Net Weight: Approx.25.4kg If the oven fails to operate: programmed correctly and the timer is set. Check to ensure that the oven is plugged in Check to ensure that the door is securely closed securely. -
Page 4: Grounding Instructions
This appliance must be grounded. This oven is If you have any questions about the grounding equipped with a cord having a grounding wire with a or electrical instructions, consult a qualified grounding plug. It must be plugged into a wall electrician or service person. -
Page 5: Microwave Cooking Principles
When heating food in plastic or paper Cooking utensils may become hot because of container, check the oven frequently to the heat transferred from heated food. possibility of ignition. Potholders may be needed to handle the utensil. Remove wire twist-ties from paper or plastic Utensils should be checked to ensure that they bags before placing bag in oven. -
Page 6: Utensils Guide
The ideal material for a microwave utensil is transparent to microwave, it allows energy to pass through the container and heat the food. Microwave can not penetrate metal, so metal utensils or dishes with metallic trim should not be used. Do not use recycled paper products when microwave cooking, as they may contain small metal fragments which may cause sparks and/or fires. - Page 7 MENU ACTION SCREEN PRESET Cooking time, power, action indicators, and clock Press to set the preset function which allows you time are displayed. to put food into the oven and program it to start cooking at a later time. POWER LEVEL ...
-
Page 8: How To Set The Oven Controls
Each time a button is touched, a beep will sound to acknowledge the touch. For example, suppose you want to cook for 10 minutes at 60% of microwave power. ETTING LOCK Press PAUSE/CANCEL button to reset the oven. The clock works in 24-hour cycle. Press POWER LEVEL repeatedly to FOR EXAMPLE: Suppose you want to set the select cooking power. -
Page 9: Convection
COMBINATION2 food at the center of the turntable. Use for pudding, omelets, baked poultry. 4. Rotate the MENU/TIME/WEIGHT dial until correct cooking time FOR EXAMPLE: Suppose you want to set displayed. combination 2 cooking for 12 minutes. 5. Press START/QUICK START button. Press PAUSE/CANCEL button. -
Page 10: Jet Defrost
Rotate the MENU/TIME/WEIGHT dial to enter the hour digit. ULTI STAGE OOKING Press PRESET. Your oven can be programmed for up to 3 Rotate the MENU/TIME/WEIGHT dial to automatic cooking sequences. enter the minute digit. Suppose you want to set the following Press START/QUICK START. -
Page 11: Child Proof Lock
HILD ROOF The child proof lock prevents unsupervised operation by little children. To set the child proof lock: In standby mode, press PAUSE/CANCEL button for 3 seconds, then a beep will sound and the indicator light will come on. In the lock state, all buttons are disabled. To cancel the child proof lock: Press PAUSE/CANCEL button for 3 seconds, then a beep will sound and the indicator light will come off. -
Page 12: Cleaning And Care
Turn off the oven and remove the power plug from the wall socket before cleaning. Keep the inside of the oven clean. When food splatters or spilled liquids adhere to oven walls, wipe with a damp cloth. Mild detergent may be used if the oven gets very dirty. Avoid the use of spray and other harsh cleaners as they may stain, streak or dull the door surface.
Need help?
Do you have a question about the D90D34ESXLRII-Y8 and is the answer not in the manual?
Questions and answers