Table of Contents
Advertisement
Advertisement
Table of Contents

Related Manuals for Asko CC96264W


Summary of Contents for Asko CC96264W
- Page 1 Instructions for use COOKER CC96264W CC96264S...
- Page 2 Manual EN 3 - EN 27 Pictograms used Important information...
-
Page 3: Table Of Contents
CONTENTS Your cooker Introduction Control panel Ceramic hob description Oven description Guide rails Cooling fan Accessories Door Push-pull knob Drawer Door lock First use Using the oven Using the ceramic hob Operation Operating the oven Operating the ceramic hob Cleaning Please note General Cleaning the glass ceramic surface... -
Page 4: Your Cooker
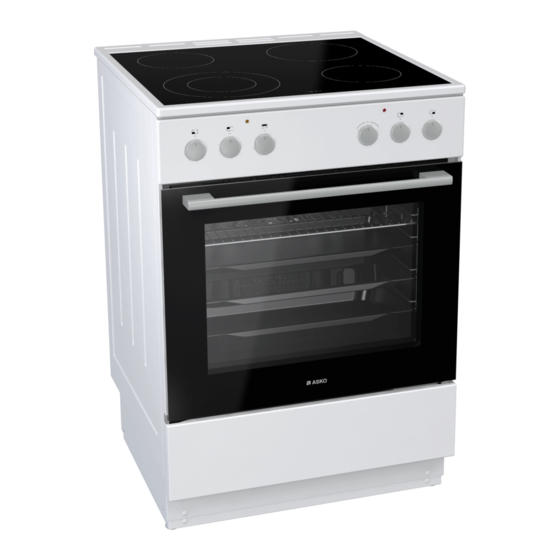
YOUR COOKER Introduction Congratulations on the purchase of this cooker. This product is designed to offer optimum user-friendliness. The cooker has a wide range of settings, so you can always select the correct cooking method. Read this manual to learn how to get the most out of your cooker. In addition to information about operating the oven, you will also find background information that may be useful when using the appliance. -
Page 5: Control Panel
YOUR COOKER Control panel 1. Control knob for cooking zone left front 2. Control knob for cooking zone left rear 3. Oven function knob 4. Temperature dial knob 5. Control knob for cooking zone right rear 6. Control knob for cooking zone right front Ceramic hob description 7. -
Page 6: Oven Description
YOUR COOKER Oven description 1. Control panel 2. Rack levels 3. Oven door 4. Handle 5. Storage drawer/flap door (depending on model) Level 4 6. Leveling feet Level 3 Level 2 Level 1 Guide rails • The oven has four or five guide rails (Level 1 to 4/5), depending on the model. Level 1 is mainly used in combination with bottom heat. -
Page 7: Accessories
YOUR COOKER Accessories Your appliance is accompanied by a range of accessories, depending on the model. Only use original accessories; they are specially suited to your appliance. Not all accessories are suitable/available for every appliance (it may also differ by country). -
Page 8: Door
YOUR COOKER Door • The door switches interrupt the operation of the oven when the door is opened during use. The oven continues operating when the door is closed. • Some cookers have a ‘Soft close door system’ (depending on the model). When closing the oven door, this system dampens the movement, from a certain angle, and silently closes the oven door. -
Page 9: Door Lock
YOUR COOKER Door lock Some models can have a door lock. This avoids children to open the door unwanted. • When the door lock is activated: Open the door slightly and move the latch in the middle top site of the door to the right. ▷... -
Page 10: Use
First use Before using the oven • Remove all accessories from the inside of the oven and clean them with warm soapy water. Do not use any abrasive cleaning materials. • Set the oven at its highest setting for one hour with top and bottom heat (see ‘Operating the oven’). - Page 11 Ovenware • In principle, you can use any type of heat-resistant ovenware. • Do not rinse glass ovenware with cold water immediately after use. The sudden temperature difference can cause the glass to crack. • Use black or dark baking tins. These conduct heat better and allow the food to cook more evenly.
- Page 12 Oven functions table Your appliance is accompanied by a range of oven functions, depending on the model. Consult the table to select the preferred function. Also, consult the instructions for preparation on the dish packaging. Oven functions (symbols are on the oven function knob) Symbol Description Fast preheat...
-
Page 13: Using The Ceramic Hob
Hot Air + fan • The fan in the back wall distributes the hot air in the oven. • You can bake on multiple levels simultaneously, which will save energy. • The convection fan system is excellent for baking cakes, cookies and apple pies. •... - Page 14 Residual heat indicator • Every cooking zone has a signal light that lights up when the cooking zone is hot. When the cooking zone cools down, the signal light goes out. The residual heat indicator may also light up if a hot pot or pan is placed on a cool cooking zone. Cookware •...
-
Page 15: Operation
OPERATION Operating the oven 1. Turn the oven function knob to select an oven function. Consult the table in chapter ‘Oven functions table ‘to select the preferred function. ▷ Also consult the instructions for preparation on the dish packaging. 2. Turn the temperature knob to set an oven temperature (between 50 and 270 ºC). The oven thermostat control light will light up. -
Page 16: Cleaning
CLEANING Please note! Disconnect the appliance from the power supply before beginning repairs. Preferably unplug the appliance, switch Off the fuses, or set the switch in the meter cupboard to zero. Do not use steam cleaners or high-pressure steam cleaner to clean the device. General Front of the unit •... -
Page 17: Cleaning The Glass Ceramic Surface
CLEANING Cleaning the glass ceramic surface After each use, wait for the glass ceramic surface to cool down and clean it. Otherwise, all remaining impurities will burn onto the hot surface the next time you use the hob. For regular maintenance of the glass ceramic hob, use special care products that create a protective film on the surface to prevent the dirt from sticking onto it. -
Page 18: Cleaning The Oven
CLEANING Cleaning the oven Clean the oven regularly to prevent fat and leftover food from accumulating, especially on interior and exterior surfaces, the door and seal. • Clean exterior surfaces with a soft cloth and soapy warm water. Wipe afterwards with a clean, damp cloth and dry the surfaces. -
Page 19: Removing And Cleaning The Guide Rails
CLEANING Removing and cleaning the guide rails. Use conventional cleaning products to clean the guide rails. 1. Grasp the guide rails at the bottom and tilt them towards the middle of the oven (A). 2. Remove the guide rails from the holes in the back wall (B). Do not clean the extendible guides in the dishwasher. -
Page 20: Removing The Oven Door
CLEANING Removing the oven door (depending on model) 1. Fully open the door (as far as it will go). 2. A. Rotate the stoppers all the way back. B. Rotate the stoppers back by 90°. C. Slightly lift the door latches and pull them towards you. 3. -
Page 21: Removing The Oven Window
CLEANING Removing the oven window • Remove the glass from the door to be able to clean it from the inside. • First remove the oven door (see chapter ‘Removing the oven door’). 1. Lift the brackets on the left and right side of the door upwards slightly (to marker 1 on the bracket) and pull this away from the glass slightly (to marker 2 on the bracket). -
Page 22: Replacing The Oven Lamp
CLEANING Replacing the oven lamp Disconnect the appliance from the mains by removing the plug from the socket before the changing the light. The lamp can be very hot! Use protection when removing the lamp. The lamp in this household appliance is only suitable for illumination of this appliance. The lamp is not suitable for household room illumination. -
Page 23: Solving Problems
When in doubt on the proper operation of your appliance, this does not automatically mean there is a defect. Try to address the problem yourself first by checking the points mentioned below or for more information visit the ‘www.asko.com’ website. Problems with the hob... - Page 24 Repairs should only be performed by a qualified service technician. If maintenance is required, take the plug out of the socket and contact the ASKO customer service. Have the following information at hand when you call: •...
-
Page 25: Installation
• Faulty parts may only be replaced by original ASKO parts. Only those parts are guaranteed by ASKO to meet the safety requirements. •... -
Page 26: Installation
INSTALLATION This appliance can be connected in accordance with a • 3 phases connection (3 N~ 380 V - 415 V / 50 Hz - 3 x 16 A). Installation • When placing the cooker next to a tall cupboard or another wall made of flammable material, keep at least 50 mm distance between the cooker and the walls. -
Page 27: Your Oven And The Environment
YOUR OVEN AND THE ENVIRONMENT Disposal of the appliance and packaging This product is made from sustainable materials. However, the appliance must be disposed of responsibly at the end of its useful life. The government can provide you with information about this. - Page 28 The appliance identification card is located on the inside of the appliance. When contacting the service department, have the complete type number to hand. You will find the addresses and phone numbers of the service organisation on the guarantee card. en (11-18)
Need help?
Do you have a question about the CC96264W and is the answer not in the manual?
Questions and answers