Table of Contents
Advertisement
Quick Links
Advertisement
Table of Contents

Related Manuals for SATO GY412


Summary of Contents for SATO GY412
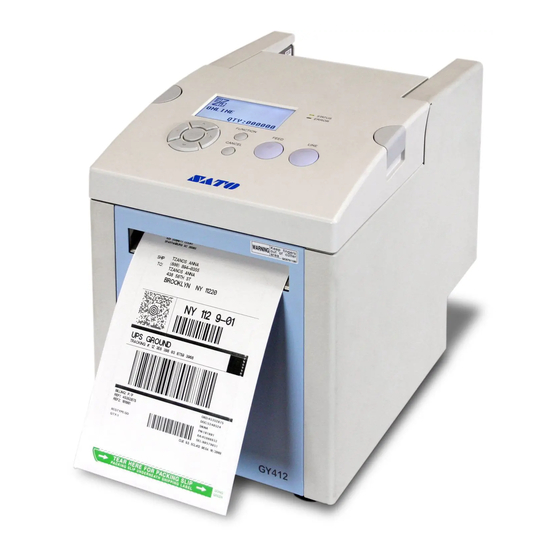
- Page 1 SATO GY412 MINI-MANUAL support.minisoft.com support@minisoft.com 1-800-682-0200...
-
Page 2: Table Of Contents
SATO GY412 Contents Configuring your SATO Printer for eFORMz ........2 Recommended Settings................2 Restarting Your Printer................2 Out of Bounds Errors.................2 Drivers and Firmware................3 Update the Firmware..................3 Specify the Printer Driver................3 Set Sensor Type ..................4 Set Printer Type..................5 Set Command Error Display..............6 Loading Labels..................7... -
Page 3: Configuring Your Sato Printer For Eformz
IMPORTANT! Restarting Your Printer When powering the SATO printer wait for the display screen to go dark, at least five seconds, before turning it back on again. Quickly cycling the printer off and on again can cause damage to the unit. -
Page 4: Drivers And Firmware
The latest firmware software can be found at: https://www.satoamerica.com/resource-library/all-in-one-printer-utility.aspx Specify the Printer Driver eFORMz includes a built-in SATO printer driver. When you create the printer in Windows, use the Generic/Text Only printer driver to let data from eFORMz pass through unchanged. -
Page 5: Set Sensor Type
SATO GY412 Set Sensor Type The recommended sensor type is I-MARK. 1. Press the LINE button to set the printer to OFFLINE mode. 2. Press ENTER and use the arrow keys to select the wrench and hammer icon for ADVANCED mode. -
Page 6: Set Printer Type
SATO GY412 Set Printer Type The recommended Printer Type needs is CONTINUOUS. 1. Press the LINE button to set the printer to OFFLINE mode. 2. Press ENTER and use the arrow keys to select the wrench and hammer icon for ADVANCED mode. -
Page 7: Set Command Error Display
SATO GY412 Set Command Error Display Setting the printer to display errors can help troubleshoot eFORMz projects that you develop. When an error occurs during printing the printer will pause and display the error. This setting should only be enabled in testing environments. Production printers should not be set to display command errors. -
Page 8: Loading Labels
SATO GY412 Loading Labels Prerequisite: Configure the SENSOR TYPE as explained in Set SENSOR TYPE on Page 4. 1. Switch on power. 2. Position stack of fanfolded label media to the rear of the printer. 3. Insert the leading edge of the fanfold label media in the label feed entrance at the top rear of the printer. -
Page 9: Print Configuration Labels
SATO GY412 Print Configuration Labels Complete the following steps to print the printer configuration: 1. Turn OFF the printer. Wait until the screen goes dark. 2. Press and hold the FEED button down and turn the printer ON. This will place the printer in TEST PRINT MODE. Use the arrow keys to select CONFIGURATION.
Need help?
Do you have a question about the GY412 and is the answer not in the manual?
Questions and answers