Table of Contents
Advertisement
Quick Links
Advertisement
Table of Contents

Related Manuals for Alexander Sugarcube


Summary of Contents for Alexander Sugarcube
- Page 1 USER MANUAL G R E A T T O N E S . D O I N G G O O D .
-
Page 2: Table Of Contents
Alexander Pedals was started for two reasons - to make great tones, and to do good. The great tones part you probably have some idea about. As for doing good, Alexander Pedals donates a portion of the profits from every pedal sold to charity, whether you buy from us or our dealers. -
Page 3: I Ntroduction
Sugarcube is pretty much like any other pedal. Plug in on the right side, then plug the lower jack on the left side to your amp or next pedal. Power it up, hit the footswitch and see what... -
Page 4: S Ounds And
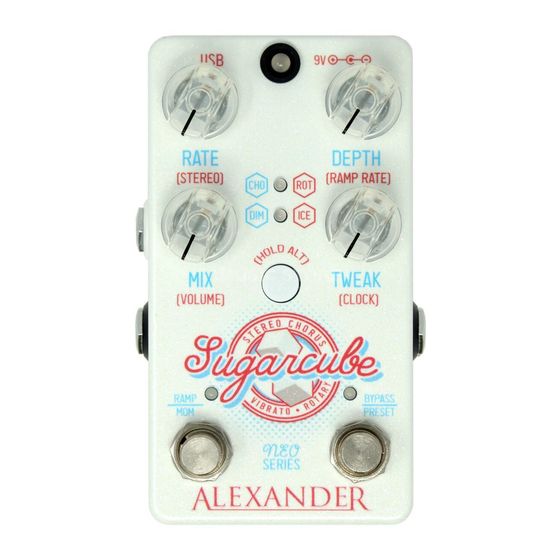
And ontrols Sugarcube does a lot of stuff, but that doesn’t mean that it’s hard to use! Generally you can just turn the knobs on the pedal and explore new sounds, but we put a few extra controls on the pedal that we think you can use. - Page 5 ounds And ontrols Continued ROTARY (upper red) This is a bit of a stretch, since a real rotary speaker is an insanely com- plex amalgam of amp, motion, room, wood, glass, and fire. Trying to replicate it in a stompbox is always going to be disappointing, but we’ve grabbed the important stuff and tried to make it sound as cool as possible! Rate controls the speed of the horn and drum, while the Tweak control balances between them.
-
Page 6: L Oading And
Presets to the rescue! Sugarcube and all of our other Neo Series pedals have built-in preset capability. That means you can save and recall four sounds from a single pedal with no extra hardware or funny business. -
Page 7: Stereo
TAP TO TOGGLE To set the normal and RAMP sounds on Sugarcube, first tap the RAMP! left footswitch until the RAMP LED is off. -
Page 8: Edal
ettinG edAl Your Neo Series pedal has a few user settings stored in memory. These settings include the function of the MultiJack on the left side of the pedal, LED brightness, and others. To enter setup, power on the pedal and then hold down the center Select button. -
Page 9: E Xpression P Edal
Sugarcube supports most types of expression pedals for performance control. We recommend the Roland EV-5 and Moog EP-3, but just about any expression pedal that uses a TRS cable should work. The supported expression wiring is SLEEVE = 0V, RING = 3.3V, TIP = 0-3.3V. -
Page 10: N Eo F Ootswitch
Sugarcube also supports our Neo Footswitch for preset Select or Ramp functions. To use the Neo Footswitch, you’ll need to configure Sugarcube to use its MultiJack for footswitch input. Consult the instructions on page 6, Setting Up Your Pedal. - Page 11 C onFiGurAtion All Neo Series pedals support full control using MIDI. In order to use your Sugarcube with a MIDI controller, you’ll need to follow these instructions to configure its MultiJack and set up the MIDI channel. First, you’ll need a way to connect your MIDI controller to the MultiJack.
-
Page 12: Midi C Ommands
MIDI Continuous Controller 59: Mode Select CHO Chorus 2: ROT Rotary DIM Dimension 3: ICE Ice Sugarcube does not respond to MIDI Beat Clock and does not have tap tempo capability. PeCiFiCAtions Input Impedance: 1M ohm Output Impedance: 560 ohm...
Need help?
Do you have a question about the Sugarcube and is the answer not in the manual?
Questions and answers