Advertisement
Quick Links
SECURE & MONITOR
FAMILIENHEIM
FAMILY HOUSE
STORE
GESCHÄFT
Slim line
HA701IP
HA701IP
smart wireless alarm system
LUXUSHAUS
LUXURY HOME
OFFICE
BÜRO
CONTENT
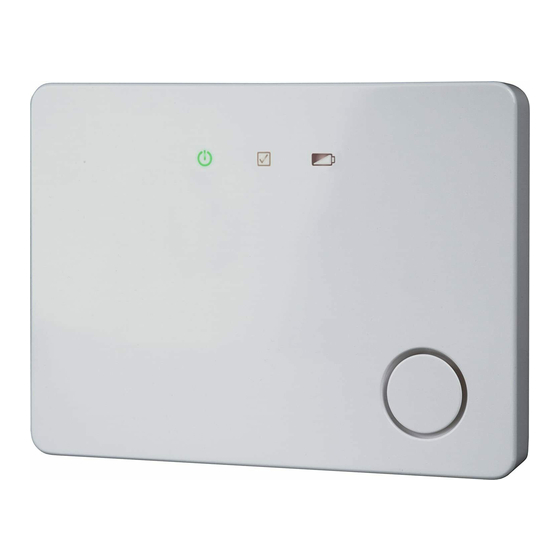
Main unit
Remote
Welcome Card
COMPLETE APP CONTROLLED
SURVEILLANCE
Motion detector
Adaptor & Batteries
Door/Window detetctor
Plugs & Screws
Advertisement

Related Manuals for Smartwares HA701IP


Summary of Contents for Smartwares HA701IP
- Page 1 COMPLETE APP CONTROLLED SECURE & MONITOR FAMILIENHEIM LUXUSHAUS FAMILY HOUSE LUXURY HOME STORE OFFICE GESCHÄFT BÜRO Slim line SURVEILLANCE CONTENT Door/Window detetctor Main unit Motion detector Remote Adaptor & Batteries Plugs & Screws Welcome Card HA701IP HA701IP...
- Page 2 Manual 10.016.58_HA701IP SMART ALARM SYSTEM Operating Batteries Easy and Quick Anti 100 accessories distance 75M included to install Jamming extendable SMART ALARM SYSTEM 3 IN 1 Secure and monitor your home,wherever you are Connect directly to internet Easy to install, in 12 minutes Complete sabotage protected Extendable up to 100 accessories/zones Receive alarm messages on your smartphone / email...
- Page 3 Welcome to the world of our Smart Home Wireless Alarmsystem HA701IP We will guide you during the installationtrip; step by step! The trip will start with unpacking, sorting, screwing and downloading, and will be accompanied by screenshots, so that you see what you get! We wish you a pleasant trip!
- Page 4 Step 4: Open on your computer again: www.mysecurity.smartwares.eu Click on "CREATE A NEW ACCOUNT" Step 5: Click on "CREATE A NEW ACCOUNT" Step 6: Confirm your country. Fill in your email adress which will also be your accountname. Fill in the password you want...
- Page 5 Step 7: You are now in System Registration: a gateway is found on your network! Fill in the code and click on NEXT STEP Step 8: The system will congratulate you, and askes which name you want to give your system.
- Page 6 Step 9: The software of you system aske for a update; click on "START UPGRADE" Congratulations: Your system is connected and up to date: Click on "TERMINATE" Step 10: You are in the main menu of the system!
- Page 7 Step 11: Connect and check the Motion Sensor, Magnetic Sensor and Remote! Click on "System" Step 12: We will now add the Sensors and the Remote!Click on "+ add a new device" Step 13: Select the device you want to add, for example Remote, and click on it.Not all device you see now are already available! Some are under development...
- Page 8 Step 14: Now you push on one of the buttons of the remote within the count down time! Step 15: You will get a confirmation that it is learned success full. When it is already connected, you will get the message that it is already known.
- Page 9 Step 16: Decide where you want to mount you main unit! We advice to mount it out of sight, so that in case of burglary it wil not easy be found! You need to connect the internet (LAN) cable and plug in the adaptor! Use the template paper to mark the positions of the screws on the wall.
- Page 10 Legend P.I.R. Detector Magnetic Switch Keypad Indoor Siren Outdoor Siren Smoke Detector Water Detector Bathroom Bedroom Bedroom Hall Bedroom Bedroom Livingroom Laundry Storage Kitchen Sauna Walk in closet Bedroom Bathroom Study Hall important: The PIR/Motion sensor has a battery saving mode! This means that the Motion Sensor is always ready for triggering. And it will always send a signal to the main unit after it is triggered! After the Motion sensor is triggered, and the alarmsystem is on, the siren will go for 3 minutes! The Motion Sensor will get in "safe battery - mode"...
- Page 11 Step 19: Click on: "Acount" Step 20: Here you can fill in, if you want, your personal data Step 21: Close the account, and click on: "Security". Here you can define which detectors has to be armed in which mode! You have the opportunity to arm all detectors, or partial! For example: When you are at home you only arm the Magnet contacts on...
- Page 12 the outdoor. When you are goiing to sleep, you arm also the Motion sensors in the living, and the kitchen, but not upstairs. When you leave, you arm all! It is also possible to choose for loud or silent alarm, per partial mode! Step 22: Automation is under development! Step 23:...
- Page 13 If you want to make changes, add, or delete things you can do this either in the web-ui, or the app! We hope you enjoyed the trip, and that the Smartalarm will bring you the safety you may expect. If you have any remarks, ideas, don't hesitate, contact us and send an email to: service.smartwares.eu...
-
Page 14: Maintenance
When replacing a halogen lamp, wait for it to cool, for a minimum of 5 minutes. LOW VOLTAGE Keep batteries out of the reach of children. Batteries not swallow. When a cell or battery is swallowed, call a physician immediately. DECLARATION OF CONFORMITY For DoC go to: service.smartwares.eu/doc and follow instructions.
Need help?
Do you have a question about the HA701IP and is the answer not in the manual?
Questions and answers