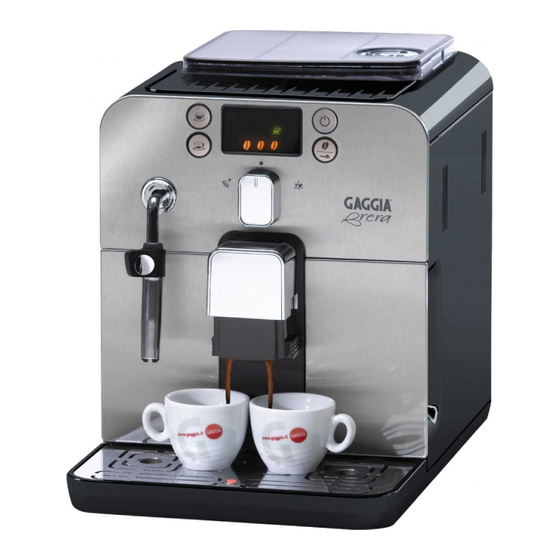
Gaggia Brera Manual
Cleaning the selector faucet
Hide thumbs
Also See for Brera:
- User manual ,
- Operating instructions manual (89 pages) ,
- Service manual (42 pages)
Table of Contents
Advertisement
Quick Links
Cleaning the Selector Faucet on a Gaggia Brera
Tools Required:
#10 Torx screwdriver
3mm Allen key/wrench
Pipe cleaner/thin brush
**BEFORE BEGINNING THIS OPERATION, MAKE CERTAIN THAT THE MACHINE IS OFF,
UNPLUGGED, AND COLD**
1. Remove the brew unit from the machine. Behind it, you will see the water coupling (beige
water line connection with two red or orange o-rings).
2. Remove the Torx screws and pull down the visible portion of the valve. You will be left with this:
3. Use the same Allen key/wrench to remove the valve-insert the key into the center of the valve
Advertisement
Table of Contents

Summary of Contents for Gaggia Brera
- Page 1 Cleaning the Selector Faucet on a Gaggia Brera Tools Required: #10 Torx screwdriver 3mm Allen key/wrench Pipe cleaner/thin brush **BEFORE BEGINNING THIS OPERATION, MAKE CERTAIN THAT THE MACHINE IS OFF, UNPLUGGED, AND COLD** 1. Remove the brew unit from the machine. Behind it, you will see the water coupling (beige water line connection with two red or orange o-rings).
- Page 2 and turn it clockwise or counter clockwise to line the tabs up with the four slots (the inner valve is shaped like a plus sign) and pull out the end of the valve. 4. Rotate the end of the valve and pull gently-each end is a plus sign, and will need to be turned to line up and exit through the end of the hose to come loose.
- Page 3 10. Once everything is clean, re-assemble in reverse order. Slide the valve, lining up the end with the ball first, then turn the valve for the opposite end to fit in, then turn the valve with the Allen key so that the tabs are behind the tabs on the inlet area to hold it in place. 11.


Need help?
Do you have a question about the Brera and is the answer not in the manual?
Questions and answers