Table of Contents
Advertisement
Quick Links
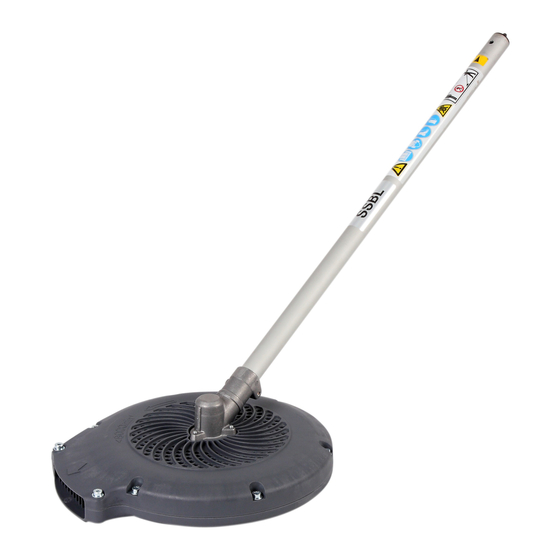
Blower Attachment
SSBL
Instruction Manual
Original Instruction
For Safe Use of Blower Attachment
Be sure to read this manual and the powerhead
(separately sold) manual to have a good understanding
of the contents before handling the blower.
If there is no powerhead manual, you can purchase
one from your servicing dealer.
Keep this manual and the powerhead manual in a
readily accessible location.
Copyright (C) 2015 NIKKARI Co., Ltd. All Rights Reserved
SSBL
Click to Save As
Contents
Important Information ···················· 2
1. Safety ··································· 4
1.1 Warnings ······································· 4
1.2 General Precautions ························ 6
1.3 Safety Devices and Protective Guard ········ 9
1.4 Protective Equipment ····················· 10
1.5 Noise ·········································· 10
1.6 Vibration ······································ 10
2. Outline ································· 11
································ 12
2.3 Attached Material ································ 12
2.4 Position of Model and Serial No. ··········· 12
2.5 Replaceable Item ·························· 13
3. Installation ································14
3.1 Installation Method ························ 14
4. Operation ·····························17
4.1 Transporting Method ······················ 17
4.2 Objects to be Blown ······················· 18
4.3 Pre-operation Check ······················ 18
4.4 Start and Stop ······························ 19
4.5 Precautions for Operation ··············· 20
4.6 Operation Method ························· 21
4.7 Actions after Operation ··················· 22
5. Maintenance ·························23
5.1 Daily ··········································· 24
5.2 Every 20 hours ····························· 24
5.3 As Necessary ······························· 25
6. Storing ·································27
7. Waste Disposal ······················28
8. Troubleshooting ·····················28
9. Servicing ······························29
10. Technical data ·······················30
How to Contact Honda ·················31
Distributor's Limited Warranty ········32
PRODUCT REGISTRATION ··········35
Advertisement
Table of Contents


Need help?
Do you have a question about the SSBL and is the answer not in the manual?
Questions and answers