Table of Contents
Advertisement
Advertisement
Table of Contents

Related Manuals for Ariston VLS EVO 45


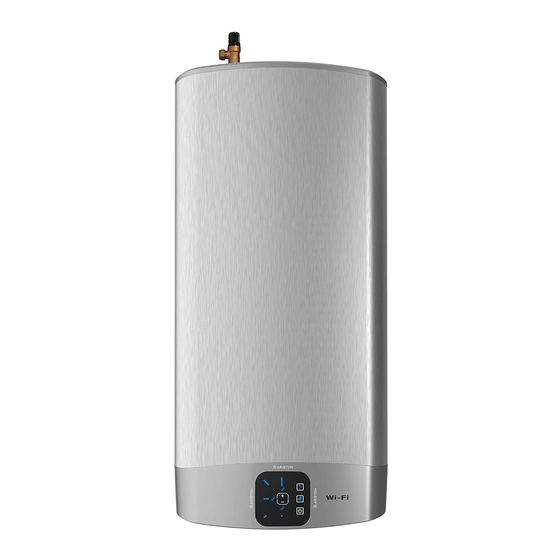
Summary of Contents for Ariston VLS EVO 45
- Page 1 UNVENTED WATER HEATER ASSEMBLY AND OPERATION INSTRUCTIONS...
- Page 2 GENERAL SAFETY INSTRUCTIONS 1. Read the instructions and warning in this manual carefully, they contain important information regarding safe installation, use and maintenance. This manual is an integral part of the product. Hand it on to the next user/owner in case of change of property. 2.
- Page 3 check valve and control, safety valve and hydraulic load cutout. 10. Do not tamper with the overpressure safety device (valve or safety group), if supplied together with the appliance; trip it from time to time to ensure that it is not jammed and to remove any scale de- posits.
- Page 4 LEGIONELLA BACTERIA FUNCTION Legionella are small rod shaped bacteria which are a natural constituent of all fresh waters. Legionaries’ disease is a pneumonia infection caused by inhaling of Legionella species. Long periods of water stag- nation should be avoided; it means the water heater should be used or fl ushed at least weekly. The European standard CEN/TR 16355 gives recommendations for good practice concerning the pre- vention of Legionella growth in drinking water installations but existing national regulations remain in force.
- Page 5 TECHNICAL CHARACTERISTICS For the technical specifi cations, refer to the nameplate (the nameplate is located next to the water in- take/outlet pipes). TABLE 1 - PRODUCT INFORMATION Product range VLS EVO VLS EVO VLS EVO VLS EVO 45 WiFi 80 WiFi Weight when empty Weight when full Installation...
- Page 6 Water Regulations and Byelaws These regulations and byelaws ensure a good supply of wholesome water, and that only approved materials, pipes and fi ttings are used to convey water. Building Regulations These are a statutory document and take priority over all other regulations and recommendations. The installation of an unvented hot water system of over 15 litres is classifi...
- Page 7 This product is a device that must be installed vertically in order to operate correctly. Once installa- tion is complete, and before any water is added or the power supply is connected, use a measuring instrument (i.e. a spirit level) to check that the device has been installed perfectly vertical. The appliance heats water to a temperature below boiling point.
- Page 8 PRESSURE + TEMPERATURE RELIEF VALVE COLD MAINS-IN 15/22 mm 15 mm EXPANSION COMBINATION VASSEL VASSEL HOT SUPPLY 15/22 mm EXPANSION RELIEF PIPE DRAIN (not supplied) TUNDISH Do not fi t any stop cocks or isolating valves within the distance required for expansion. If a pressure re- ducing valve is needed, due to a mains pressure of over 3.5 bar, an expansion control kit must be fi...
- Page 9 If the supplied Dielectric Junctions are not fi tted this could void the warranty. Only the use of copper pipe is recommended for connection to the heater. If any other material is used it must be able to withstand 90°C at 7 bar pressure for long periods. No valve must be fi...
- Page 10 Suggest ways of terminating discharge pipes safely Temperature & pressure Metal discharge pipe (D1) from relief valve temperature & pressure relief valve. to tundish. Tundish 600 mm Max. 300 mm Min. Discharge below fixed grating. (see page 6 for alternative points of discharge).
- Page 11 WORKED EXAMPLE The example below is for a G 1/2” temperature & pressure relief valve with a discharge pipe (D2) having 4 no. elbows and length of 7 m from the tundish to the point of discharge. From Table 2 Maximum resistance allowed for a straight length of 22 mm copper discharge pipe (D2) from G 1/2”...
- Page 12 Fig. 2 - Wiring diagram VELIS EVO Safety relay 1 Heating element 127-240 Vac Input Safety relay 2 Sensor NTC 1 NTC 3 NTC 2 NTC 4 User Interface VELIS EVO WiFi Heating element Safety relay 1 127-240 Vac Input Safety relay 2 Sensor NTC 1...
- Page 13 To enter into the terminal compartment unscrew the 2 screws on the cover. (To access the screws, remove the decorative caps on the control access panel). It is mandatory, before installing the appliance, to perform an accurate control of the electrical system by verifying compliance with current safety standards, which is adequate for the maximum power absorbed by the water heater (refer to the data plate) and that the section of the cables for the electrical connec- tion is suitable and complies with local regulations.
- Page 14 MAINTENANCE REGULATIONS (for qualifi ed personnel) Before calling your Technical Servicing Centre, check that the fault is not due to lack of water or power failure. Caution: disconnect the appliance from the mains before conducting any maintenance work. Replacing parts The electrical parts may be accessed by removing the cover (Fig.
- Page 15 USER INSTRUCTIONS Advice for user - Avoid positioning any objects and/or appliances that could be damaged by water leaks beneath the water heater. - Should you not use any water for an extended period of time, you should: • disconnect the appliance from the electrical supply by switching the external switch to ‘’OFF”; •...
- Page 16 SHOWER READY FUNCTION For model equipped with user interface type shown in fi gure 9 The product is equipped with an intelligent function to minimise water heating time. Regardless of the tem perature set by the user, the symbol " "...
- Page 17 • Press the Wi-Fi Button again for 5 seconds on the product’s control panel to create the Access Point (Wi-Fi button will blink fast). • Log in to Aqua Ariston NET App and follow the wizard to connect and register your product. Procedure completed, fi gure 13 The connection is successful when: •...
- Page 18 USEFUL INFORMATION If the water comes out cold, have the following checked - The presence of voltage on the power terminal block (m fi g. 7 And 8); - The circuit board; - The heating parts of the heating element; - Inspect the bypass pipe (x fi...
- Page 19 Installation scheme Model VELIS 45 VELIS 80 1251 G 1/2” 19 / EN...
- Page 20 20 / EN...
- Page 21 21 / IT...
- Page 22 22 / IT...
- Page 23 23 / IT...
- Page 24 Ariston Thermo SpA Viale Aristide Merloni 45 - 60044 Fabriano (AN) Italy Telefono 0732 6011 - Fax 0732 602331 info.it@aristonthermo.com www.aristonthermo.com 420011063500 - 09/2019...
Need help?
Do you have a question about the VLS EVO 45 and is the answer not in the manual?
Questions and answers
W aplikacji nie mogę dodać Ariston VLS EVO WIFI 80 EU. Nie przechodzi rejestracji.
You may not be able to register the Ariston VLS EVO 45 in the app if:
1. The Wi-Fi button is not steady on, meaning the product is not connected to the home network.
2. You did not press the Wi-Fi button for 5 seconds to activate Access Point mode (blinking fast).
3. The app setup steps were not followed correctly.
4. The Wi-Fi password contains Chinese characters, which are not supported.
Check and repeat the setup steps carefully and ensure a valid Wi-Fi password is used.
This answer is automatically generated