
Related Manuals for Javes NSK-1080P


Summary of Contents for Javes NSK-1080P
- Page 1 NSK – – – – 1080P 1080P 1080P 1080P User Manual User Manual User Manual User Manual...
-
Page 2: Table Of Contents
Table of Contents Operation Caution _____________________________________________________ 1 Safety Information _____________________________________________________ 1 Product Introduction ___________________________________________________ 1 Features ___________________________________________________________ 1 Product Overview ___________________________________________________ 2 IR Remote Control _____________________________________________________ 4 Remote Control Overview ____________________________________________ 4 Battery Caution _____________________________________________________ 6 Projector height Adjustment _____________________________________________ 6 Setting Projector &... -
Page 3: Operation Caution
Operation Caution Warning Do not open the projector cover. There are no replacement parts in the unit. For servicing, contact qualified service personnel. Warning Avoid using the system in hot, humid, dusty environments and continually transfer. The operation temperature should be in between 5℃ to 35℃. Warning For good images,please use in dark environments, avoid under direct sunlight. -
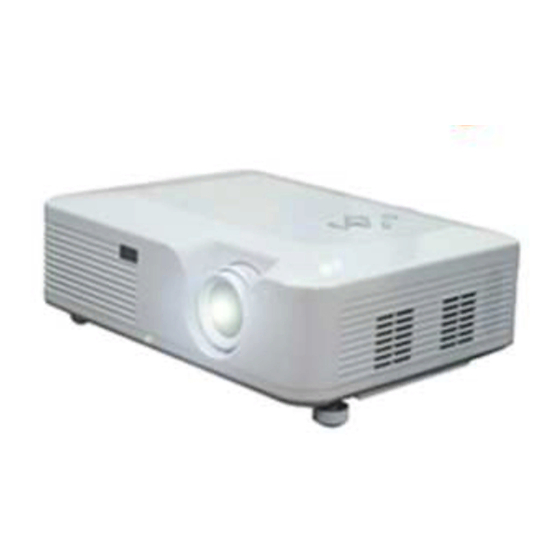
Page 4: Product Overview
II. Product overview - 2 -... - Page 5 I/O Port: - 3 -...
-
Page 6: Ir Remote Control
IR Remote Control Overview Remote Control Parts 1. POWER: System power on/off. 2. MUTE: System mutes. 3. 0-9: Change the channel in the TV mode. 4. VOL+, VOL-: Increase or decrease volume. 5. PICTURE: Image mode. Image quality control by: “standard”, “brightness”, “softness” and “user-defined”. - Page 7 - 5 -...
-
Page 8: Battery Caution
II. Battery Caution 1、 Insert the batteries correctly of the polarity (+/-) as shown in the remote control. 2、Keep away from child, baby and pets. 3、Use only AAA batteries (Alkaline batteries are recommended). 4、Remove the battery out when the projector not being used for prolonged periods. 5、Dispose of used batteries according to local ordinance regulations. -
Page 9: Setting Projector & Screen
Projector & Screen Setting Image Size Projection Distance The distance of lens axis to the Diagonal Width Height Maximum Minimum image bottom line inch/mm inch/mm inch/mm inch/mm inch/mm inch/mm 26.1 664.1 14.7 373.5 36.9 936.4 30.7 18.7 1016 34.9 885.4 19.6 498.0 49.2... -
Page 10: Basic Operation
Basic Operation ( Base on IR remote control ) Power on/off (1) Connect projector to power source, make sure the AC power is correct voltage and frequency & match with the projector requirement. (2) When the projector is switch on, the LED light on the control panel is on & enter into standby mode. -
Page 11: Source Selection
Choice Input Signal Shortcut key: TV/VIDEO: Please make sure the signal source have been connected. (1)On the normal play state, press TV/VIDEO key, the right menu will be show, press key, up and down choice, press SELCET key, enter into play state. (2)No signal, a blue screen will be show, after several minutes, enter into standby state. -
Page 12: Image Menu
4、Press key, switch color models or audio formats. 5、Press key, enter the color models or audio formats. III Image menu 3.1 setting image model. 1、Press MENU key, show menu. 2、Press key, image setting menu will be show. 3、Press key, enter into image setting menu. 4、Press key, switch image model menu. -
Page 13: Voice Menu
IV IV IV IV Voice menu Voice menu Voice menu Voice menu Balance, voice mode, alt, auto volume control show in this menu, all the adjusting will store in user mode. 4.1 Setting balance 1、Press MENU key, display menu. 2、Press key, choice voice menu, the right image will be show. -
Page 14: Menu
V Menu 5.1 Setting OSD language Include two languages: Chinese and English. The factory setting is Chinese. 1、Press MENU key, display menu. 2、Press key, choice menu. The right image will be show. 3、Press key, enter into menu. 4、Press key, language submenu will be show, Press key, switch Chinese and English. -
Page 15: Geometry Menu
VI Geometry menu 6.1 Setting horizontal、 、 、 、 vertical、 、 、 、 sampling frequency、 、 、 、 phase. 1、Press MENU key, display menu. 2、Press key, choice geometry menu. The right image will be show. 3、Press key, enter into geometry menu. -
Page 16: System Menu
System menu System menu System menu System menu 7.1 Setting sleeping mode and 3d noise reduction 1、Press MENU key, display menu. 2、Press key, choice system menu, the right image will be show. 3、Press key, enter system menu. 4、Press key, choice sleeping mode or 3d noise reduction. -
Page 17: Maintenance And Safety
Maintenance and Security Maintenance and Security Maintenance and Security Maintenance and Security I I I I Lamp Lamp Lamp Lamp Careful in electric shock Careful in heat Careful in break The LCD projector lamp is made of mercury vapor within glass, the internal is high pressure. This high-pressure mercury lamp, experience the impact, scratches, or long-term use and aging, it may rupture and accompanied by loud voices, or can not continue to light up. -
Page 18: Dust Filter
II II II II Ventilation filter Maintenance Please periodically clean the ventilation filter, the general interval is about 100 hours. 1、 Switch off the power switch, unplug the power cord. 2、 Clean the ventilation filter from the cover by dust catcher. Rinse ventilation filter is dirtier When the... -
Page 19: Lens
III Lens You can purchase optic lens cleaner from most camera stores. Refer to the following to clean the projector lens. 1. Apply a little optic lens cleaner to a clean soft cloth. (Do not apply the cleaner directly to the lens.) 2. -
Page 20: Troubleshooting
Troubleshooting If you are unable to solve the problem, you should have the projector serviced. Pack the projector in the original carton. Include a description of the problem and a checklist of the steps you took when trying to fix the problem: The information may be useful to service personnel. For servicing, return the projector to the place you purchased it.