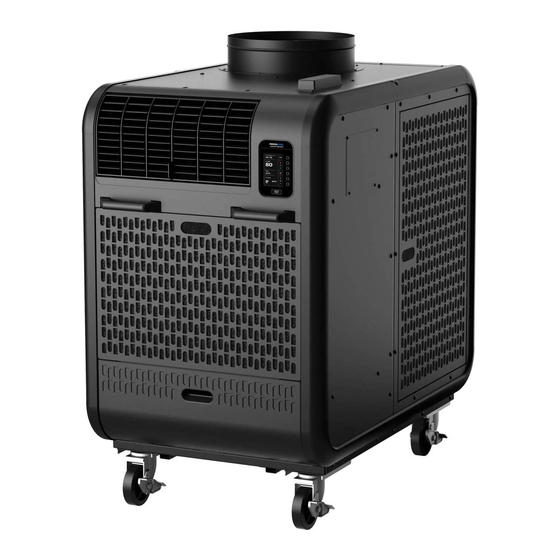
Movincool Climate Pro K36 Accessory Installation Manual
Hide thumbs
Also See for Climate Pro K36:
- Operation manual (79 pages) ,
- Installation manual (4 pages) ,
- Service manual (88 pages)
Advertisement
Accessory Installation Manual
484007-5030
B
B
A
A
C
No.
Part Name
Climate Pro K36
Climate Pro K60
Climate Pro K63
Warm Air Flexible Duct
LAY45820-0010
LAY45820-0010
LAY45820-0010
Ceiling Tile Kit
484490-1040
484490-1040
484490-1040
Condenser Air Plenum
484350-1230
484350-1240
484350-1240
Application
Required Accessories
Page No.
2
2 - 4
WARNING
Disconnect power before installation. Beware that some residual voltage may remain in the unit
after the power is disconnected. There is a risk of electric shock.
1
Advertisement
Table of Contents

Related Manuals for Movincool Climate Pro K36


Summary of Contents for Movincool Climate Pro K36
- Page 1 Accessory Installation Manual 484007-5030 Part Name Climate Pro K36 Climate Pro K60 Climate Pro K63 Warm Air Flexible Duct LAY45820-0010 LAY45820-0010 LAY45820-0010 Ceiling Tile Kit 484490-1040 484490-1040 484490-1040 Condenser Air Plenum 484350-1230 484350-1240 484350-1240 Application Required Accessories Page No. Attachment of Warm Air Flexible Duct...
- Page 2 ATTACHMENT OF WARM AIR FLEXIBLE DUCT 1. Place the warm air flexible duct over the accessory ceiling tile flange and secure the duct with the clamp. 2. Remove the original ceiling tile and install the ceiling tile with duct. Use the tabs with holes to secure the tile in place in case ceiling T-bar is too narrow or weak.
- Page 3 2. Open the side panel and remove it by lifting upward. 3. Loosen the bottom two (2) screws and remove the Remove Screws (3) three (3) screws from the side of the unit. Loosen Screws (2) 4. Slide the lower brackets of the frame over the loosened screws and secure the five (5) screws to attach the frame to the side of the unit.
- Page 4 4. Insert the four (4) brackets of the plenum into the slots of the frame and secure the plenum to the frame with the four (4) bolts, which were removed in step 1 on page 2. 5. Remove the two (2) knob bolts and remove the plate from the plenum by lifting upward. 6.
Need help?
Do you have a question about the Climate Pro K36 and is the answer not in the manual?
Questions and answers