Movincool Climate Pro K36 Installation Manual
Condensate pump kit
Hide thumbs
Also See for Climate Pro K36:
- Operation manual (79 pages) ,
- Accessory installation manual (4 pages) ,
- Service manual (88 pages)
Advertisement
Table of Contents
Condensate Pump Kit Installation Manual
Condensate Pump (1)
Model Name
Part No. (voltage)
If the parts appear to be damaged or missing, contact your MovinCool dealer.
Disconnect power before installation. Beware that some residual voltage may remain in the
unit after the power is disconnected. There is a risk of electric shock.
PUMP INSTALLATION
1. Open the drain tank cover and remove the tanks from the unit.
2. Loosen the two (2) screws at bottom edge and remove the other four (4) screws. Pull the lower
service panel upward and remove it from the side panel.
3. Punch out the knock-off hole in the lower service panel using a tool such as a screwdriver. This
hole is used to pass through the outlet hose.
Outlet Hose (1)
20 ft (6.0 m), Φ3/8 in (9.5 mm)
Hose Clamp (1)
WARNING
Take out screws (4)
Knock-off Hole
Loosen screws (2)
1
Drain Inlet Hose (1)
2 ft (0.6 m), Φ1/2 in (12 mm)
Screw w/Washer (2)
M4 × L10
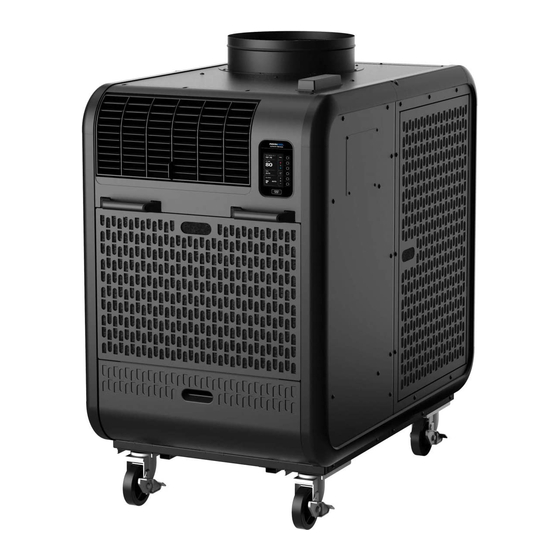
Climate Pro K36
484789-0240 (208/230V)
Lower Service Panel
484007-5010
Advertisement
Table of Contents

Related Manuals for Movincool Climate Pro K36


Summary of Contents for Movincool Climate Pro K36
- Page 1 Climate Pro K36 Part No. (voltage) 484789-0240 (208/230V) If the parts appear to be damaged or missing, contact your MovinCool dealer. WARNING Disconnect power before installation. Beware that some residual voltage may remain in the unit after the power is disconnected. There is a risk of electric shock.
- Page 2 3. Remove the five (5) screws from the condenser side panel. Condenser Side Panel Screw (5) 4. Remove the tab and cap as shown from the condensate pump. 5. Place the condensate pump into the unit from the front as shown. Condensate Pump 6.
- Page 3 Mating Connector 7. Connect the pump connector to the mating Pump Connector connector. 10. Secure the pump to the adapter plate. Adapter Plate Detailed procedure is as follows: Mounting Slot Mounting Slot a) Insert the two (2) screws into the upper holes of the adapter plate.
- Page 4 CAUTION Ensure smooth drainage through the hose. If the hose is kinked or clogged, it may cause malfunction and property damage due to water leaks. When hanging the hose from the ceiling, the maximum height for lifting the hose vertically depends on the voltage that the unit uses.
Need help?
Do you have a question about the Climate Pro K36 and is the answer not in the manual?
Questions and answers