Advertisement
Quick Links
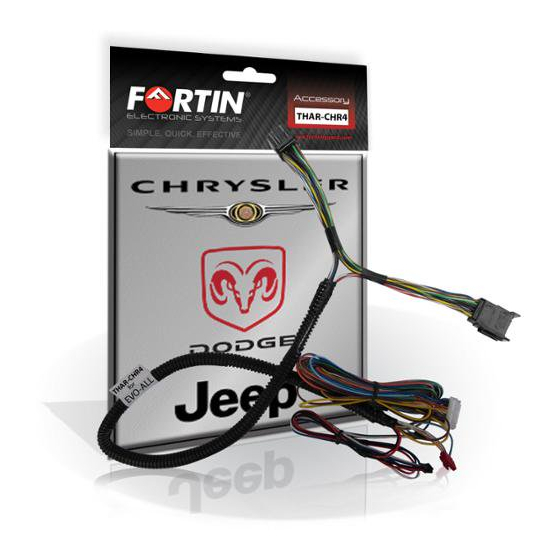
Installation Tips for your EVO-ALL-CHR4 (for Chrysler/Dodge/Jeep)
Thank you for purchasing your remote start from MyPushcart.com - an industry leader in providing remote starts to do-it-
yourself installers since 1999. We've put this tip sheet together to help you with your installation. The purpose of this
sheet is to help you organize your installation - not to replace your installation manual. You may still need to refer to that.
Before you get started:
There are a lot of wires on your EVO module. Don't panic. You will only use 1 or 2 of them, depending on how you
•
want to configure your remote start. The rest of the installation is done with the T-Harness. In Step 2, we will
detail exactly which wires you will use.
Your module has already been loaded with the correct firmware for your car.
•
While working on your wiring, avoid using a test light to probe wires. Test lights can set off air bags and damage
•
ECU's if you probe the wrong wire. The wiring diagram on page 2 shows the location and color of all the wires you'll
need to connect in the vehicle. If you must probe, use a digital multi-meter. They're inexpensive and won't set off air
bags or burn circuit boards.
Overview
The EVO module should be installed under the dash on the driver's side. We've also provided a valet switch. The purpose
of the valet switch is to disable the remote start. This is optional feature that you can choose to install or disregard. If you
choose to install it, the best location is high on the driver's kick panel.
Step 1 - Wiring the EVO module
Locate the ignition connector in your vehicle. It is behind the dash panel to the right of the steering column, on the ignition
barrel assembly. Carefully unplug the connector, then attach the t-harness to the plug and to the receptacle on the ignition
connector. If your vehicle is a 2010 or older, cut the yellow wire that runs between the two main ignition plugs on the t-
harness prior to plugging it in. Isolate both ends with electrical tape. A complete system wiring diagram is on page 6 of
the EVO-THAR-CHR4 manual included at the end of this document.
1. Plug the 4-pin data-link connector from the t-harness in to the data link port on the EVO module.
2. Plug the 5-pin connector from the t-harness to the 5-pin port on the EVO module
3. Connect the Yellow wire from the t-harness to the Yellow wire on the EVO 20-pin harness.
Optional Connections:
The Hood Pin wire (Dark Blue on the EVO 20-pin plug) is used for the valet switch and the hood safety pin if you choose to
install those options. The valet switch allows you to temporarily disable the remote start. The hood pin is an important
safety feature. The system will work without it installed, but the hood pin prevents the starter from accidentally engaging
while someone is working in the engine compartment.
1 |
P a g e
Revised 12/24/2013
Advertisement

Related Manuals for Fortin EVO-ALL-CHR4


Summary of Contents for Fortin EVO-ALL-CHR4
- Page 1 Installation Tips for your EVO-ALL-CHR4 (for Chrysler/Dodge/Jeep) Revised 12/24/2013 Thank you for purchasing your remote start from MyPushcart.com - an industry leader in providing remote starts to do-it- yourself installers since 1999. We’ve put this tip sheet together to help you with your installation. The purpose of this sheet is to help you organize your installation - not to replace your installation manual.
-
Page 2: Step 3 - Test The System
Both the valet switch and the hood pin can be connected to the Dark Blue wire. If the EVO sees ground on that wire – either from the hood pin being open or the valet switch in the ‘on’ position, the remote start will not function. The parking light wire can be connected from the EVO Brown/White wire in the 20-pin connector to the parking light circuit in the vehicle. - Page 3 This is the method preferred by the best professional installers. It makes for the most reliable connections, but it is also the most difficult to do. Sometimes there isn’t enough room in the wiring harness to safely solder a wire without damaging adjacent wires, but if you have the soldering skills, go for it.
Need help?
Do you have a question about the EVO-ALL-CHR4 and is the answer not in the manual?
Questions and answers