Table of Contents
Advertisement
Quick Links
Component Included:
A. (1) Mirror
B. (1) Upper Shelf (with brackets)
C. (1) Lower Shelf (with brackets)
D. (1) Supporting Rod
Hardware for Assembly:
E. (4) Dowel
F. (6) Wood Screw
G. (1) Bolt
Hardware for Mounting:
H. (3) Mounting Screw
I.
(3) Drywall Anchor
The hardware (H/ I) is meant for drywall or stud construction
only. For other wall types, please consult your local hardware
store for assistance in selecting the appropriate hardware.
TOOLS REQUIRED: Phillips Screwdriver, Pencil, Level, Stud Finder.
Pre-assembly:
-
Please read all instructions carefully before getting started.
-
Remove all parts and hardware from carton box and lay them out on a clear workspace.
-
Do not discard any contents until after assembly / installation is completed to avoid accidentally discarding small
parts or hardware.
-
As this item is quite big and heavy, two people are required for the assembly and mounting.
-
The use of power tools to aid in assembly is not recommended.
-
The illustrations provided allow for easier assembly when used in conjunction with the assembly instructions.
ASSEMBLY INSTRUCTIONS:
1. Place Mirror (A) face down on a
flat, protected surface as shown,
insert a Dowel (E) into each of the
four dowel holes at the back of
mirror.
2. Position each Upper Shelf (B) and
Lower Shelf (C) at its location and
aligning with the dowels. Note that
the Upper shelf includes one more
hole in the middle that is to
assemble with Supporting Rod (D).
Make sure that the brackets on the
shelves are all facing to the bottom
of the mirror.
3. Secure the brackets of each shelf
to the back of mirror using
provided Wood Screws (F) and
fasten with a Phillips screwdriver.
4. Position Supporting Rod (D) under
Upper Shelf (B) at the middle
location. Attach the round end of
the rod to the shelf using Bolt (G). Use a Phillips screwdriver to rotate the bolt clockwise until tight.
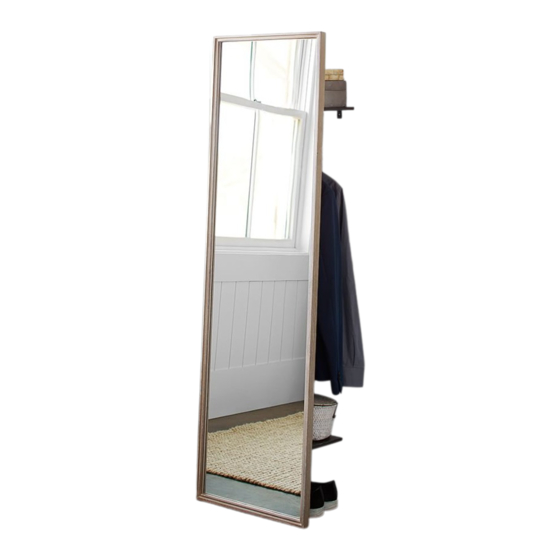
Floor Mirror with Clothing Rack
Assembly & Mounting Instructions
Step. 3
Step. 5
Step. 4
Dowel hole (6mm)
P: 1 / 2
Advertisement
Table of Contents

Related Manuals for Pottery Barn Floor Mirror with Clothing Rack


Summary of Contents for Pottery Barn Floor Mirror with Clothing Rack
- Page 1 Floor Mirror with Clothing Rack Assembly & Mounting Instructions Component Included: A. (1) Mirror B. (1) Upper Shelf (with brackets) C. (1) Lower Shelf (with brackets) D. (1) Supporting Rod Hardware for Assembly: E. (4) Dowel F. (6) Wood Screw G.
- Page 2 5. Attach the flat end of Supporting Rod (D) to the back of mirror using the remaining two Wood Screws (F). Tighten with a Phillips screwdriver. 6. Position the assembly upright and it now is ready for wall mounting. MOUNTING INSTRUCTIONS: This item is meant to be set on the floor and simultaneously attaching to a wall using provided mounting hardware.
Need help?
Do you have a question about the Floor Mirror with Clothing Rack and is the answer not in the manual?
Questions and answers