Table of Contents
Advertisement
Quick Links
Advertisement
Table of Contents

Subscribe to Our Youtube Channel
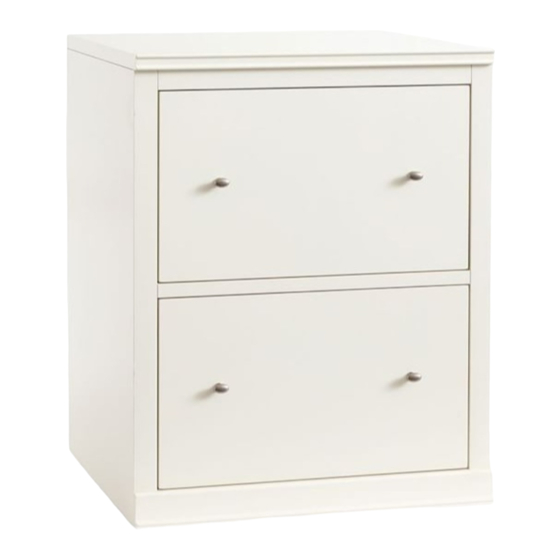
Summary of Contents for Pottery Barn LOGAN DOUBLE LATERAL FILE
- Page 1 LOGAN DOUBLE LATERAL FILE Date: 9‐Mar‐16 www. potterybarn.com Page 1 of 8 Rev: ...
- Page 2 Important Safety Instructions: Please read all instructions carefully before assembling. For your safety, assembly by two or more adults is strongly recommended. Keep instructions for future use. Use only vendor supplied hardware to assemble. Using unauthorized hardware could jeopardize the structural integrity of the item.
- Page 3 Assembly Instruction Steps: 1. Optional: The File bar can be move to the front position as shown below. 2. Remove the upper drawer by pressing the plastic locks on the side drawer slides upwards and downwards as shown while pulling drawer out. ...
- Page 4 4. Adjusting the levelers: Due to an uneven floor, the furniture may not sit level due causing it to wobble. If the furniture wobbles, determine which corner does not touch the ground correctly. With two people follow these steps: 1) Adjust the levelers using the Allen key (E) on the interior holes of the bases until adequate contact will be made with the floor.
- Page 5 6. Fully close the bottom drawer and then install the upper drawer back to the base. ! WARNING These drawers are equipped with Anti-Tilt guards which prevent both drawers being pulled out at the same time. Only one ...
- Page 6 To place hutch on this, follow the steps 8: 8. Using the pilot holes on the top of base as a guide, bore holes using a drill with the 5mm drill bit (c). Carefully lift the hutch onto the base and align the holes under the hutch with the pre-drilled holes on the top of the base, secure using the connecting screws and sleeves enclosed in the hardware packet of hutch.
- Page 7 9. Assembly is complete. NOTE: USE THE ANTI-TIP KIT PROVIDED TO SAFELY SECURE YOUR PRODUCT(S). FOLLOW THE INSTRUCTIONS PROVIDED TO PREVENT SERIOUS INJURY FROM TIPPING FURNITURE. Possible configurations: Care Instructions: Dust often using a clean, soft, dry and lint-free cloth. ...
- Page 8 Imported by / Importé par / Importado por WILLAMS-SONOMA INC. 3250 Van Ness, SF CA 94109, US CANADIAN DISTRIBUTION ADDRESS/ ADRESSE DE DISTRIBUTION CANADIENNE / DIRECCIÓN DE DISTRIBUCIÓN EN CANADÁ: 3401 Dufferin St. Space 215, Toronto, Ontario, M6A 2T9, CA FURNITURE TIPPING RESTRAINT WARNING: This product is only a deterrent. It is not a substitute for proper adult supervision. Manufacturer assumes no liability for improper installation or excessive loads placed on screws, brackets or straps. ...


Need help?
Do you have a question about the LOGAN DOUBLE LATERAL FILE and is the answer not in the manual?
Questions and answers