Sign In
Upload
Download
Table of Contents
Contents
Add to my manuals
Delete from my manuals
Share
URL of this page:
HTML Link:
Bookmark this page
Add
Manual will be automatically added to "My Manuals"
Print this page
×
Bookmark added
×
Added to my manuals
Manuals
Brands
Altos Manuals
Desktop
P30 F6
User manual
Altos P30 F6 User Manual
Hide thumbs
1
2
Table Of Contents
3
4
5
6
7
8
9
10
11
12
13
14
15
16
17
18
19
20
21
22
23
24
25
26
27
28
29
30
31
32
33
34
35
page
of
35
Go
/
35
Contents
Table of Contents
Troubleshooting
Bookmarks
Table of Contents
Table of Contents
System Setup
System Notes
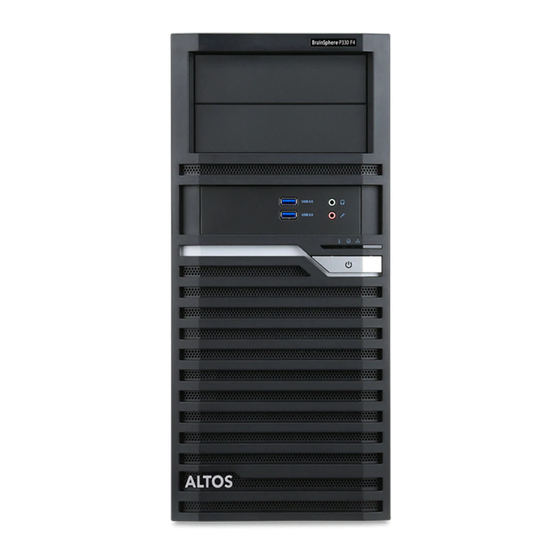
System Controls and Indicators
Front Panel Controls
Front Panel LED Indicator
Status Rear Panel Controls
Setting up the System Pre
Installation Requirements
Turning on the System
Power-On Problems
Turning off the System
Configuring the Hard Disk Drive
Replacing Components
Replacing the Heatsink Fan Assembly
Replacing the Processor
Replacing the Hard Disk
Upgrading the System Memory
Installing an Expansion Card
Installing a SAS Card
System Troubleshooting
Resetting the System
Initial System Startup Problems
Initial Troubleshooting Checklist
Hardware Diagnostic Testing
Checking the Boot-Up Status
Specific Problems and Corrective Actions
Notices
Regulations and Safety Notices
Advertisement
Quick Links
1
Table of Contents
2
System Setup
3
System Notes
4
Front Panel Controls
5
Setting up the System Pre
6
Replacing the Hard Disk
7
Upgrading the System Memory
Download this manual
Workstation
User Guide
Table of
Contents
Previous
Page
Next
Page
1
2
3
4
5
Advertisement
Table of Contents
Need help?
Do you have a question about the P30 F6 and is the answer not in the manual?
Ask a question
Questions and answers
Related Manuals for Altos P30 F6
Desktop Altos P10 F6 User Manual
(35 pages)
Desktop Altos BrainSphere P130 F5 User Manual
(23 pages)
Desktop Altos BrainSphere P15 F7 User Manual
(48 pages)
Desktop Altos BrainSphere P555 F5 User Manual
(96 pages)
Desktop Altos P550 F4 User Manual
(25 pages)
Desktop Altos BrainSphere P10 F7 User Manual
(40 pages)
Desktop Altos BrainSphere P330 F6 User Manual
(50 pages)
Desktop Altos 586T System Reference Manual
(163 pages)
Desktop Altos 986T Setting Up
(54 pages)
Desktop Altos 580 Operator's Manual
(128 pages)
Desktop Altos 586 Programmer's Reference Manual
Computer systems, xenix development system (486 pages)
Desktop Altos 486 Setting-Up Manual
(50 pages)
Desktop Altos 580 Operator's Manual
Computer system (128 pages)
Desktop Altos 486 Diagnostics
(65 pages)
This manual is also suitable for:
P10 f6
Table of Contents
Print
Rename the bookmark
Delete bookmark?
Delete from my manuals?
Login
Sign In
OR
Sign in with Facebook
Sign in with Google
Upload manual
Upload from disk
Upload from URL


Need help?
Do you have a question about the P30 F6 and is the answer not in the manual?
Questions and answers