
Subscribe to Our Youtube Channel
Related Manuals for pottery barn kids GEMMA CRIB


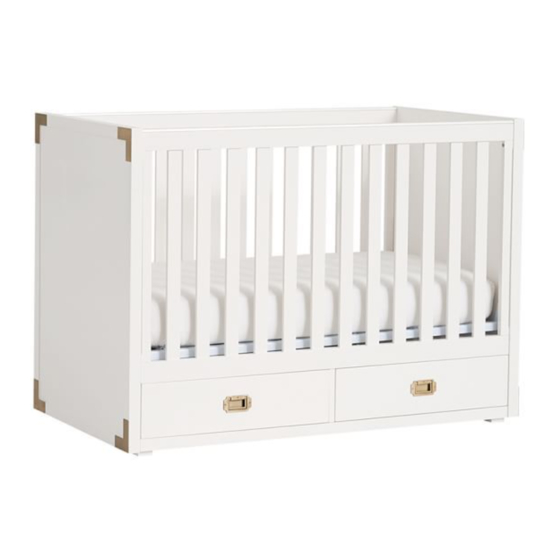
Summary of Contents for pottery barn kids GEMMA CRIB
- Page 1 GEMMA CRIB www.potterybarnkids.com Date: 2014-Oct-22 Rev: 2014-Dec.-25 Page 1 of 12...
- Page 2 Securely tighten loose bolts and other fasteners. DO NOT use crib if any parts are missing, damaged or broken. Contact Pottery Barn Kids for replacement parts and instructional literature if needed. DO NOT substitute parts.
-
Page 3: Pre-Assembly
CAUTION: ANY MATTRESS USED IN THIS CRIB MUST BE AT LEAST 27 ¼” (69 CENTIMETERS) 5/8” (131 CENTIMETERS) WITH A THICKNESS NOT EXCEEDING 6” (15 CENTIMETERS) THIS CRIB CONFORMS TO APPLICABLE REGULATIONS PROMULGATED BY THE CONSUMER PRODUCT SAFETY COMMISSION. 04-000094-3 MPORTANT SAFETY INSTRUCTIONS: Please read all instructions carefully before assembling. -
Page 4: Parts Included
PARTS INCLUDED: (A) Stationary Side - Back (1x) (B) Stationary Side-Front (1x) (C) Crib End - Left (1x) (D) Crib End - Right (1x) (E) Bottom Panel (1x) (F) Bottom Frame (1x) (G) Back Panel (1x) (H) Mattress Base (1x) (I) Vertical Support (1x) (J) Small Tilt rail (2x) (L) Drawer (2x) - Page 5 ASSEMBLY INSTRUCTIONS: Attach (J) to (E) by aligning pre-drill holes with wooden dowels as shown below. Do not over tighten. Attach (G) to (A) by aligning pre-drill holes with wooden dowels as shown below. Do not over tighten. Date: 2014-Oct-22 Rev: 2014-Dec.-25 Page 5 of 12...
- Page 6 Attach (E) to (A) by aligning pre-drill holes with wooden dowels as shown below. Do not over tighten. Attach (D) to assembly (Step 3) by aligning pre-drill holes with wooden dowels as shown below. Do not over tighten. Date: 2014-Oct-22 Rev: 2014-Dec.-25 Page 6 of 12...
- Page 7 Attach (B) to (E) by aligning pre-drill holes with wooden dowels as shown below. Do not over tighten. 6. Secure (B) to (D) using (P) as shown below. Do not over tighten. 7. Attach (I) to (B) as shown below. Do not over tighten. Date: 2014-Oct-22 Rev: 2014-Dec.-25 Page 7 of 12...
- Page 8 8. Attach (K) to (E) by aligning pre-drill holes with wooden dowels as shown below. Do not over tighten. 9. Assemble (M) to (E) by aligning pre-drill holes with wooden dowels as shown below. 10. Attach (F) to (I) by aligning pre-drill holes with wooden dowels as shown below. Do not over tighten. 11.
- Page 9 12. Attach (C) to assembly (Step 11) as shown below. Do not over tighten. 13. Rotate the crib as shown below and secure (A) to (C) using (P). Date: 2014-Oct-22 Rev: 2014-Dec.-25 Page 9 of 12...
- Page 10 14. With the help of another adult, carefully turn the Crib upright as shown below. 15. Attach (Q&R) to (H) using (N). Make sure the brackets point outwards as shown below. 16. Attach ( S) to (N) using (U), as shown below. Date: 2014-Oct-22 Rev: 2014-Dec.-25 Page 10 of 12...
- Page 11 Note: The Mattress Base (H) should be at the highest level (Level 1) when the child is born. It must be at the lowest level (Level 3) before the child can stand up. Before installing the Mattress Base (H), please ask the customer at which height they want it installed.
-
Page 12: Care Instructions
18. Check alignments and fully tighten all connections at this time. 19. Insert the Drawer (L) into the crib. 20. Adjust the levelers under leg bottom to keep the crib sit level. 21. Assembly is now complete. 22. Place the assembly instructions back into the envelope mounted on the mattress base for future reference. CARE INSTRUCTIONS Dust often using a clean, soft, dry, lint-free cloth.
Need help?
Do you have a question about the GEMMA CRIB and is the answer not in the manual?
Questions and answers