Table of Contents
Advertisement
Quick Links
T
Before you commence the assembly process we recommend that you read these instructions
thoroughly beforehand to familiarise yourself with the assembly process and to also check that you have
the correct components. If for any reason you need assistance, you can find our contact details on the
final page of these instructions.
We highly recommend that any assembly is carried out on a flat, level surface if possible and that you
use another person to assist you if necessary.
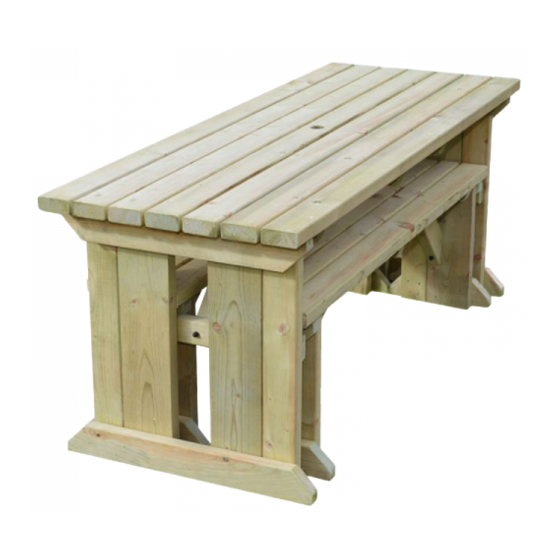
Package contents
1 x Table top
2 x Seats
2 x Table leg frames
4 x Seat leg frames
4 x Seat leg braces
2 x Table leg braces
M8 Coach screws (70mm)
Cover caps
Assembly Instructions
Tinwell picnic table and
Tinwell Picnic table and Bench set
1
bench set
Tools required
10mm socket or spanner
2 x Seats
2 x A frames
Advertisement
Table of Contents

Related Manuals for Rutland County Tinwell


Summary of Contents for Rutland County Tinwell
- Page 1 2 x Seats 2 x Table leg frames 2 x Seats 4 x Seat leg frames 2 x A frames 4 x Seat leg braces 2 x Table leg braces M8 Coach screws (70mm) Cover caps Tinwell Picnic table and Bench set...
- Page 2 Line up one of the Table leg braces centrally on the Attach it to the underside of the Table top using a table top. coach screw as shown... Rutland County Garden Furniture Ltd, Ashbourne House, 2 Dovecote Meadows, Aslackby, Sleaford, Lincs, NG34 0HZ. Company No: 7670072 VAT No: 151744027...
- Page 3 Place one of the seat panels upside down on a clean, flat surface, taking care not to damage it. Rutland County Garden Furniture Ltd, Ashbourne House, 2 Dovecote Meadows, Aslackby, Sleaford, Lincs, NG34 0HZ. Company No: 7670072 VAT No: 151744027...
- Page 4 Step 11 Step 12 Now repeat steps 8 - 10 for the other end of the seat Your Tinwell picnic table and bench set is now unit. Build the second seat unit in the same fashion. complete. Cover any exposed screw heads with the black plastic cover caps provided.
Need help?
Do you have a question about the Tinwell and is the answer not in the manual?
Questions and answers