Table of Contents
Advertisement
Quick Links
T and D RTR‐500DC Set up Guide
1. Insert the CD supplied with the Base Station and install RTR‐500 for Windows
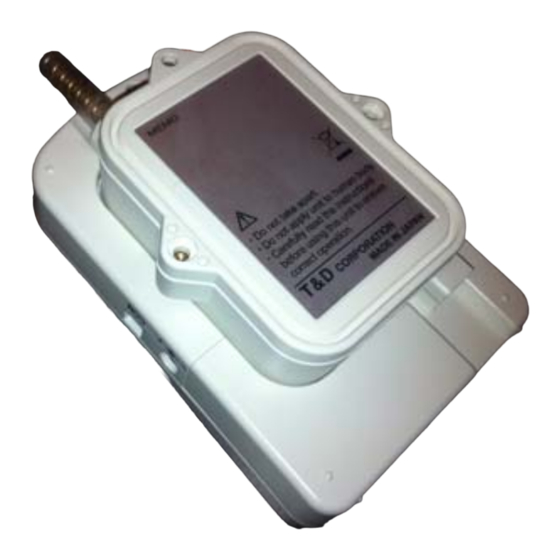
2. Connect the base station to your computer using the USB Cable (Included)
3. Open RTR‐500 for windows. The following screen will appear. Follow the steps in the screens below
4. Click on FILE ‐> RTR‐500 Settings Utility
5. Edit Base Unit Settings as desired and click on Apply
Advertisement
Table of Contents

Related Manuals for T&D RTR-500DC


Summary of Contents for T&D RTR-500DC
- Page 1 T and D RTR‐500DC Set up Guide 1. Insert the CD supplied with the Base Station and install RTR‐500 for Windows 2. Connect the base station to your computer using the USB Cable (Included) 3. Open RTR‐500 for windows. The following screen will appear. Follow the steps in the screens below 4. Click on FILE ‐> RTR‐500 Settings Utility 5. Edit Base Unit Settings as desired and click on Apply ...
- Page 2 6. Click on Remote Unit Settings 7. Place one of your temperature loggers (Make sure the battery is inserted before this step) on the base stations (See image below) 8. Click on register. ...
- Page 3 9. Click yes to “Do you wish to register this Remote Unit” 10. Set the desired Settings (See image below) 11. Click on Register 12. Repeat the above steps for all your Remote Units. You can come back to this screen to make changes in the future. Simply pick the unit you want to edit and click on Properties and make changes. ...
- Page 4 13. Click on Email Settings 14. You will need a GMAIL account to send emails with RTR‐500. You can sign up for a free GMAIL account at www.gmail.com . Use the settings in the image below. Then click on apply. 15. Click on FTP Settings if you wish to monitor your temperatures over the internet. Visit http://www.webstorage‐service.com/, click on SUPPORT on the top for instructions on how to set up online viewing. 16. Click on Settings For Moinitoring Current Readings. Turn Monitoring Current Readings ON if you wish to view current readings on your computer. Please note, you can set Transmission method to email (to get reports via email at fixed intervals) OR FTP to monitor readings online (Online Viewing works with most smart phone browsers). You can also Save readings at fixed intervals on this screen. After the settings are done, Click on APPLY. 17. Click on Warning Reports Settings. Turn Warning Monitoring to ON to get warnings emails. Type the email addresses you want to send the emails to. To get an alert by SMS. Please use the following settings based on your cell phone service provider. Enter your number is one of the email addresses. ...
- Page 5 a. Bell: number@txt.bell.ca b. Fido: number@fido.ca c. Koodo Mobile: number@msg.koodomobile.com d. MTS: number@text.mtsmobility.com e. Presidents Choice: number@txt.bell.ca Rogers: number@pcs.rogers.com g. Sasktel: number@sms.sasktel.com h. Telus: number@msg.telus.com Virgin Mobile: number@vmobile.ca 18. To setup autodownload, please refer to the user manual. 19. Once all the settings have been set, click close and you ready to go. Place your loggers in the desired locations and you are ready to go! 20. Click on Communications ‐> Get Current Readings Now to view current temperatures. WARNING PLEASE DO NOT CLOSE RTR‐500 FOR WINDOWS. CLICK ON VIEW ‐> STORE IN TASK TRAY TO HIDE FROM SCREEN. MONITORING WILL NOT TAKE PLACE IF RTR‐500 FOR WINDOWS IS CLOSED. For Questions and Technical Support: ...
Need help?
Do you have a question about the RTR-500DC and is the answer not in the manual?
Questions and answers