Advertisement
SnapDisk
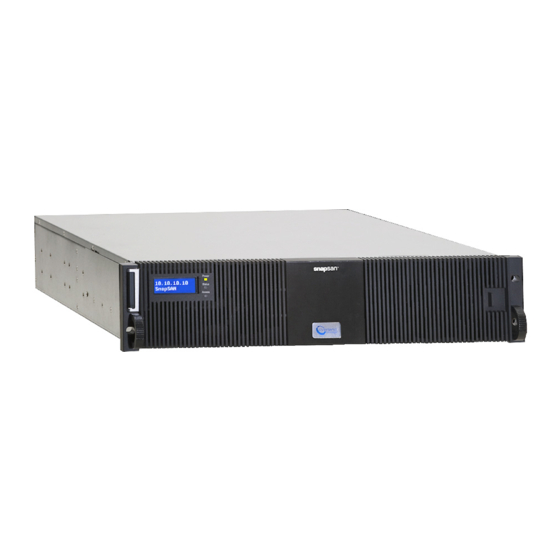
This document describes how to unpack and install a SnapDisk
E1000 expansion array with ACBEL power supplies into a rack.
IMPORTANT: When using expansion arrays with an S1000
storage array, install the expansions first. The installation of
expansion arrays is an offline procedure so you must shutdown the
S1000 head unit before proceeding.
WARNING:
To reduce the risk of electric shock or damage to
equipment, always remove any power cords while working with
the unit.
AVERTISSEMENT:
Pour réduire le risque de choc électrique
ou endommagement de l'équipement, retirez toujours les
cordons électriques en travaillant avec l'appareil.
CAUTION:
While working with the unit, observe standard
Electrostatic Discharge (ESD) precautions to prevent damage
to micro-circuitry or static-sensitive devices.
Step 1 – Activate Your Warranty!
It is essential that you activate your warranty. Technical and
warranty support are not available until it is done:
1. Note the product serial numbers from the box labels or
on the product.
2. Go to the Overland Storage web site:
http://www.overlandstorage.com/
3. Select Service & Support > My Products.
4. At the
Site
Login, enter your e-mail address and
password, and click GO.
5. Click Register New Product.
6. Fill in the information and click Submit.
7. Register the drive assemblies:
a. Click the Manage Products button.
b. From the Product Selector drop-down list, select the
expansion array.
c. Click Add a Component.
d. Enter the disk drive information.
e. Click Save & Exit.
Your warranty certificate will be emailed to you. Follow the
instructions in the email to complete the registration process.
10400520-001 Sep 2013
™
E1000 Expansion Array
©2010-13 Overland Storage, Inc.
Enter
Enter
5325301507-SnapSAN E1000, s/n: 0247
Page 1 of 4
Advertisement
Table of Contents

Subscribe to Our Youtube Channel
Related Manuals for Overland Storage SnapDisk E1000

Summary of Contents for Overland Storage SnapDisk E1000
- Page 1 1. Note the product serial numbers from the box labels or Enter on the product. Enter 2. Go to the Overland Storage web site: http://www.overlandstorage.com/ 3. Select Service & Support > My Products. 4. At the Site Login, enter your e-mail address and password, and click GO.
- Page 2 RAID sets because capacity usage of all drives in a single RAID is limited to the capacity of the smallest drive in that RAID set. 10400520-001 Sep 2013 Page 2 of 4 ©2010-13 Overland Storage, Inc. ...
- Page 3 Secondary controller. NOTE: Additional E1000s can be daisy-chained off the first array. Up to four (4) expansion arrays can be attached to the head unit. Use these steps to connect the first SnapDisk E1000 expansion Head Unit array added: 1. Plug a supplied SAS cable into the S1000 head unit’s SAS expansion port on the Master controller (in bay CL1).
- Page 4 SnapDisk™ E1000 Expansion Array Expansion-to-Expansion Connections 1st Expansion Array Repeat these steps for each SnapDisk E1000 added: 1. Plug a supplied SAS cable into the first E1000 expansion array’s Out port on the Master connector (in bay CL1). 2. Plug the other end into the second E1000 expansion array’s In port on the Master connector.
Need help?
Do you have a question about the SnapDisk E1000 and is the answer not in the manual?
Questions and answers