Haier HWM180-M1990DD Owner's Manual

Haier HWM180-M1990DD Owner's Manual

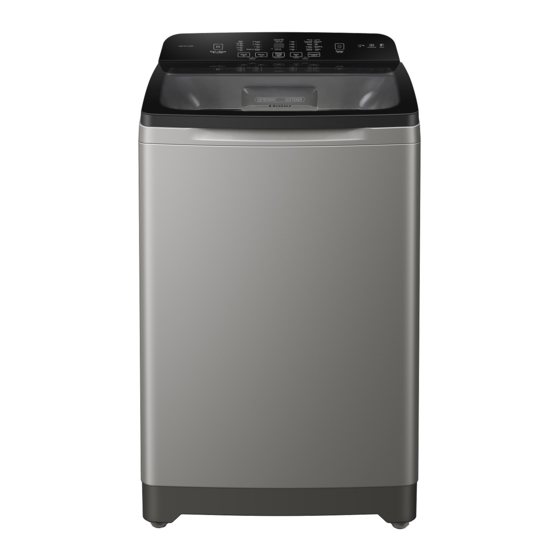
Top load fully automatic washing machine

Advertisement

TOP LOAD FULLY AUTOMATIC WASHING MACHINE
Please read this manual carefully before
operating your washing machine and retain
it for future reference.
OWNER'S MANUAL
MODEL:
HWM180-M1990DD
HWM200-M1990DD

Advertisement

Table of Contents
loading

Summary of Contents for Haier HWM180-M1990DD

  • Page 1 TOP LOAD FULLY AUTOMATIC WASHING MACHINE OWNER’S MANUAL MODEL: HWM180-M1990DD HWM200-M1990DD Please read this manual carefully before operating your washing machine and retain it for future reference.
  • Page 2 Drainage hose Confirm the water faucet 10-13...
  • Page 3: Names Of The Parts

    Names of the parts Back panel Water inlet valve Water absorption gasket Top lid component Detergent box Outer tub cover Hook Inner tub Control panel film Power cord Pulsator Cabinet Drain hose Handle Base frame Screw cover Back cover Adjustable foot (2 pieces) Fixed foot (2 pieces) injury to the...
  • Page 4: Safety Precautions

    Safety precautions Warning Ensure the plug is removed and the A separate, earthed power socket is taps turned off in the followng cases: required for the power supply. Hold the Power failure, cleaning, moving, plug-NOT the electric cable-when installation and when not in use. unplugging the washing machine.
  • Page 5 Safety precautions Do not attempt to move washing or place hands Do not take apart, repair or alter the machine by yourself. inside washing machine while in operation. Please ensure children are supervised around machine to avoid harm. Do not wash laundry with chemcals or other Do not leave hot or heavy items on lid or control volatile materials(such as petrol, solvents or panel as this may cause damage to the washer...
  • Page 6 Do not install this machine on an incline greater than 2°. Installing machine on an angle or on rough ground will result in unstable running or stoppage of the machine. Please adjust it by the following method: 1.Confirm it is level; 2.Lift up the side of the machine slightly and twist the adjustable leg.
  • Page 7: Drainage Hose

    Drainage hose Usage the drain hose 4.If extra drain hose is needed, please The drainage shall be smooth with the drain hose. make separate purchase.The inner 1.The height of the drain hose shall be less than diameter of the extra hose shall not 10cm, or the drainage will not be smooth, and less than 30mm,and the length shall cost such long time that the machine may stop...
  • Page 8: Loading Your Laundry

    Loading your laundry The rated washing capacity refers to the largest dry weight of a load that can be washed. The thickness, size and type of clothes will influence the actual capacity. Do not select more than water level “Max” for clothes less than 2.0kg, to avoid splashing of water.
  • Page 9 Preparation before washing 1.Connect the water inlet hose. Open the water faucet. 2.Confirm that the washing machine is earthed reliably. Then insert the power plug into the receptacle. The earth terminal shall not link to gas pipeline and faucet water pipeline. 3.Put down the drain hose.
  • Page 10 Confirm the water faucet The new hose-sets supplied with the appliance are to be used and that old hose-sets should not be reused water faucet, not suitable water faucet,suitable The exit end face of the faucet It is required that the front end shall be longer than 10mm. The exit end face of the faucet shall be flat and smooth.
  • Page 11 Connection between the water inlet hose and the washer 1.Do not take off the water absorption cushion. Please check if nut of the water inlet hose the cushion is dropped or damaged before each usage. If it happens please contact our after-sale department immediately.
  • Page 12 Child Lock function The function is intended for children safety and preventing the washing program from accidental changes by children. Push down the Power button, set the desired washing program,after setting, push down the “Start/Pause” button, then hold the “Soil Level” button and “Spin Speed” button, The digitron displays “CL”, the child lock function is activated.
  • Page 13 I”Cycle Signle” button Cycle Signal Use this button to adjust the volume of control panel beeps and the end-of setting. ”Favorites” button A ”Program” Select Blanket Baby care...
  • Page 14 Soil C”Soil Level” button Level D”Spin Speed” button Spin Speed A spin speed setting will autoamtically be selected with the wash cycle. Use this button to change the default setting. Not all selections are available for all cycles. " " E Function button Pre Soak The pre-soak indicator will light when pre-soak is selected,and it will add from 8 to 20...
  • Page 15 H ”Delay Wash” button Use this button to select a delayed start of the washer.The number of hours will Delay be shown in the Estimed Time Remaining Display.Each press of the Delay Wash Button will increase the time by 1 hour. Wash One button press after 24 will cancle the delay wash feature .You can also cancel the Delay Wash feature by turning off power to the washer with the Power Button.
  • Page 16 Remove the power plug before carrying out any cleaning or maintenance. Clean the lint filter(s) and detergent box after each wash, otherwise it may influence you using the machine. Clean the detergent box and set it on the The lint filter must be used during washing. control panel seat.
  • Page 17: Troubleshooting

    Trouble-shooting if the machine by yourself. The machine does not Remove the blockage. drain or drain slowly. Push the Start/Pause button Is the drain hose blocked? The display shows E1. once. Close the top lid. Push the The machine stops running. The top lid is not closed.
  • Page 18 Situation Cause...
  • Page 19: Packing List

    Packing list Location Warranty Card...
  • Page 20: Specification

    Specification HWM180-M1990DD 700W 500W 84kg 93kg W 701 D 720 H 1095 Rated Washing capacity 18kg HWM200-M1990DD 700W 500W 84kg 93kg W 701 D 720 H 1095 Rated Washing capacity 20kg...

This manual is also suitable for:

Hwm200-m1990dd

Table of Contents