Table of Contents
Advertisement
Quick Links
Series 2925 and 2925RB Impactools are designed for use in heavy assembly work and
machinery maintenance.
Ingersoll–Rand is not responsible for customer modification of tools for applications on which
Ingersoll–Rand was not consulted.
IT IS THE RESPONSIBILITY OF THE EMPLOYER TO PLACE THE INFORMATION
IN THIS MANUAL INTO THE HANDS OF THE OPERATOR.
FAILURE TO OBSERVE THE FOLLOWING WARNINGS COULD RESULT IN INJURY.
PLACING TOOL IN SERVICE
•
Always operate, inspect and maintain this tool in
accordance with American National Standards
Institute Safety Code for Portable Air Tools
(ANSI B186.1).
•
Always operate, inspect and maintain this tool in
accordance with all regulations (local, state, federal
and country), that may apply to hand held/hand
operated pneumatic tools.
•
For safety, top performance, and maximum durability
of parts, operate this tool at 90 psig (6.2 bar/620 kPa)
maximum air pressure at the inlet with 1/2" (13 mm)
inside diameter air supply hose.
•
Always turn off the air supply and disconnect the air
supply hose before installing, removing or adjusting
any accessory on this tool, or before performing any
maintenance on this tool.
•
Do not use damaged, frayed or deteriorated air hoses
and fittings.
•
Be sure all hoses and fittings are the correct size and
are tightly secured. See Dwg. TPD905–1 for a typical
piping arrangement.
•
Always use clean, dry air at 90 psig maximum air
pressure. Dust, corrosive fumes and/or excessive
moisture can ruin the motor of an air tool.
•
Do not lubricate tools with flammable or volatile
liquids such as kerosene, diesel or jet fuel.
•
Do not remove any labels. Replace any damaged label.
USING THE TOOL
•
Always wear eye protection when operating or
performing maintenance on this tool.
The use of other than genuine Ingersoll–Rand replacement parts may result in safety hazards, decreased tool performance, and
increased maintenance, and may invalidate all warranties.
Repairs should be made only by authorized trained personnel. Consult your nearest Ingersoll–Rand Authorized Servicenter.
Refer All Communications to the Nearest
Ingersoll–Rand Office or Distributor.
Ingersoll–Rand Company 1999
Printed in U.S.A.
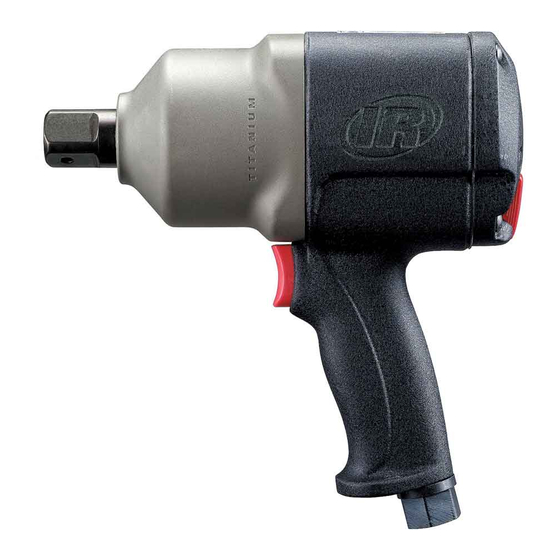
INSTRUCTIONS FOR
SERIES 2925 AND 2925RB
SUPER DUTY IMPACTOOLS
IMPORTANT SAFETY INFORMATION ENCLOSED.
READ THIS MANUAL BEFORE OPERATING TOOL.
03542446
•
Always wear hearing protection when operating this
tool.
•
Keep hands, loose clothing and long hair away from
rotating end of tool.
•
Note the position of the reversing lever before
operating the tool so as to be aware of the direction of
rotation when operating the throttle.
•
Anticipate and be alert for sudden changes in motion
during start up and operation of any power tool.
•
Keep body stance balanced and firm. Do not
overreach when operating this tool. High reaction
torques can occur at or below the recommended air
pressure.
•
Tool shaft may continue to rotate briefly after throttle
is released.
•
Air powered tools can vibrate in use. Vibration,
repetitive motions or uncomfortable positions may be
harmful to your hands and arms. Stop using any tool
if discomfort, tingling feeling or pain occurs. Seek
medical advice before resuming use.
•
Use accessories recommended by Ingersoll–Rand.
•
Use only impact sockets and accessories. Do not use
hand (chrome) sockets or accessories.
•
Impact wrenches are not torque wrenches.
Connections requiring specific torque must be
checked with a torque meter after fitting with an
impact wrench.
•
This tool is not designed for working in explosive
atmospheres.
•
This tool is not insulated against electric shock.
Form P7318
Edition 5
GB
September, 1999
Advertisement
Table of Contents


Need help?
Do you have a question about the 2925 Series and is the answer not in the manual?
Questions and answers