Advertisement
Quick Links
2/26/2018
MultiSensor 6 user guide.
Modified on: Fri, 17 Nov, 2017 at 9:36 AM
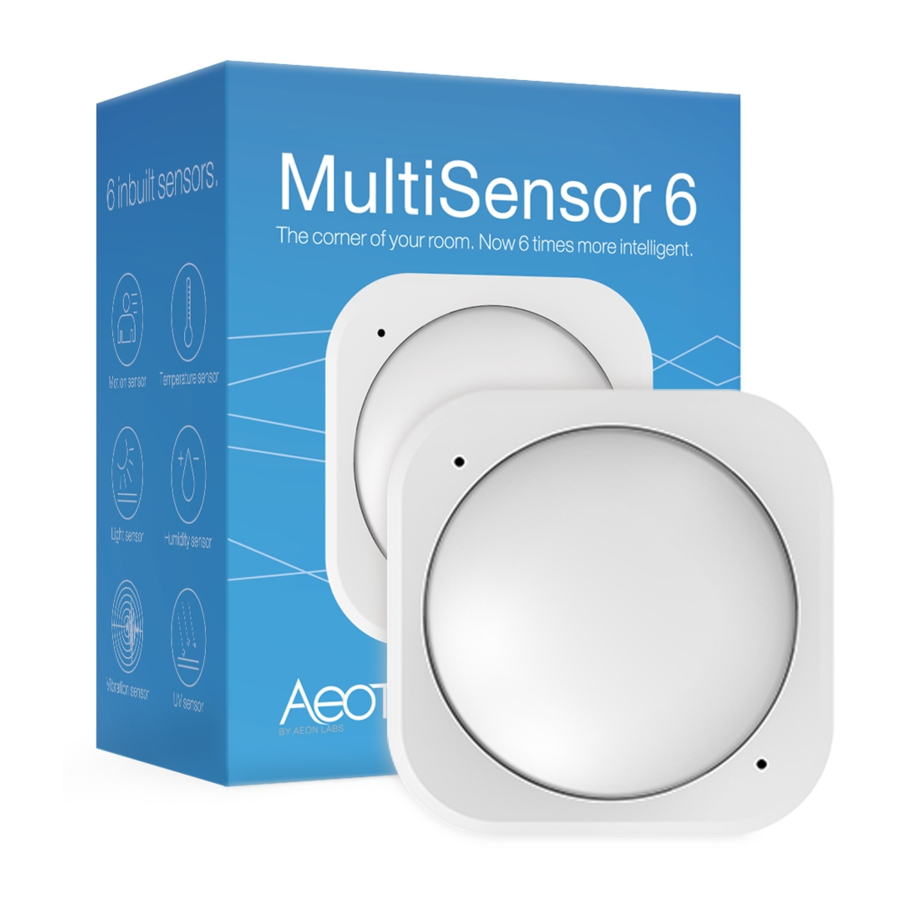
Aeotec by Aeon Labs Multisensor 6.
Aeotec Multisensor 6 has been crafted to power connected lighting using Z-Wave Plus
Aeotec's Gen5
(http://aeotec.com/z-wave-gen5)
To see whether Multisensor 6 is known to be compatible with your Z-Wave system or not, please reference our Z-Wave gateway
comparison
(http://aeotec.com/z-wave-gateways)
(https://aeotec.freshdesk.com/solution/articles/6000166772-multisensor-6-technical-specifications-)
Get to Know your MultiSensor.
Your MultiSensor comes packaged with a number of accessories that will help with its installation and operation.
Package Contents:
1. MultiSensor
2. Battery Cover
3. Back-Mount Arm
4. Double-Sided Tape
5. Screws (×2)
6. Micro USB Cable
https://aeotec.freshdesk.com/support/solutions/articles/6000057073-multisensor-6-user-guide-
MultiSensor 6 user guide. : Aeotec by Aeon Labs
technology. You can find out more about Multisensor 6 by following that link.
listing. The technical specifications of Multisensor 6
(http://aeotec.com/z-wave-plus)
can be viewed at that link.
. It is powered by
1/11
Advertisement

Related Manuals for Aeon Labs Aeotec Multisensor 6


Summary of Contents for Aeon Labs Aeotec Multisensor 6
- Page 1 MultiSensor 6 user guide. Modified on: Fri, 17 Nov, 2017 at 9:36 AM Aeotec by Aeon Labs Multisensor 6. Aeotec Multisensor 6 has been crafted to power connected lighting using Z-Wave Plus . It is powered by (http://aeotec.com/z-wave-plus) Aeotec’s Gen5 technology.
-
Page 2: Quick Start
2/26/2018 MultiSensor 6 user guide. : Aeotec by Aeon Labs Quick Start. Set Up Your Power MultiSensor 6 can be powered by battery or by USB with an appropriate adapter. For the purposes of installation and setup, even if you intend to power your sensor with batteries, we recommend using the provided USB cable for setup. - Page 3 2/26/2018 MultiSensor 6 user guide. : Aeotec by Aeon Labs 1. Remove your sensor's rear cover as shown in the previous step. 2. Insert two CR123A batteries orientated according to the diagram within your sensor. Your MultiSensor 6 is now powered on.
- Page 4 2/26/2018 MultiSensor 6 user guide. : Aeotec by Aeon Labs 1. If your Z-Stick is plugged into a gateway or a computer, unplug it. 2. Take your Z-Stick to your MultiSensor 6. 3. Press the Action Button on your Z-Stick. The LED will begin to blink the Blue LED slowly.
- Page 5 2/26/2018 MultiSensor 6 user guide. : Aeotec by Aeon Labs If installing MultiSensor 6 in a corner where the wall meets the ceiling it can take measurements within a 2.5 x 3.5 x 5 metres / 8 x 11 x 15 feet range: For optimal performance, your MultiSensor 6 should NOT be mounted directly on or near metal framing or other large metallic objects.
- Page 6 2/26/2018 MultiSensor 6 user guide. : Aeotec by Aeon Labs You may also install your Multisensor 6 on any flat surface area such as tables, and bookshelves; You can place it upon a shelf without the need to attach further accessories.
-
Page 7: Advanced Functions
2/26/2018 MultiSensor 6 user guide. : Aeotec by Aeon Labs 3. The Back-Mount Arm may be locked at various angles by turning the Friction Lock clockwise and counter-clockwise to respectively tighten or loosen the angle of the arm. You can rotate the Friction Lock to change the measurement area of sensor. - Page 8 Your MultiSensor can be removed from your Z-Wave network at anytime.You'll need to use your Z-Wave network's main controller to do this and the following instructions tell you how to do this using Aeotec by Aeon Labs' Z-Stick and Minimote controllers. If you are using other products as your main Z-Wave controller, please refer to the part of their respective manuals that tells you how remove devices from your network.
- Page 9 2/26/2018 MultiSensor 6 user guide. : Aeotec by Aeon Labs 1. Take your Minimote to your MultiSensor. 2. Press the Remove Button on your Minimote. 3. Press the Action Button on your MultiSensor . 4. If your MultiSensor has been successfully removed from your network, the RGB LED will be active with a colourful gradient for 3 seconds.
- Page 10 2/26/2018 MultiSensor 6 user guide. : Aeotec by Aeon Labs The LED on Multisensor 6 will now rapidly blink its Yellow/Orange LED while it is in its awake state. You may send in any configurations or commands from your current gateway to configure your Multisensor 6.
- Page 11 2/26/2018 MultiSensor 6 user guide. : Aeotec by Aeon Labs You can find the article for the custom device handler here: https://aeotec.freshdesk.com/solution/articles/6000063247-using- multisensor-6-with-smartthings-hub-s-custom-device-type (https://aeotec.freshdesk.com/solution/articles/6000063247-using- multisensor-6-with-smartthings-hub-s-custom-device-type) The article contains the github code, and information used to create the article. If you need help installing the custom device handler, please contact support about this.
Need help?
Do you have a question about the Aeotec Multisensor 6 and is the answer not in the manual?
Questions and answers