Table of Contents
Advertisement
Advertisement
Table of Contents

Related Manuals for Thermal Care ACCUCHILLER EQ


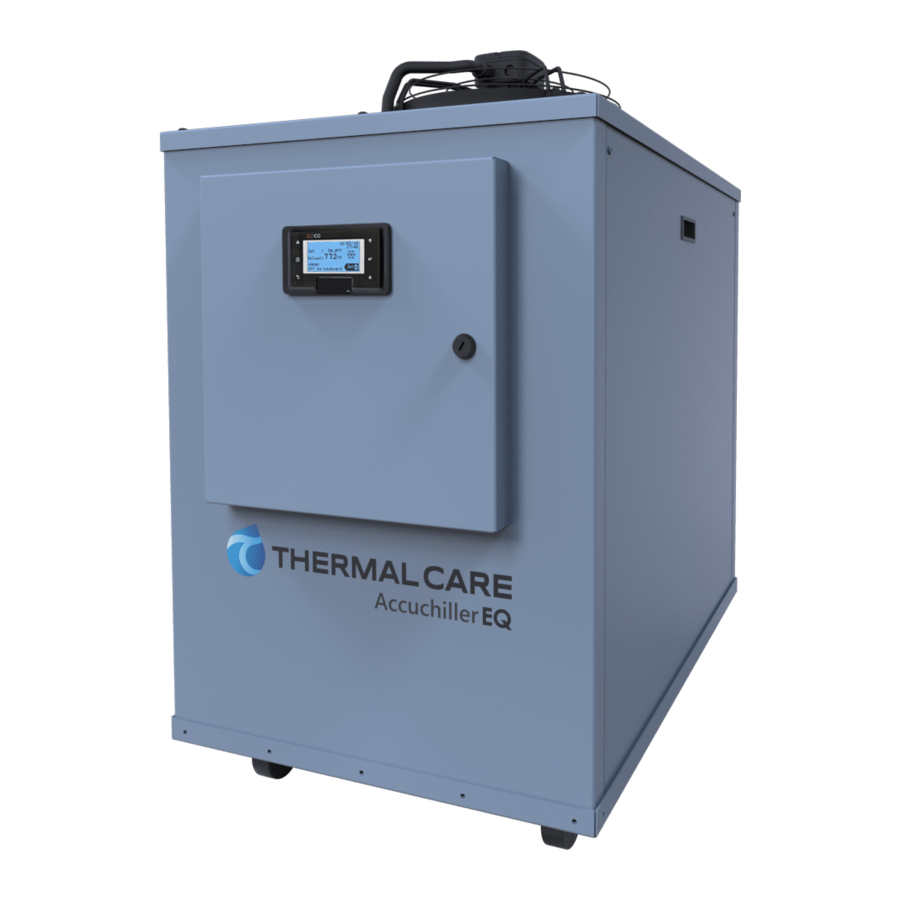
Summary of Contents for Thermal Care ACCUCHILLER EQ
-
Page 3: Table Of Contents
Table of Contents Foreword ..........................................1 Safety Guidelines ........................................1 Pre-Installation ........................................2 Receiving Inspection ....................................... 2 Unit Storage ........................................3 Installation - Chiller ......................................3 Foundation .......................................... 3 Unit Location ........................................3 Rigging ..........................................3 Chilled Process Fluid Piping ..................................3 Condenser Water Piping.................................... - Page 4 Table 7 – User Menu Parameters ................................. 11 Table 8 - Main Menu Setup ..................................12 Modbus RTU Communications ................................. 14 Table 9 – Modbus Parameters ................................14 Alarms ..........................................15 Table 10 – Alarms and Fault Logic ............................... 15 Start-Up ..........................................
-
Page 5: Foreword
Foreword Safety Guidelines The portable chiller is a packaged unit that typically Observe all safety precautions during installation, includes a refrigeration circuit, coolant reservoir, and start-up, and service of this equipment. The pumping system in a cabinet. The purpose is to following is a list of symbols used in this manual and provide cooling water or coolant. -
Page 6: Pre-Installation
Only qualified personnel should install, start-up, and Pre-Installation service this equipment. When working on this equipment, observe precautions in this manual as Receiving Inspection well as tags, stickers, and labels on the equipment. When the unit arrives, verify the information on the unit nameplate agrees with the order WARNING: Any use or misuse of this equipment acknowledgement and shipping papers. -
Page 7: Unit Storage
Rigging Chillers with an integral water-cooled or air-cooled condenser ship with a full refrigerant charge. Chillers The chiller has a frame to facilitate easy movement designed for use with a remote air-cooled condenser and positioning with a crane or forklift. Follow and the remote condensers themselves ship with a proper rigging methods to prevent damage to nitrogen holding charge. -
Page 8: Installation - Remote Condenser
stream adversely affects performance. In order to Proper ventilation is another important reduce maintenance costs and chiller downtime, a consideration when locating the condenser. In water treatment program is highly recommended for general, locate the unit in an area that will not rise the condenser cooling water. -
Page 9: Interconnecting Refrigerant Piping
Figure 1 - Mounting Remote Condenser Legs WARNING: The POE oil contained within the compressor is hygroscopic and has the ability to absorb water vapor from the atmosphere. Take necessary steps to prevent an open system from exposure to the atmosphere for extended periods while installing the interconnecting refrigerant tubing. -
Page 10: Determining Equivalent Line Length
Figure 3 – Condenser Located Above Chiller Unit 2. Determine approximate line sizes by referring to Table 2 for liquid lines, Table 3 and Table 4 for the discharge lines. 3. Check the line size by calculating the actual equivalent length using the equivalent lengths as shown in Table 5. -
Page 11: Discharge (Hot Gas) Line Sizing
Table 2 – Liquid Line Sizes for R407c Figure 5 – Vertical Riser Traps 3 Ton Circuit (R407c) Liquid Line Size (Inch OD) Up Flow (Feet of Run) Equivalent Horizontal or Length (Ft) Down Flow 0 to 5 6 to 10 11 to 15 Figure 6 - Double Discharge Riser Discharge (Hot Gas) Line Sizing... -
Page 12: Calculating Refrigerant And Oil Charge
Calculating Refrigerant and Oil Charge Installation - Electrical To determine the approximate charge, assume a All wiring must comply with local codes and the combined chiller and remote condenser summer National Electric Code. Minimum circuit amps (MCA) refrigerant charge of 4.6 Lbs. of R-407c then refer to and other unit electrical data are on the unit Table 5 to determine the charge required for the nameplate. -
Page 13: Standard Controller Operation
CAUTION: Wear eye protection when installing, Standard Controller Operation maintaining, or repairing the equipment to protect against any sparks, debris, or fluid leaks. The chiller includes a controller to perform all control functions directly from the front panel. When CAUTION: Wear protective gloves when installing, power is applied the controller lights up and maintaining, or repairing the equipment to protect against any sparks, debris, or fluid leaks. -
Page 14: User Menu
Main Menu The main screen displays the control probe, setpoint and the status of the unit: The main menu access is through the PRG Button Stand by (unit is on and compressor is off) and depending of the password level is it possible to Off by alarm change the different settings. - Page 15 Table 7 – User Menu Parameters Category Screen Description Using the Up/Down buttons the unit can be turned On/Off in Local mode. Start/Stop This screen also displays the status of the unit using the Remote mode (Digital input Start/Stop or Start/Stop Modbus).
- Page 16 Table 8 - Main Menu Setup Category Level Security Screen Range Default Description Valve User Antifreeze 10 to 50 °F This allows for changing the antifreeze setpoint value. If the Setpoint supply water temperature drops below this limit, the system will alert the user and will stop the unit.
- Page 17 Table 8 - Main Menu Setup (continued) Category Level Security Screen Range Default Description Valve Service Flow / Tank Low Flow Alarm This is the time after a unit start before the Low Flow Alarm Delay: 0 to 30 s becomes active.
-
Page 18: Modbus Rtu Communications
Modbus RTU Communications The standard controller has Modbus RTU communications enabled with the following default setup: Baud rate = 57,600, data length = 8 bits, parity = odd, and stop bit = 1. Table 9 – Modbus Parameters Register Format Parameter Data Access Level... -
Page 19: Alarms
Alarms If there is no alarm active and the alarm key is pressed, the screen shows “NO ALARMS”. Under no alarm condition, the LED under the alarm button is OFF. If there is at least one alarm active, the screen displays the information needed to understand the cause of every alarm. -
Page 20: Start-Up
Start-Up CAUTION: Wire the unit ground in compliance with local and national codes. Every unit is factory set to deliver chilled water in accordance with the standard operating Step 1 - Connect Main Power specifications for that particular chiller. Due to Connect main power properly ensuring it matches variables involved with different applications and the voltage shown on the nameplate of the unit. - Page 21 To avoid the unwanted side effects associated with Table 11 – Fill Water Chemistry Requirements water cooling, proper chemical treatment and Water Characteristic Quality Limitation preventive maintenance is required for continuous Alkalinity (HCO 70-300 ppm plant productivity. Aluminum (Al) Less than 0.2 ppm Ammonium (NH Less than 2 ppm Unwanted Side Effects of Improper Water Quality...
-
Page 22: Step 3 - Check Condenser
Step 3 - Check Condenser present, adjust the Freezestat to the appropriate setting. There are three possible types of condensers present in the chiller: Integral air-cooled, water-cooled, or CAUTION: The manufacturer’s warranty does not remote air-cooled. It is important to verify the chiller cover the evaporator from freezing. -
Page 23: Preventive Maintenance
WARNING: Never deactivate the High Refrigerant temperature. If the temperature stays more than Pressure or the Low Compressor Pressure switch. 5°F away from the set point, there may be a Failure to heed this warning can cause serious problem with the chiller. If this is the case, refer compressor damage, severe personal injury, or death. -
Page 24: General Troubleshooting
General Troubleshooting Problem Possible Cause Remedy Check supply voltage, amperage of each leg, contactor and Compressor overload wiring, and overload set point Compressor will not start Compressor contactor Replace if faulty Compressor failure Contact Customer Service for assistance Check supply voltage, amperage of each leg, contactor and Pump overload wiring, and overload set point Pump will... -
Page 25: Drawings
General Troubleshooting (continued) Problem Possible Cause Remedy Process load too high Check to make sure chiller is properly sized for process load Insufficient Coolant flow through evaporator too high or low Adjust flow to proper level cooling Insufficient condenser cooling See “High Refrigerant Pressure”... - Page 26 Notes...
- Page 28 New Equipment Sales Customer Service Parts Department 5680 W. Jarvis Ave. Niles, IL 60714 • 847-966-2260 info@thermalcare.com 847-966-2260 847-966-9358(fax) 847-966-2636 847-966-8560 847-966-9358(fax) • • • www.thermalcare.com info@thermalcare.com service@thermalcare.com tcparts@thermalcare.com EQ IOM 03...
Need help?
Do you have a question about the ACCUCHILLER EQ and is the answer not in the manual?
Questions and answers