Table of Contents
Advertisement
Quick Links
SERVICE TO THE LIFE SAFETY INDUSTRY WORLDWIDE SINCE 1997
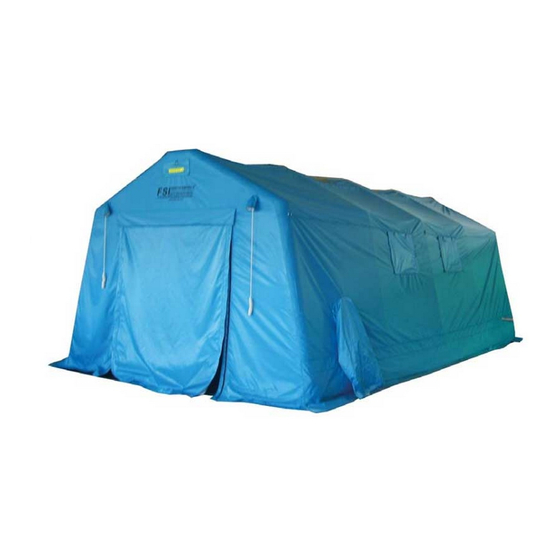
FSI® DAT® SERIES SHELTERS/SHOWERS
& "QE SERIES"® SHELTERS/SHOWERS
ALL FSI® DAT® & "QE SERIES"®
SHOWERS ARE ANSI # 113
12/12/19
INSTRUCTION MANUAL
COMPLIANT
311 Abbe Road. Sheffield Lake, Ohio 44054
Phone: 440-949-2400
Fax: 440-949-2900
See us on the web at www.fsinorth.com
IN ACCORDANCE WITH
ALL FSI SHOWERS ARE IDEAL FOR
FIRE FIGHTER WASH DOWN/DECON
IMMEDIATELY AFTER EXITING
FIRE SCENE AND PRIOR TO
REMOVAL OF ANY PPE.
NFPA 1851
Advertisement
Table of Contents


Need help?
Do you have a question about the DAT Series and is the answer not in the manual?
Questions and answers