GVA LIRA Installation Manual
Architectural spot & flood light
Hide thumbs
Also See for LIRA:
- Installation manual (8 pages) ,
- Installation manual (9 pages) ,
- Installation manual (2 pages)
Advertisement
Quick Links
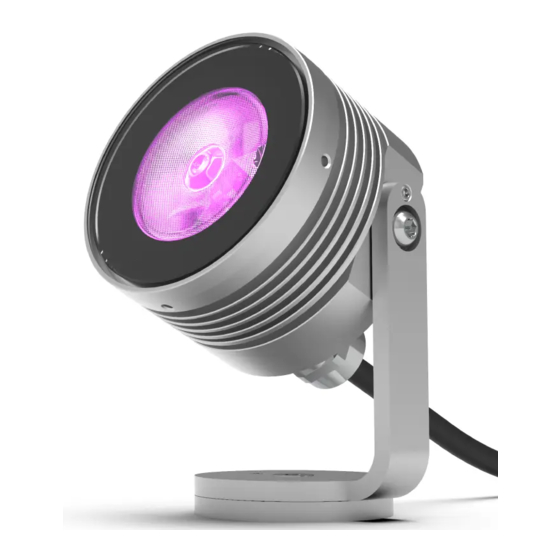
LIRA
Architectural Spot & Flood Light
Do not attempt to install or use Luminaire(s) until you have read and
understand this guide and all safety labels.
Luminaire(s) must be installed by a qualified professional.
Luminaire(s) must be installed in accordance with all national and
local electrical and construction regulations.
Ensure that main power supply is OFF before installing or wiring
luminaire(s).
Do not exceed specified voltage and current input.
Do not use luminaire(s) with a damaged lens, body, or cable.
Failing to install luminaire(s) according to warnings may result in
a hazardous situation which can cause equipment and property
damage, personal injury, or death.
GVA Lighting, Inc. 3400 Ridgeway Drive, #14 Missisauga, Ontario L5L 0A2
Tel: + 1 905 569 6044 Email: info@gvalighting.com
™
WARNING
Do not exceed the maximum number of specified luminaires in a light
run. Doing so will result in a current overload.
GVA Luminaires have no serviceable parts. Do not attempt to open
the units.
Do not hot swap. Ensure power supply is off before connecting or
disconnecting fixtures.
Do not stare into beam or view directly with optical instruments.
Unauthorized feild repairs will void warranty.
INSTALLATION GUIDE
CAUTION
IG-LIRA, 2018-08-28
|
Page 1 / 9
gvalighting.com
Advertisement

Related Manuals for GVA LIRA

Summary of Contents for GVA LIRA
- Page 1 Doing so will result in a current overload. Luminaire(s) must be installed by a qualified professional. GVA Luminaires have no serviceable parts. Do not attempt to open Luminaire(s) must be installed in accordance with all national and the units.
-
Page 2: Mounting Plate
NOTE: To ensure document is printed to scale measure dimensions prior to use of template. OPTICAL ACCESSORY INSTALLATION Using 4 x M3x0.5x5mm Flathead Screws (supplied), install LIRA optical accessory to luminaire as shown. If not installing LIRA optical accessory skip to Step 1.3. REQUIRED HARDWARE: LIRA GEN.2... - Page 3 Specifications are subject to change without notice. Every effort has been made to ensure that the information provided in this manual is accurate. GVA Lighting Inc. is not responsible for printing or clerical errors. Refer to www.gvalighting.com for additional information.
-
Page 4: Connection Diagrams
Specifications are subject to change without notice. Every effort has been made to ensure that the information provided in this manual is accurate. GVA Lighting Inc. is not responsible for printing or clerical errors. Refer to www.gvalighting.com for additional information. - Page 5 2.2.A PDB-ELV Wiring Diagram NOTE: Terminate return DMX output (+) and (-) with 120 OHM resistor (GVA PN. 230727). NOTE: Diagram shows 2C power cable and 5C data cable option. GVA 7C power and data cable available (supplied separately) OPTION A...
- Page 6 ON may result in equipment damage. Connect Class 2, 24VDC output to power conductors of ELV LIRA luminaire : red(+), black(-). Connect DMX I/O to DMX conductors of luminaire. NOTE: LIRA luminaires require 24VDC Class 2 power supply. Total load shall NOTE: Diagram shows 2C power cable and 5C data cable option.
- Page 7 Connect Class 2, 24VDC output to power conductors of ELV LIRA luminaire : red(+), black(-). NOTE: LIRA luminaires require 24VDC Class 2 power supply. Total load shall not exceed power rating of PDB-ELV/PS-ELV and should be under 100W to remain Class 2. If PSU is other than Class 2, provisions must be made to create Class 2 outputs.
- Page 8 Connect Class 2, 12V Constant Current output to power conductors of LIRA luminaire : red(+), black(-). NOTE: LIRA Constant Current Luminaires require at lease 12VDC constant current, maximum 60VDC, Class 2 power supply with Class 2 outputs. If PSU is other than Class 2, provisions must be made to create Class 2 outputs.
- Page 9 Specifications are subject to change without notice. Every effort has been made to ensure that the information provided in this manual is accurate. GVA Lighting Inc. is not responsible for printing or clerical errors. Refer to www.gvalighting.com for additional information.
Need help?
Do you have a question about the LIRA and is the answer not in the manual?
Questions and answers