Table of Contents
Advertisement
Quick Links
Advertisement
Table of Contents

Subscribe to Our Youtube Channel
Related Manuals for Sabrent DS-UTC1


Summary of Contents for Sabrent DS-UTC1
- Page 1 DS-UTC1 USB TYPE-C 3.1 SATA/SSD 2.5”/3.5” HARD DRIVE DOCKING STATION USER MANUAL...
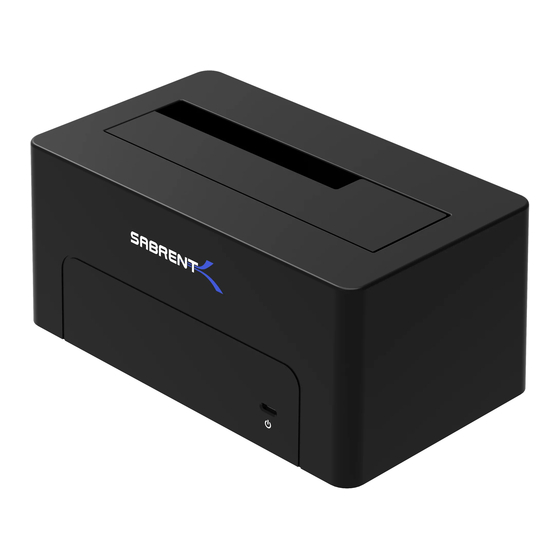
- Page 2 DS-UTC1 With a Sabrent USB 3.1 SATA/SSD 2.5”/3.5” HDD Docking Station you can Hot-Swap 2.5”/3.5” SATA Hard Drives when connected to your Desktop or Notebook. Tool free Plug & Play installation makes for an easy setup. You can now transfer data quickly and easily through USB Type-C 3.1 at high speeds up to 10Gbps.
- Page 3 DS-UTC1 Connect the Power Adapter Connect the AC Power Cord to the back of the dock to a power outlet Connect the USB Cable to Connect the other end of the USB Cable to the back of the dock your Computer USB Port Note: If your computer has a Type-C port use the Type-C cable.
- Page 4 DS-UTC1 Press the power switch to On Insert your hard drive into The power LED should illuminate the hard drive bay Windows PC hard drive with DATA/Files Click on the Start Icon located on the bottom left of the screen and then click on Computer...
- Page 5 DS-UTC1 You should get a new drive letter every time you insert a hard drive with data/files Windows PC new hard drive setup (Hard drive with no DATA/Files) Click on the Start Icon located on the bottom left of the screen...
- Page 6 DS-UTC1 Note: You can also click on the File Explorer Icon and then click on This PC or Computer...
- Page 7 DS-UTC1 Click on Manage Click on Disk Management Note: Disk 0 should be your internal hard drive Disk 1 should be your external hard drive but SETUPS MAY DIFFER...
- Page 8 DS-UTC1 RIGHT click on Unallocated and click on New Simple Volume Go through the Setup Wizard to assign a drive letter...
- Page 9 DS-UTC1 Mac OS hard drive with DATA/Files A new Icon should pop up on your main screen each time you insert a hard drive with DATA/Files Click on the Icon to view your hard drive Note: You can also click on the Finder icon and select your hard drive under Devices...
- Page 10 DS-UTC1 Click the icon for your external hard drive located in the sidebar on the left Click on the Erase tab at the top of the window Select the volume format you want and give it a name Click on erase...
- Page 11 DS-UTC1 Notes • This is backwards compatible on USB 2.0 and 1.1 with their transfer speeds. • Please do not remove your hard drive while hard drive is being accessed. TROUBLESHOOTING/SUPPORT Power LED does not come on? • Make sure that you have a tight connection between the power adapter and dock.
Need help?
Do you have a question about the DS-UTC1 and is the answer not in the manual?
Questions and answers